¶ How To Set Up An Appointment Booking Workflow
This tutorial will teach you how to set up an appointment booking workflow, filtered by a calendar, so when somebody books an appointment in a specific calendar, the system will fire off a chain of events based on that appointment that they self-booked.
Note: This article assumes you already have a calendar created. If not, please create one**.**
¶ Step 1: Create a Workflow
- Go to the automation tab on the left and click on the workflows tab on the top right.
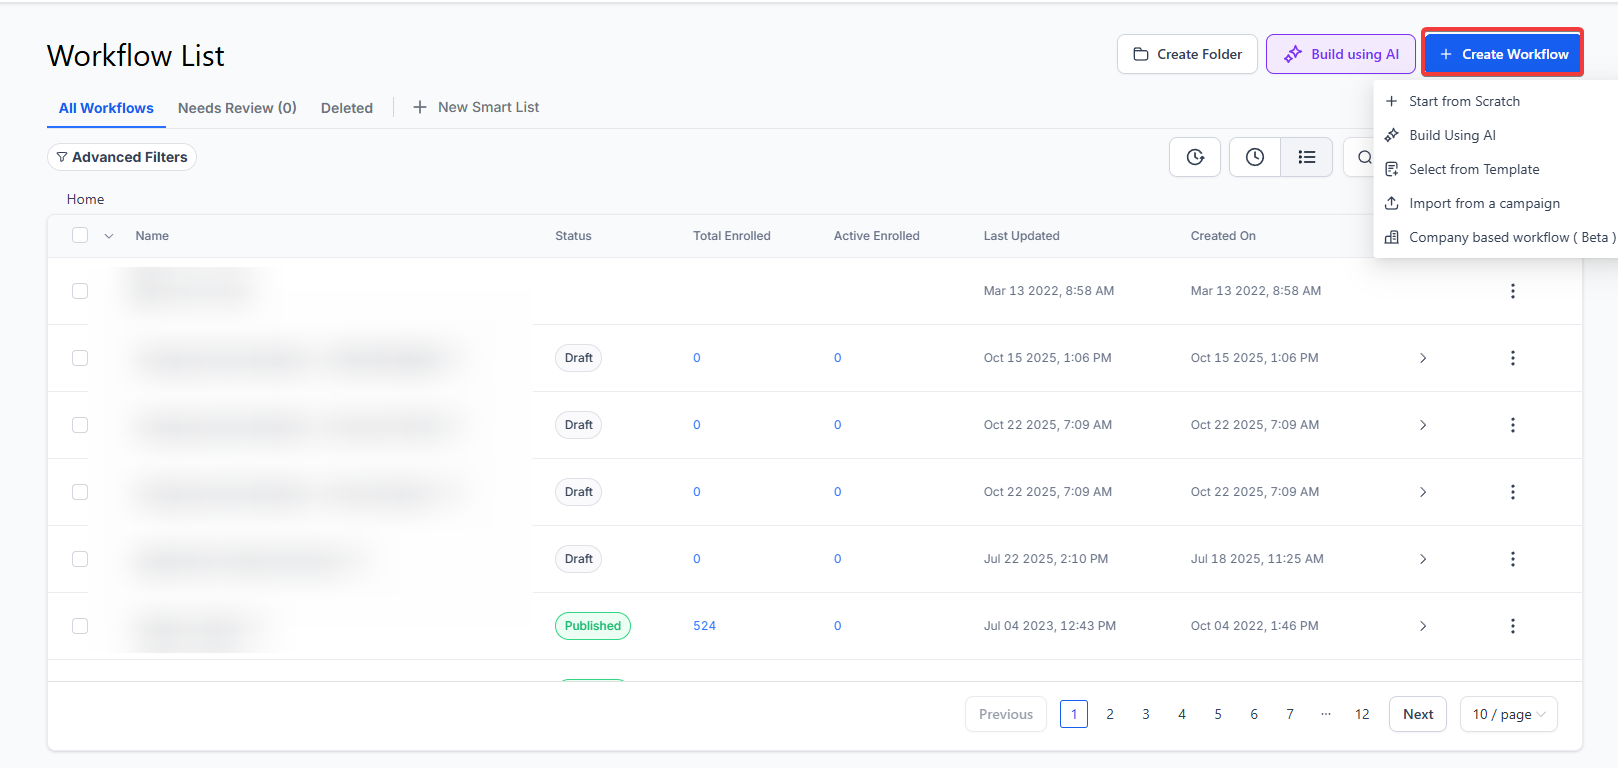
- Navigate to Workflows and create one or edit one you have.
¶ Step 2: Select The Trigger and Filter
- Click on Add New Trigger, and choose “Customer booked appointment”
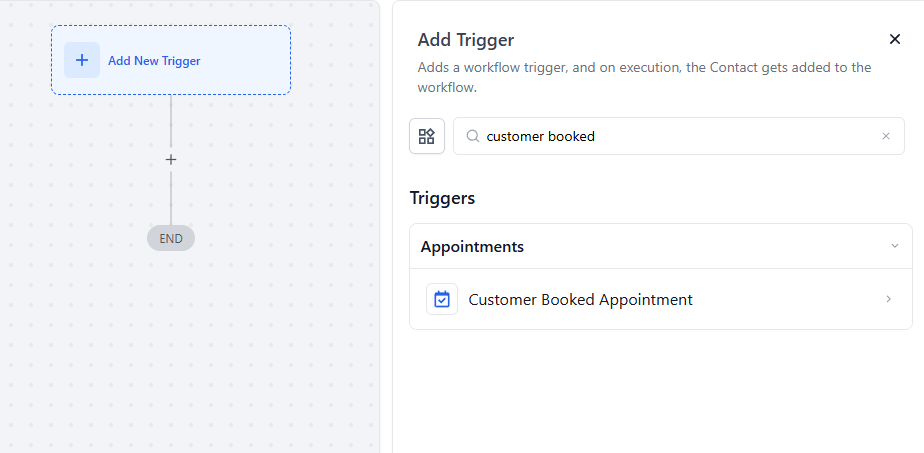
- Click on Filter and select which calendar they need to book
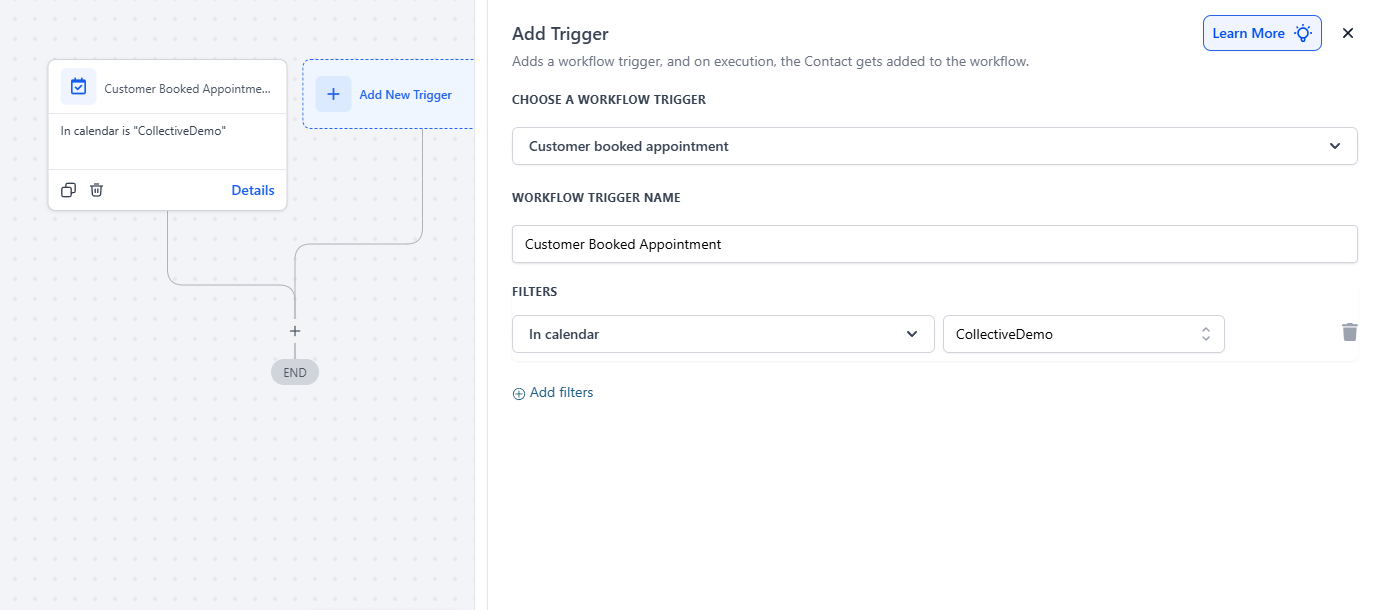
NOTE: If you leave it without a filter this will apply to all calendars.
¶ Step 3: Add Your Actions
- Choose whatever actions you want to have happen when someone books an appointment.
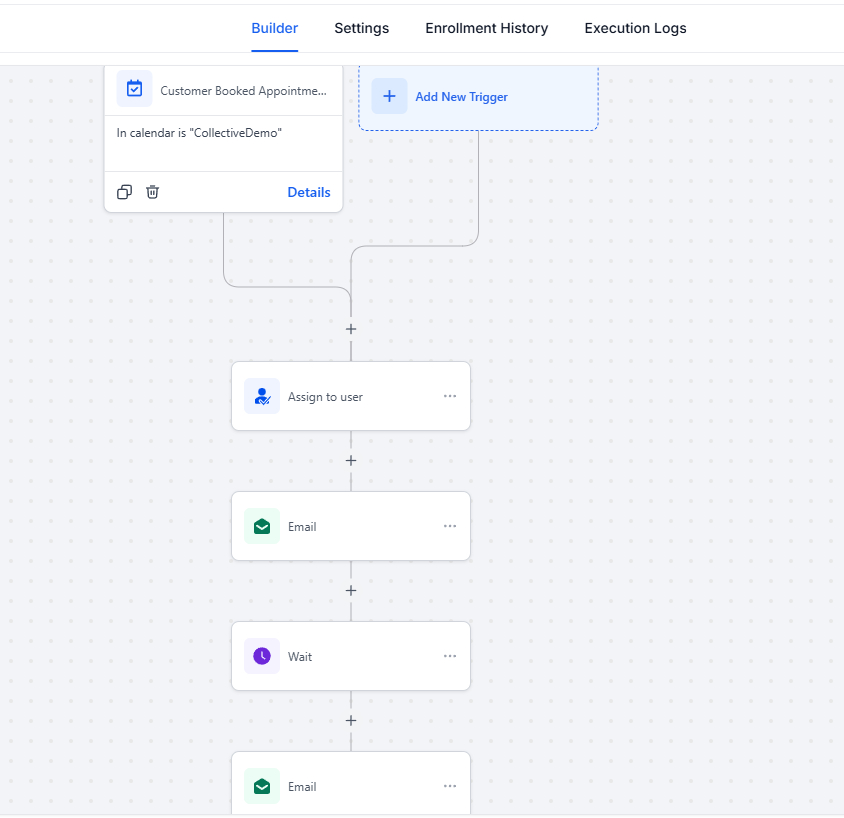
Above is an example of the actions you can add. You can add more than one if needed.
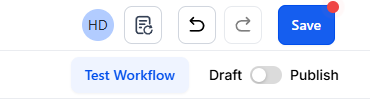
Step 4: Publish and Save
- Turn the toggle on to publish the workflow and save
Note: There’s another Appointment Status Trigger, the difference between that one and this one, is that the Appointment Status one, will trigger once the appointment status has been updated to whatever filter you added. For example, if you have the Appointment Status trigger filtered by Confirmed, then, once you or your user have confirmed the appointment, this workflow will execute.

You can learn more about this in the article, “Workflow Trigger: Appointment Status”.
¶ Common examples of what you may want to automate:
-
Remove the contact from a workflow
- You may want to remove them from all workflows (maybe they’ve been added to some lead nurturing campaign, etc.), or you can just remove them from a specific campaign.
-
Add the contact to workflow
- If you want to remove the contacts from a workflow but then add them to a new workflow, be sure to set the REMOVE action first to not cancel out the ADD action. The system will process the Part 2 actions in order. (You don’t want them to be removed from the workflow you’re trying to add them to.)
-
Add or Update Opportunity
- If the contact is already a lead in your pipeline, you can push them further along in the stages, and move them along your pipeline.
-
Send a reminder email and/or SMS to the customer
-
Send a reminder email and/or SMS, or a notification, to yourself
- If you want to send yourself a notification when someone books an appointment, you can create an email, a notification, or an SMS. You can use custom values to include the customer’s information, appointment date/time, etc., and set the trigger up to notify you so you’re aware of the booked appointment.
There are many options for setting up the trigger, and you can completely customize this for your individual business needs and preferences. You can keep it simple, or customize it using filters to make it very specific. However you choose to do it, you can set up the trigger automation to help with efficiency in your business so the trigger actions fire off automatically for you. That’s the great thing about triggers!
Pro Tips:
- Use “Wait” Steps for Timely Reminders:**
**Most booking workflows are incomplete without a “Wait” action set to “Event/Appointment Time.” This is essential for triggering reminders 24 hours or 1 hour before the actual meeting, ensuring that your clients are always prepared and on time. - Enable “Allow Re-entry” for Multiple Bookings:**
**Make sure to turn on the “Allow Re-entry” toggle in the Workflow Settings. Users often book multiple appointments, and if this setting is off, the automation won’t trigger for subsequent bookings. This ensures a seamless experience for repeat appointments. - Leverage “Appointment” Custom Values in Emails:**
**Use the “Appointment” custom values to automatically insert key details like the meeting date, time, and even the “Add to Google Calendar” link directly into your confirmation emails. This adds personalization and convenience for your clients. - Filter by “Appointment Status” for Custom Paths:**
**You can now filter by “Appointment Status” within the same workflow to create different paths for various outcomes like “Confirmed” vs. “Cancelled” or “Show” vs. “No-show.” This can be done using an If/Else branch, helping you customize follow-ups and actions based on the client’s appointment status. - Handle “Stale” Appointments Automatically:**
**New functionality allows you to trigger automations if an appointment remains in a “Pending” status for too long without being confirmed by an admin. This ensures that you follow up with clients who haven’t confirmed their appointments, keeping your schedule accurate. - Track Booking Sources with “Contact Source”:**
**The “Contact Source” can now be updated automatically in workflows, giving you the ability to track which specific calendar or landing page is driving the most bookings. This data helps you optimize your marketing efforts and booking processes.
¶ FAQ’s
**Question:What is an appointment booking workflow?
**Answer: An appointment booking workflow automates a series of actions that are triggered when someone books an appointment on a specific calendar. This helps streamline your processes and ensures that necessary tasks are performed automatically.
Question: Do I need to create a calendar before setting up the workflow?**
**Answer: Yes, you need to have a calendar created before setting up the workflow. If you don’t have one, refer to the articles “Calendar Setup 101” and “Settings: Calendars” for guidance.
Question: How do I start creating a workflow?**
**Answer: Go to the Workflows section and either create a new workflow or edit an existing one.
Question: How do I choose the trigger for my workflow?**
**Answer: Click on “Add New Trigger” and select “Customer booked appointment.” Then, set up the filter to specify which calendar the booking should apply to. If you don’t set a filter, the workflow will apply to all calendars.
Question: What happens if I don’t set a calendar filter?
Answer: If you leave the filter blank, the workflow will trigger for any appointment booked on any calendar.
Question: How do I add actions to the workflow?
Answer: After selecting your trigger, choose the actions you want to occur when an appointment is booked. You can add multiple actions if needed.
Question: How do I publish and save my workflow?
Answer: Turn on the toggle to publish the workflow and then save your changes.
Question: What is the difference between the “Customer booked appointment” trigger and the “Appointment Status” trigger?**
**Answer: The “Customer booked appointment” trigger activates when an appointment is initially booked. In contrast, the “Appointment Status” trigger activates when the status of an existing appointment is updated to match the specified filter (e.g., Confirmed).
Question: What should I do if I want to remove a contact from a workflow?
Answer: Use the “Remove from workflow” action to take the contact out of all workflows or a specific one, depending on your needs.
Question: What should I do if I want to remove or reassign a contact after booking?**
**Answer: You can use the “Remove from workflow” or “Add to workflow” actions to move contacts between workflows. Always set the removal action first to prevent overlap or cancellation issues
Question: Can I have one workflow handle both “Show” and “No-show” outcomes?
Answer: Yes. You can use an If/Else branch filtered by “Appointment Status.” This allows you to create different internal paths within the same workflow for example, sending a “Thank You” email to those who showed up and a “Reschedule” link to those who didn’t.
Question: How can I ensure that the workflow triggers every time a customer books an appointment, even if they have booked with me before?**
**Answer: You must enable the “Allow Re-entry” toggle in the Workflow Settings. If this setting is turned off, the automation will only trigger for a contact’s first appointment; enabling it ensures a seamless experience for repeat bookings and multiple appointments.