¶ Workflow Trigger: Order Form Submission
The Order Form Submission Workflow Trigger allows you to trigger a workflow whenever a contact/customer submits an order form. Contacts who submit order forms through your various funnels and websites will be added to this workflow when it is triggered. This article will give an overview of how to set up a workflow using the Order Form Submission Workflow Trigger.
Please note: Using the filters with this trigger is important. The filters can change how the trigger works. If you want to trigger the workflow only when a purchase is made you would need to add the filter “Submission Type” and set it to “Sale”. The filters are explained below.
¶ Key Benefits of the Order Form Submission Trigger
- Streamlined Order Management: Automates key tasks such as sending confirmation emails, updating records, and triggering internal notifications, making order processing more efficient.
- Enhanced Customer Experience: Provides immediate order confirmations and relevant follow-ups, building trust and boosting customer satisfaction.
- Customizable Automation: Offers flexibility to tailor workflows with filters like funnel, page, product, and submission type, allowing for more targeted automation.
- Increased Sales Opportunities: Enables upsell and cross-sell actions by triggering follow-ups based on the products customers purchase.
- Accurate Data Handling: Ensures your LeadMagicX account is always up-to-date by automatically capturing and updating customer information.
¶ Steps to add the trigger to your workflow
¶ Step 1: Start a new workflow or edit an existing one
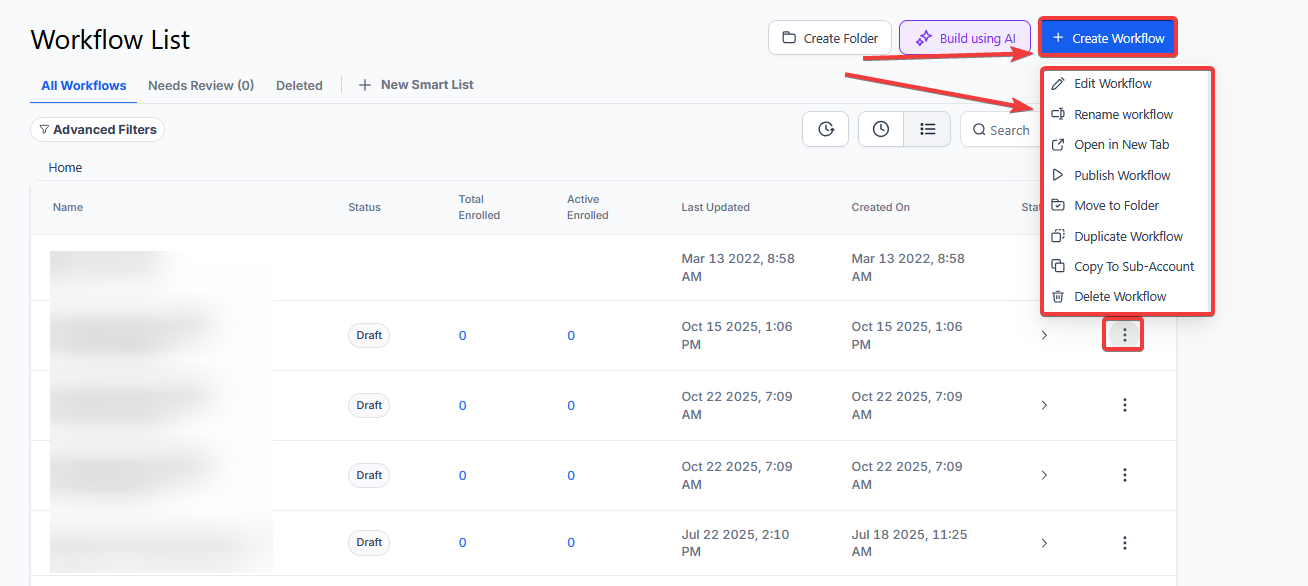
- Navigate to Automation on the left > Workflows on the top and create a new workflow or edit an existing one.
¶ Step 2: Creating and Editing the Trigger
- Click “Add New Trigger”

-
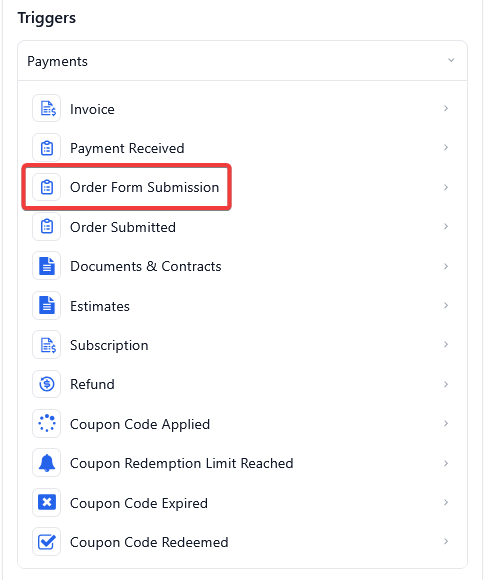
Select Order Form Submission in the Payments section of the Workflow Triggers Menu or use the search feature. Once selected, the Trigger setup menu will appear
-
(Optional) You can change this trigger’s workflow builder display name of this trigger using the textbox below Workflow Trigger Name. Note that this will only affect the display name within the workflow builder and has no other impact on the content or functionality of this Workflow Trigger.
-
Press + Add filters to expand the Filters section of the Trigger setup menu. This section has several filter parameters that you can use to customize this trigger
-
In funnel/website will only allow form submissions that occur within a selected funnel or website to trigger this workflow. If you add this parameter to your trigger, then you can create another filter called Page is
-
Page is will allow you to select a page from the already selected funnel or website. Only form submissions that occur within this selected page will be able to trigger this workflow. If you add this parameter to your trigger, then you can create another filter called Product is
-
Product is will only allow order forms for a particular product to trigger this workflow.
-
Because this filter only appears after the In funnel/website and Page is filters, the workflow will only be triggered when this product is ordered within the already-selected funnel/website and page.
-
Submission type will only allow a selected type of order form to trigger this workflow. The options for this parameter are Bump, Optin, Sale, and **Upsell. **
-
You can also filter by Custom Fields which will allow you to select custom values that you would have set up elsewhere in your account. Only contacts who meet these custom values can then be added to this workflow

- Press Save Trigger in the bottom right corner of the Trigger setup menu

¶ Step 3: Set up applicable Workflow Action(s). We have multiple articles available to explain the setup of each of the Workflow Actions. Feel free to review our articles on these for more information on setting these up.
Pro Tip: You can use any Workflow Actions to be triggered by the Order Form Submission trigger or you can leave this workflow without any actions.
¶ Step 4: Press Save in the top right corner of your browser to save the workflow
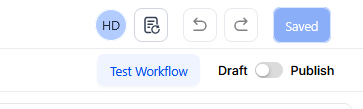
- If your Workflow is ready to be enabled, make sure the toggle switch under Save is set to Publish
- Be sure to test your Workflow to make sure it is set up correctly using the Test Workflow button next to the Publish toggle switch.
- For an in-depth overview of Workflow Testing see our article, “Using the Testing Features in Workflows”
¶ How to use the Submission Type Filter?
The submission type trigger determines when the order form submission trigger will run. If you do not add, it will run whether they just opt-in, or purchase your primary, bump, or an upsell product.
- Optin - This filter works only with the two-step order form. It runs when the first step of the order form is filled out by the lead
- Sale - This filter runs whenever one of the products listed on the order form is purchased.
Note: It works only in the case of the 2-Step Order Form. After they submit the second step and make the payment, this filer would work.
- Bump - This filter runs only when a bump product on the order form is purchased
- Upsell - This filter runs when the lead purchases a one-click upsell product
Now your workflow is set up and ready to go with the Order Form Submission Workflow Trigger.
¶ Use Cases
¶ Use Case #1: Order Confirmation & LeadMagicX Update
Scenario: A business wants to automatically send an order confirmation email and update the customer’s LeadMagicX account’s record upon purchase.
Outcome: The workflow triggers a confirmation email to the customer, updates their LeadMagicX account with order details, and tags them for future marketing campaigns.
¶ Use Case #2: Abandoned Cart Recovery
Scenario: A business wants to re-engage customers who entered their contact details but didn’t complete their purchase.
Outcome: The workflow sends a reminder email to the customer, offering a discount or incentive to encourage them to finalize the order.
¶ Use Case #3: Post-Purchase Upsell Campaign
Scenario: A business wants to offer an upsell immediately after a purchase to increase sales.
Outcome: The workflow sends an email promoting an upsell product, including a limited-time discount to drive urgency and increase conversions.
¶ Use Case #4: Internal Notification for High-Value Purchases
Scenario: A sales team needs to be alerted when a customer makes a high-ticket purchase to ensure prompt follow-up.
Outcome: The workflow triggers an internal notification to the sales team, prompting them to reach out to the customer for personalized follow-up.
¶ Use Case #5: Upsell & Bump Offer Tracking
Scenario: A business wants to track the performance of its upsells and bump offers during checkout.
Outcome: The workflow logs the upsell or bump offer acceptance in LeadMagicX and sends a follow-up email to the customer, ensuring proper tracking and engagement.
¶ ****
¶ FAQs
Question: What happens if I don’t apply any filters?**
**Answer: The workflow will be triggered for every order form submission, regardless of the form type, funnel, page, or product.
Question: How do I use the Submission Type filter effectively?**
**Answer: The Submission Type filter determines which specific order form actions will trigger the workflow. Use this filter to target specific interactions like opt-ins, sales, bumps, or upsells.
Question: Can I set multiple filters?**
**Answer: Yes, you can combine multiple filters to precisely define when the workflow should trigger. For instance, you can set filters for a specific funnel, page, product, and submission type.
Question: How do I ensure my workflow is functioning correctly?**
**Answer: Use the “Test Workflow” feature to simulate triggers and ensure that the workflow performs as expected before publishing.
Question: Can I customize notifications for specific purchases?**
**Answer: Yes, you can set filters for product, page, or submission type to send targeted internal notifications or customer emails based on the purchase.
Question: Does changing the “Workflow Trigger Name” affect how the trigger works?**
**Answer: No. Changing the display name in the textbox only affects what you see within the workflow builder for organization purposes; it has no impact on the actual content or functionality of the trigger.
Question: Can I use this trigger to give someone access to a Membership Course?**
**Answer: Absolutely. This is the most common use case. After the “Order Form Submission” trigger (filtered to “Sale”), add the action “Membership Grant Offer” and select the corresponding course.