Forms are a vital tool in LeadMagicX for capturing lead information and automating business processes. This guide covers everything from basic construction to advanced conditional logic and payment integration.
¶ Overview of the Forms Interface
Navigate to Sites > Forms to see three primary tabs:
- Builder: Your library of existing forms and the starting point for new ones.
- Analyze: Visual reports and submission counts over specific time periods.
- Submissions: A searchable database of every entry (sortable by name, email, or contact ID).
¶ 
¶ Step-by-Step: Building Your Form
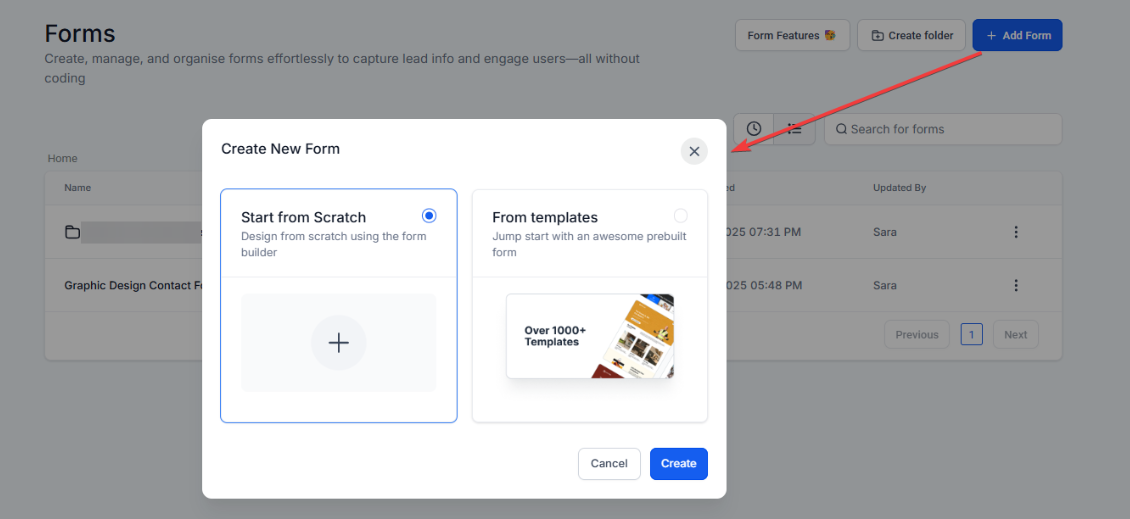
¶ 1. Create and Name
Click + Add Form to start from scratch or use a template. Click the pencil icon at the top to give your form a unique name.

¶ 2. Add Elements
Click the (+) icon on the left to open the Quick Add menu. Drag and drop fields like:
- Standard Fields: Full Name, Email, Phone, Address.
- Address Auto-Complete: Add the Address field and toggle “Auto-Complete” to help users find their location in real-time.
- Custom Fields: If the standard list doesn’t fit, create your own unique fields to capture specific data.
¶ 3. Add Conditional Logic (Optional)
Click the Logic icon (next to the “+”) to create a dynamic experience:
- Redirect to URL: Send users to a specific page based on their answer.
- Disqualify Lead: Automatically filter out leads that don’t meet your criteria (disqualified leads do not count as “submissions”).
- Show/Hide Fields: Make the form shorter by only showing relevant questions based on previous answers.
¶ 4. Styling and Themes
Click Styles & Options on the right side to customize the look:
- Themes: Choose from professionally crafted designs (like the “Casual” theme) that handle fonts and colors for you.
- Layout & Padding: Use the Zero Vertical Padding support to remove whitespace and create a pixel-perfect, compact design.
- Button Icons: Toggle Show Icon on your buttons to search the Material Symbols library for the perfect call-to-action icon.
¶ 5. Integrate and Save
Once your form is finished:
- Save: Click save in the top right (do this often!).
- Integrate: Click Integrate Form to get an embed code for your website or a standalone link.
- Funnel/Website Builder: You can also drop your form directly into any LeadMagicX funnel or website page using the “Form” element.
¶ Advanced Features
| Feature | Description |
|---|---|
| Payments Element | Drag this in to sell products directly on your form. It includes an automatic order confirmation page. |
| Version History | Made a mistake? Access the history to restore an earlier version of your form based on a timestamp. |
| Sticky Contact | If enabled in Settings, the form will “remember” returning visitors and auto-fill their known information. |
| Inline Editing | Click and type directly on labels or placeholders in the preview to update them instantly. |
¶ Pro-Tips for Power Users
- Mobile-Specific Styling: You can set different background colors or font sizes for mobile vs. desktop. Toggle the device icons at the top to style each view independently.
- Notifications: The form builder collects data, but Automations alerts you. Create a workflow with the trigger “Form Submitted” to get an email or SMS notification every time someone signs up.
- Captcha: Always add the Captcha element to the bottom of your forms to prevent spam submissions.