¶ Workflow Action: Add To Workflow
In this guide, we’ll walk you through using the “Add to Workflow” action, an essential tool for automating customer journeys and ensuring smooth transitions between engagement stages. This action is especially useful for managing customer interactions and automating follow-ups. Let’s get started!
Overview of the “Add to Workflow” Action
The “Add to Workflow” action automatically adds a contact to a specified workflow, enabling you to manage customer journeys seamlessly. Whether you want to move contacts to a new stage based on their actions or ensure they receive timely information, this action helps automate the process with minimal manual intervention.
Key Features and Benefits
- Automate Customer Transitions: Automatically move contacts between workflows based on specific triggers.
- Enhance Engagement: Ensure contacts receive timely and relevant follow-ups based on their interactions.
- Streamline Processes: Simplify complex workflows by connecting different customer journey stages.
¶ Step-by-Step Guide to Setting Up the “Add to Workflow” Action
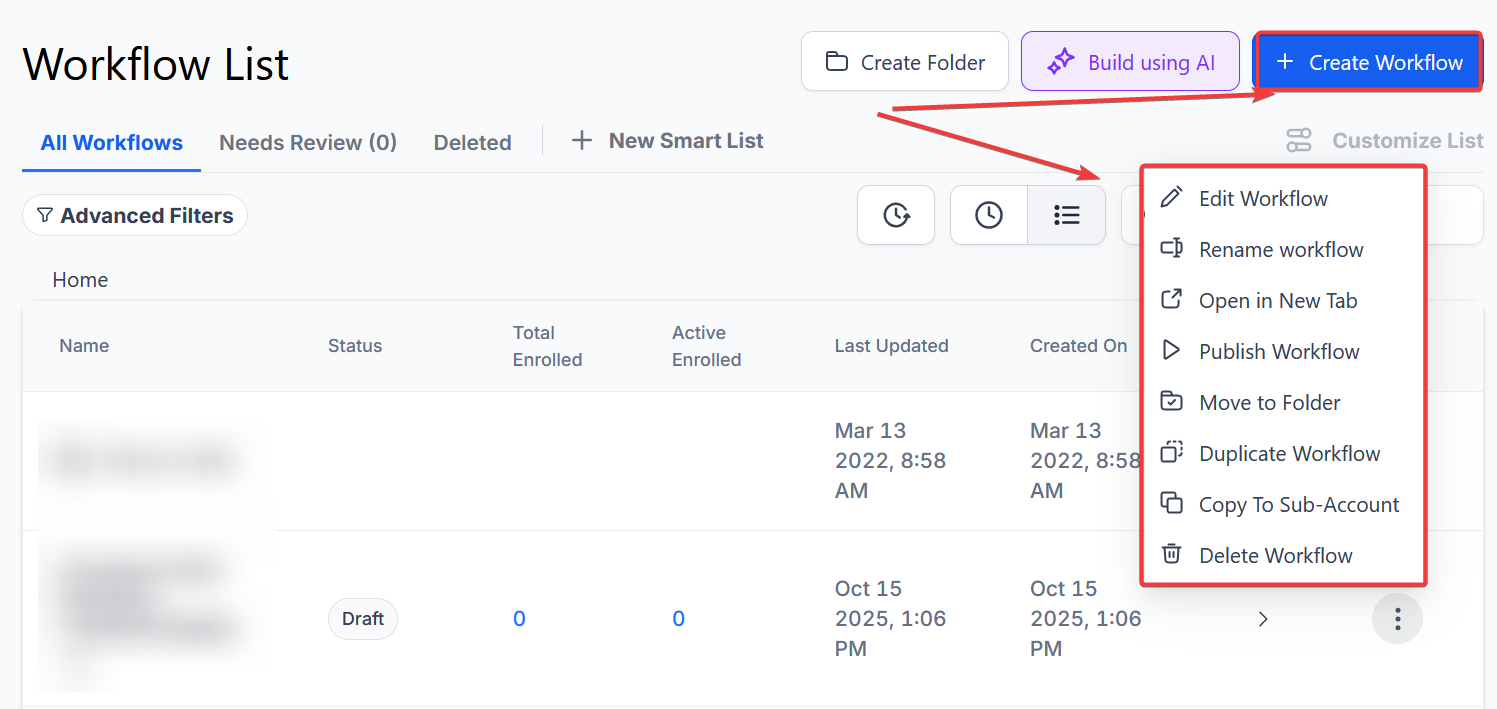
¶ Step 1: Access Workflow Actions
- Navigate to Automation > Workflows and start a new workflow or edit an existing one.
-
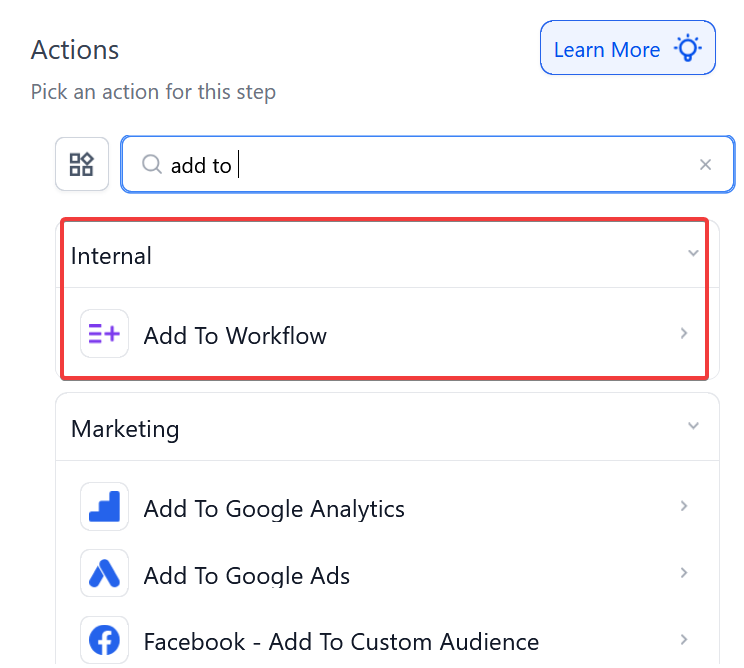
Step 2: Choose the Action Type
-
From the list of available actions, select “Add to Workflow.”

¶ Step 3: Name Your Action
- Enter a descriptive name for the action. For example, you can name it “Add to Workflow.”
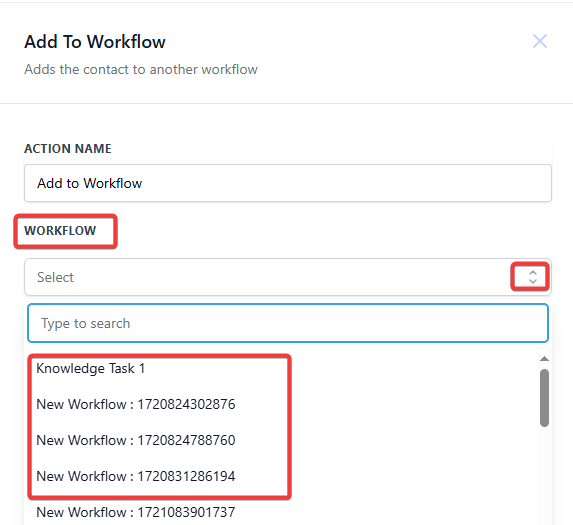
¶ Step 4: Select the Workflow
- Choose the workflow to which the contact will be added. Make sure to select the correct workflow that aligns with your intended automation.
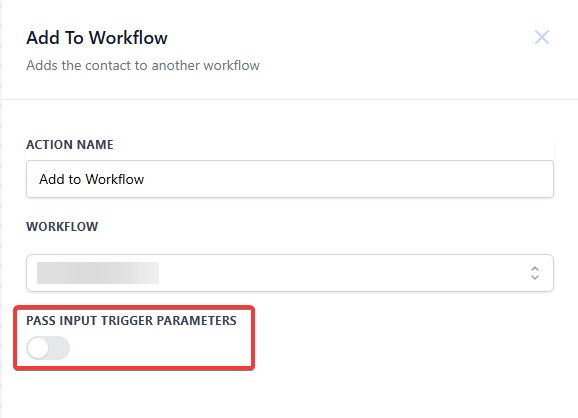
¶ Step 5: Pass Input Trigger Parameters (Optional)
- Enable this option if you want to carry over data from the initial trigger to the new workflow. This feature allows the new workflow to receive relevant information, ensuring a seamless transition.
¶ Example: Appointment Booking Follow-Up
Scenario: A business wants to ensure that customers who book an appointment are automatically added to a follow-up workflow. This workflow prepares customers for their appointments, providing essential details and reminders.
Action Setup:
- Action Name: Add to Appointment Follow-Up Workflow
- Workflow Selection: Appointment Booked
- Pass Input Trigger Parameters: Enabled
Workflow Actions:
- Trigger: A customer books an appointment.
- Action: The customer is automatically added to the “Appointment Follow-Up” workflow.
- Follow-Up Workflow Actions:
- Send a confirmation email.
- Provide appointment details.
- Send reminders leading up to the appointment.
Outcome: This setup ensures that customers are well-informed about their upcoming appointments, reducing no-show rates and enhancing overall customer experience.
¶ Tips for Success
- Use Descriptive Names: Name each action to make it easier to manage your workflows.
- Utilize Input Trigger Parameters: This optional feature can help keep data consistent and relevant between workflows.
- Test Your Workflow: Always test your workflow to ensure it behaves as expected, and adjust as needed based on user feedback.
¶ FAQ’s
Question: Why should I test my workflows after setting them up?
Answer: Testing workflows ensures that they work as intended and that any issues can be identified and corrected before the automation goes live. Testing helps improve the accuracy and effectiveness of your workflows, enhancing user experience.
Question: What are the benefits of using the “Add to Workflow” action in customer journey automation?
Answer: Benefits include seamless customer transitions between stages, timely and relevant follow-ups, reduced manual intervention, enhanced customer engagement, and improved overall workflow efficiency.
Question: Can the “Add to Workflow” action be used for different types of customer interactions?
Answer: Yes, the “Add to Workflow” action can be customized for various customer interactions, such as appointment bookings, purchases, form submissions, or any other triggers. It helps guide contacts through tailored follow-ups based on their specific actions.
Question: What happens if I don’t enable the “Pass Input Trigger Parameters” option?
Answer: If you do not enable the “Pass Input Trigger Parameters” option, the new workflow will not receive data from the initial trigger, which might result in missing information needed for the workflow’s actions. Enabling this option ensures that all relevant data is passed along.
Question: How does the “Add to Workflow” action improve customer experience?
Answer: It improves customer experience by ensuring that contacts are automatically transitioned into relevant follow-ups based on their actions, such as receiving appointment reminders or order confirmations. This automation keeps customers informed and engaged without delays.
Question: What should I do if my “Add to Workflow” action isn’t working as expected?
Answer: If the action isn’t working as expected, review the setup steps to ensure all settings are correctly configured. Test the workflow to identify where the issue might be occurring, and adjust the settings as necessary to resolve any problems.
Question: Why is it important to connect workflows in customer journeys?
Answer: Connecting workflows in customer journeys ensures a cohesive and continuous experience for contacts. It helps automate their progression through various engagement stages, keeps them informed, and enhances their overall interaction with your business.
Question: Can I use the “Add to Workflow” action in a series of workflows?
Answer: Yes, you can use the “Add to Workflow” action to chain multiple workflows together, guiding contacts from one stage to the next as their interactions evolve. This chaining helps manage complex processes and ensures consistent communication throughout the customer journey.
Question: Can I chain multiple workflows using this action?
Answer: Yes. You can use “Add to Workflow” to link multiple workflows, allowing contacts to move through a sequence of automated stages as their interactions evolve.
Question: Does this action work immediately?**
**Answer: Yes. As soon as the contact hits the “Add to Workflow” step, they are instantly enrolled in the second workflow and will start at the very first step of that new automation.
Question: How do I ensure a seamless transition for an appointment booking?
Answer: A common use case is to set the trigger as “Appointment Booked” and then use the “Add to Workflow” action to enroll the lead into a specialized “Appointment Follow-Up” workflow. This ensures they immediately receive confirmation emails, details, and reminders without you having to build those steps manually for every calendar.