¶ Workaround for SMS Forwarding Issues: SMS not forwarding to the forwarding number
Workaround for SMS Forwarding Issues: SMS not forwarding to the forwarding number
If your SMS forwarding isn’t working as expected—where messages only appear in conversations but don’t get forwarded to the assigned number—this workaround provides a reliable solution. Instead of relying on direct forwarding, you can set up workflow automation to send an internal notification containing a message preview. This method ensures that assigned users still receive alerts about incoming SMS messages, even if traditional forwarding fails.
By configuring a workflow with an internal notification that includes a message body custom value, you can ensure that the assigned user gets a snapshot of the client’s message. This approach helps maintain visibility and responsiveness, preventing missed communications. Follow the steps below to set up this workaround effectively.
¶ How to Set Up an Internal Notification for SMS Forwarding Issues
Step 1: Access Automation Settings To begin, navigate to the Automation tab. From here, click on Workflows , then choose Create workflow to set up a new workflow.
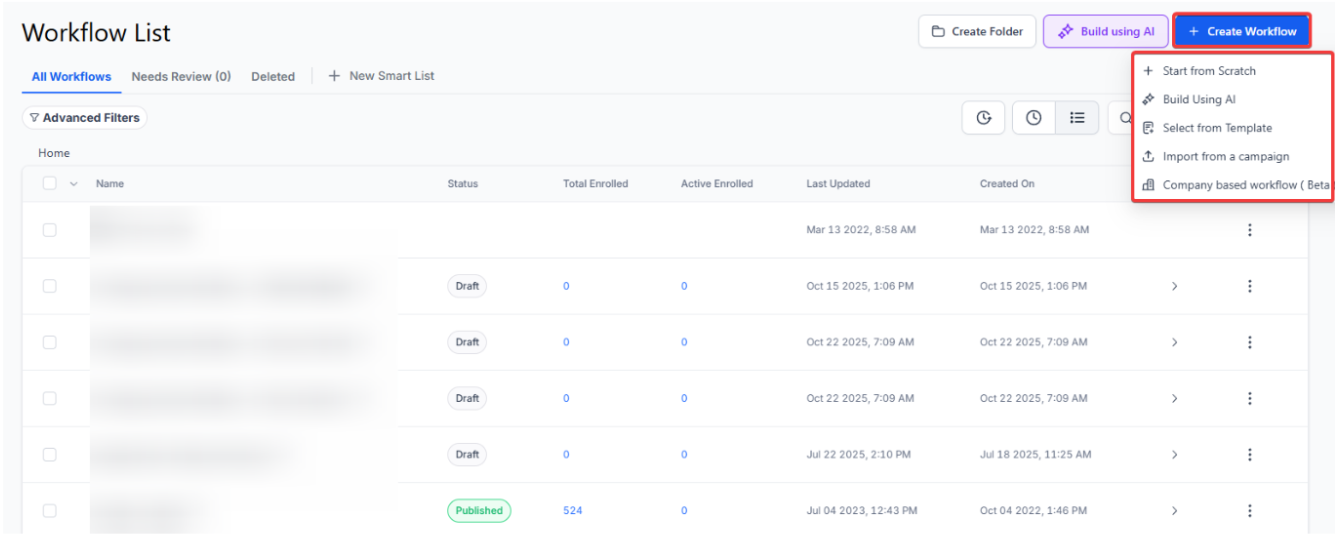
Step 2: Start from Scratch When prompted, select Start from scratch to create a new workflow with no predefined settings.
Step 3: Add a New Workflow Trigger Click on Add New Workflow Trigger to begin configuring how the system will handle incoming SMS messages.
Step 4: Select ‘Customer Replied’ Trigger In the list of available triggers, click on Customer Replied to set up the workflow for when a customer replies.
Step 5: Select SMS as the Reply Channel In the dropdown menu, choose SMS to ensure the system recognizes text messages as the trigger for forwarding.
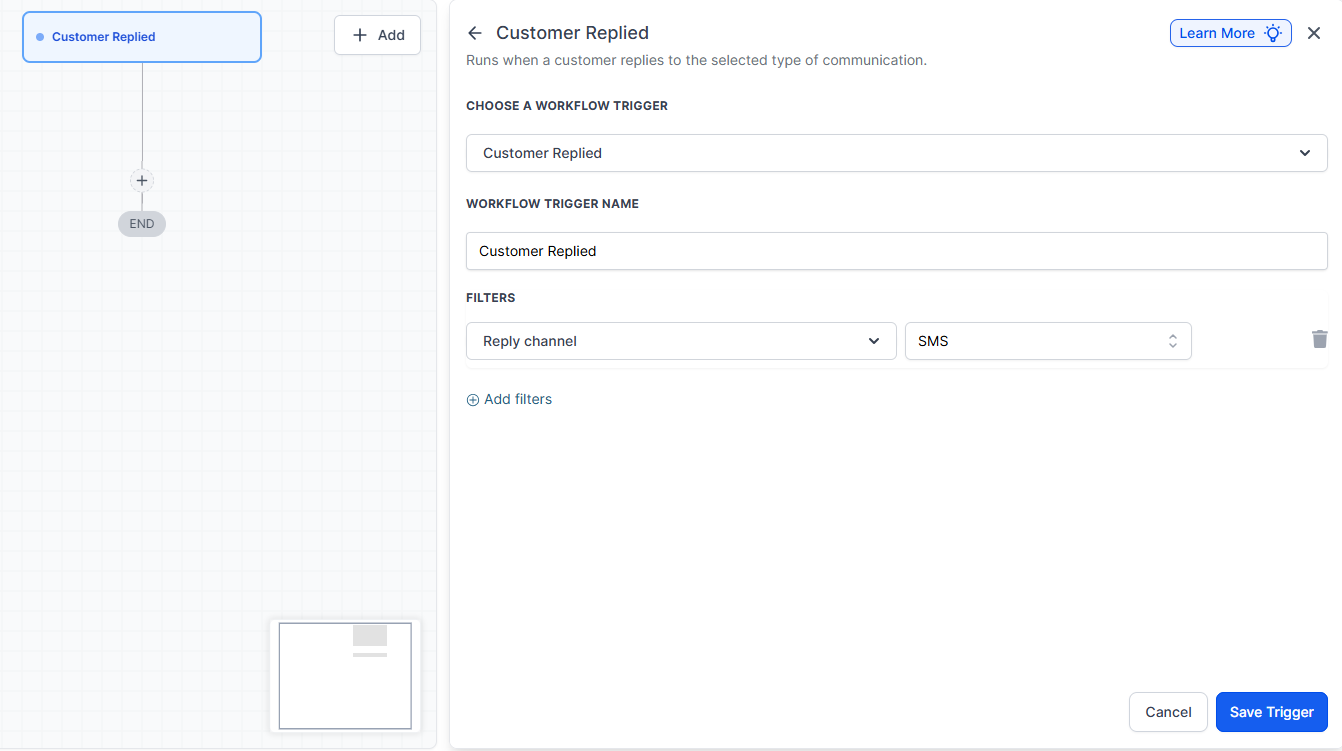
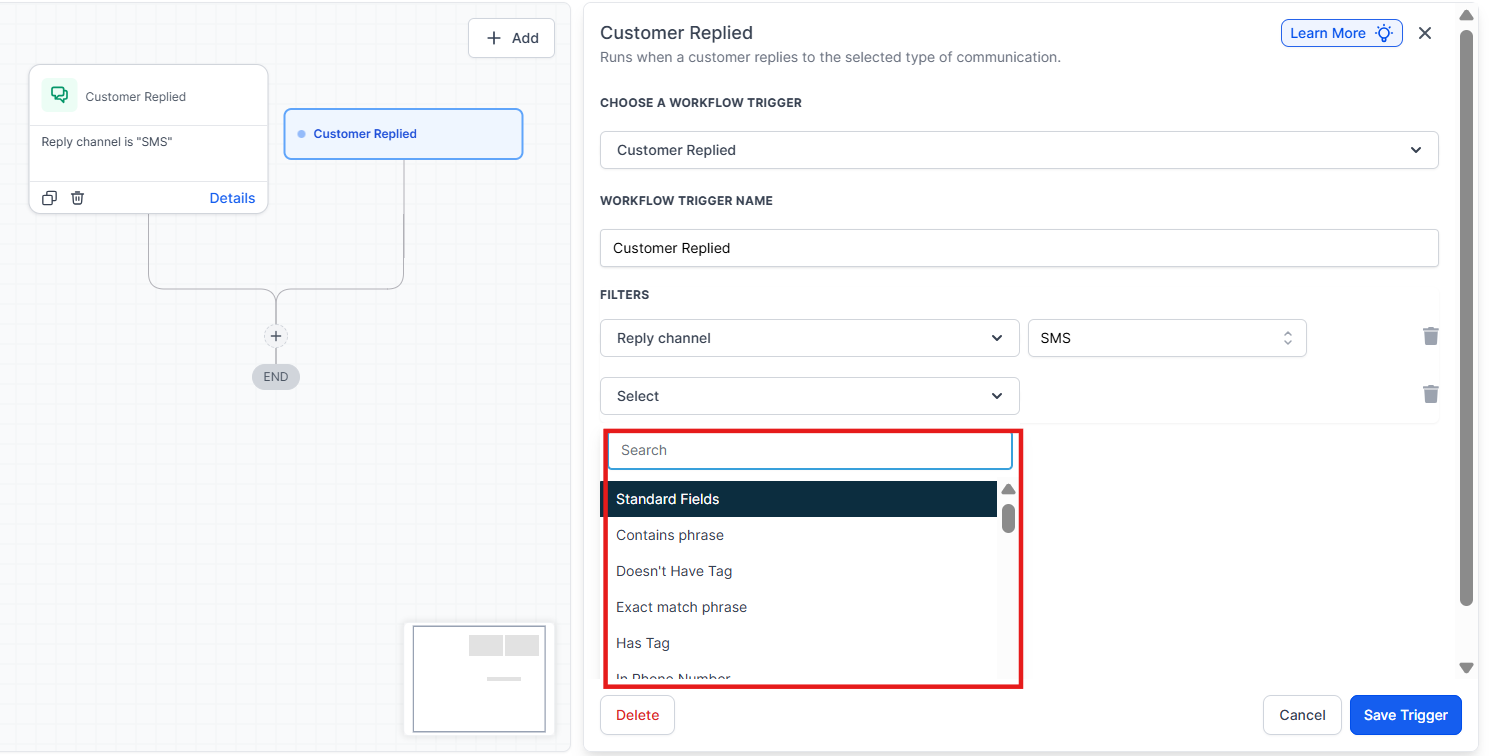
Note: Click on Add filters to define additional conditions for the trigger. This ensures that the system can accurately handle incoming messages based on the criteria you set.
Step 6: Save the Trigger Once the trigger settings are configured, click on Save Trigger to confirm your changes and move to the next step.
Step 9: Add Internal Notification Action Next, click on Add your first Action to specify what the workflow should do when a customer replies. Select Send Internal Notification to set up an SMS notification.
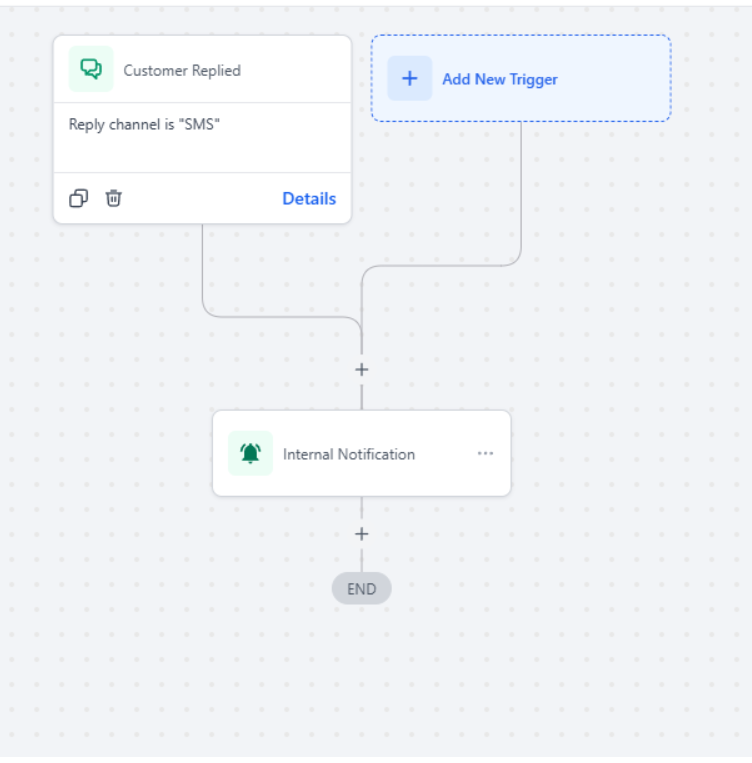
Step 10: Customize the Notification In the notification settings, click on Custom Values , then choose Message and Message Body. This will give a preview of the message the lead sent.
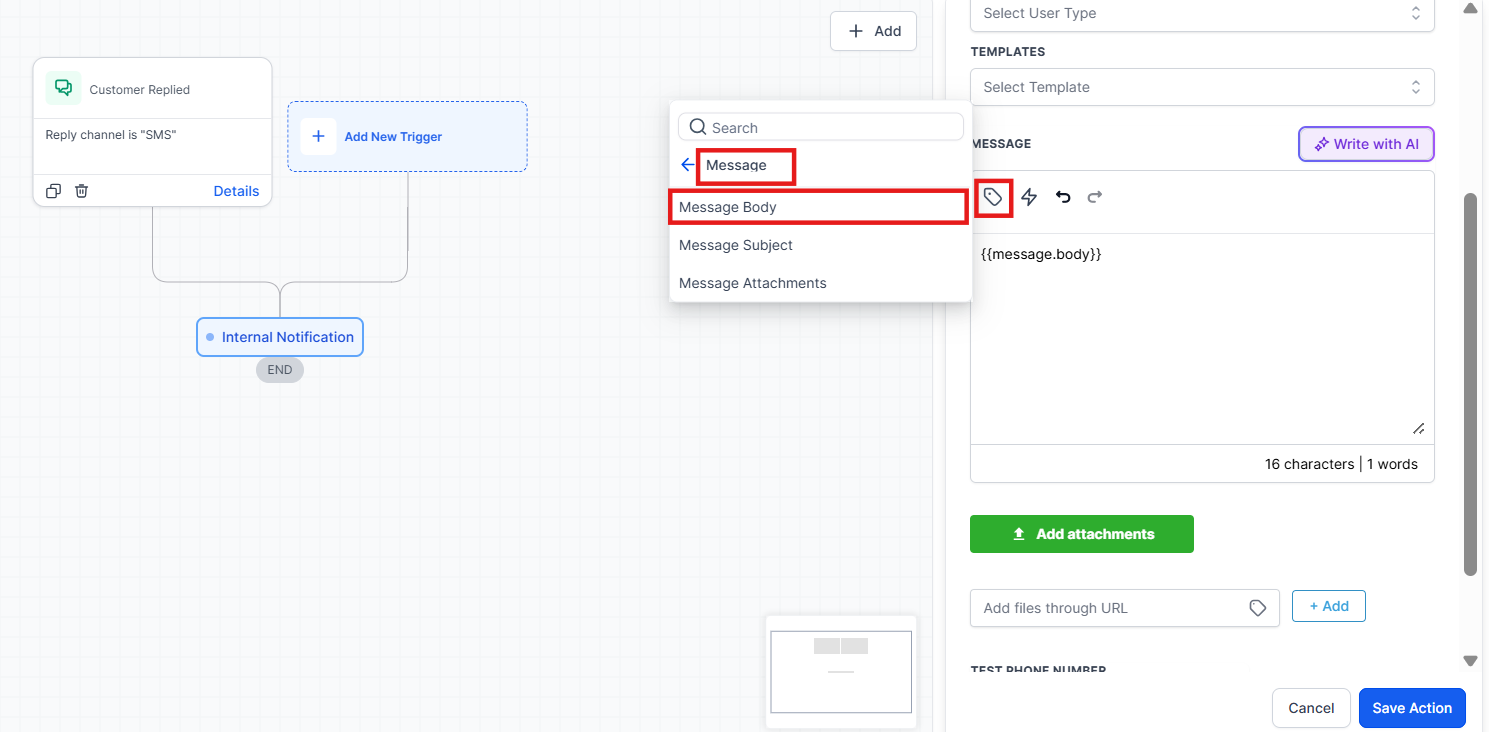
Step 11: Personalize the Contact Information To personalize the message, click on Contact , then select First Name to include the customer’s name in the forwarded SMS notification.

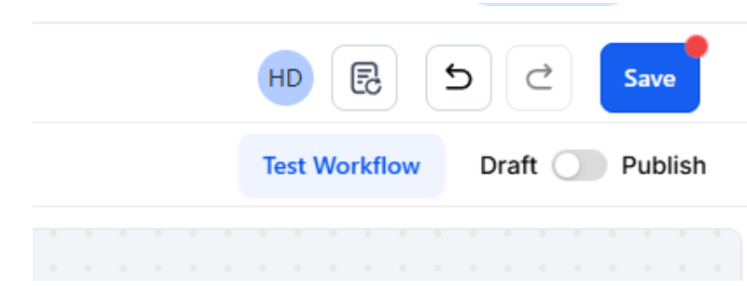
Step 12: Publish and Save the Workflow.
¶ Frequently Asked Questions:
Question: Will SMS forwarding incur additional charges?**
**Answer: Yes, SMS forwarding notifications can create charges for each message sent. Be mindful of the frequency of notifications to manage costs.
Question: How do I configure the SMS forwarding trigger?**
**Answer: You need to create a new workflow, select the “Customer Replied” trigger, and configure it with the appropriate filters and actions to forward SMS messages.
Question: What happens if I don’t configure the “Reply channel” filter?**
**Answer: If the “Reply channel” filter isn’t set to SMS, the system may not recognize SMS replies as valid triggers, resulting in failed forwarding.
Question: Can I add other custom values to the SMS notification?**
**Answer: Yes, you can customize the SMS notification further by adding additional custom values such as the customer’s phone number or other relevant information.
Question: Can I disable the workflow once SMS forwarding is restored?**
**Answer: Yes. You can pause or disable the workflow at any time from the Automation > Workflows section.
Question: How can I see what the customer actually wrote in the notification I receive?
Answer: During the “Send Internal Notification” step, you must use the Custom Values menu to select Message > Message Body. This inserts a preview of the actual text the lead sent into your notification.