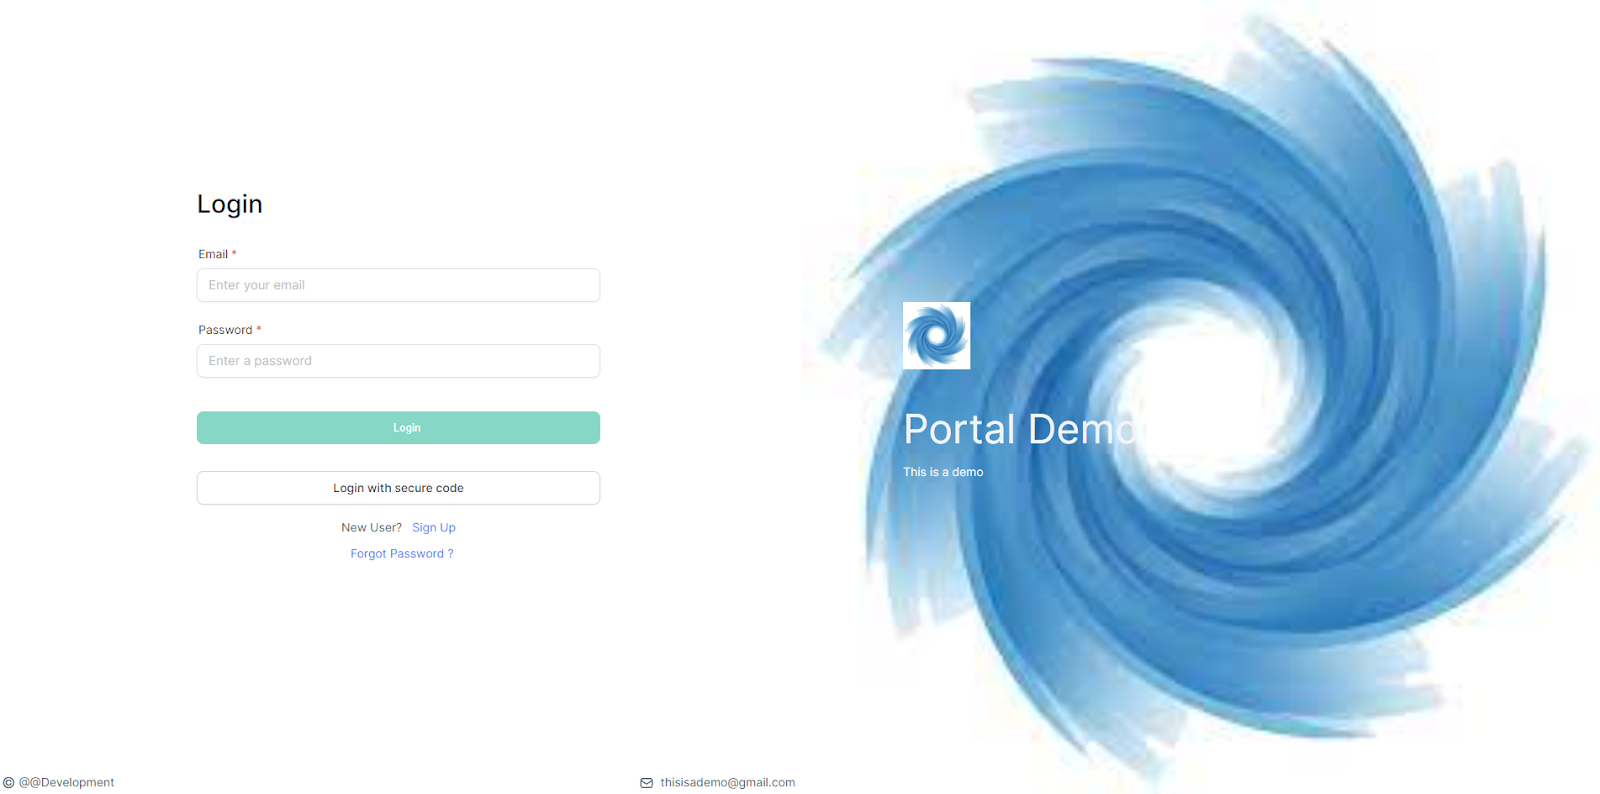
The client portal is a client-side interface that is designed to allow clients and leads to interact with their respective accounts in a centralized platform, where they can access their affiliate commissions, participate in community groups, and enroll in membership courses.
In this article, you will learn more about the features of this client portal and how to use it.
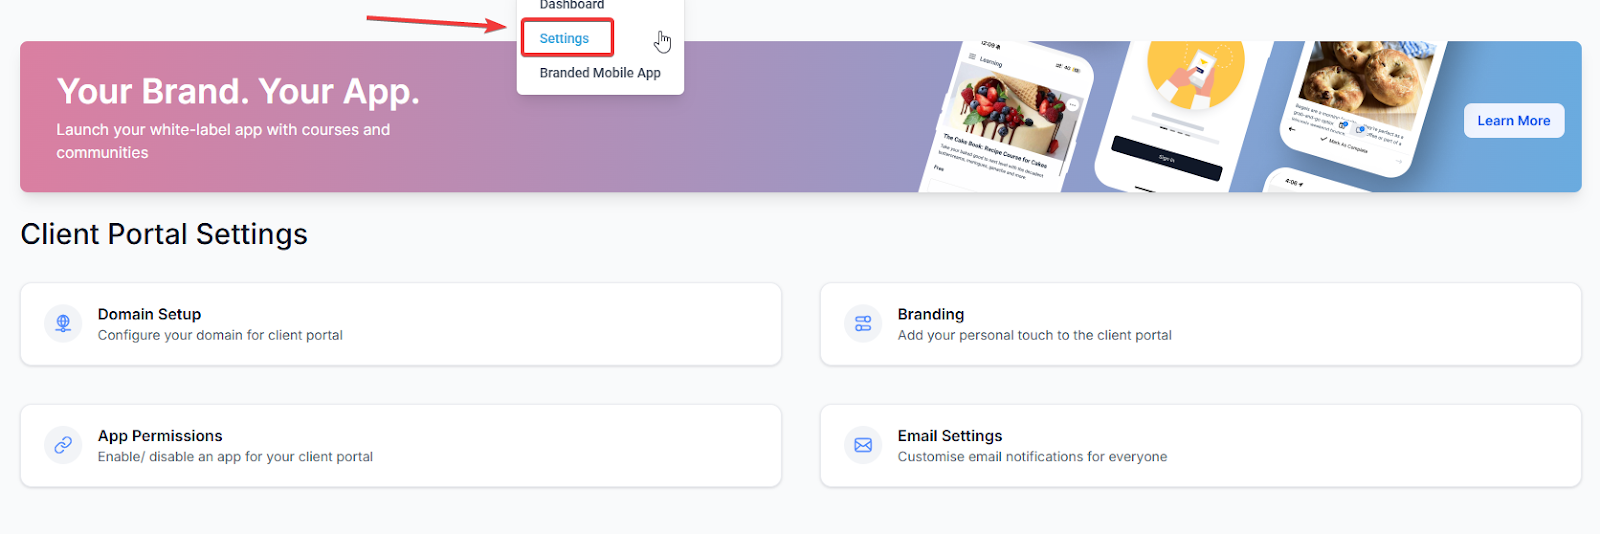
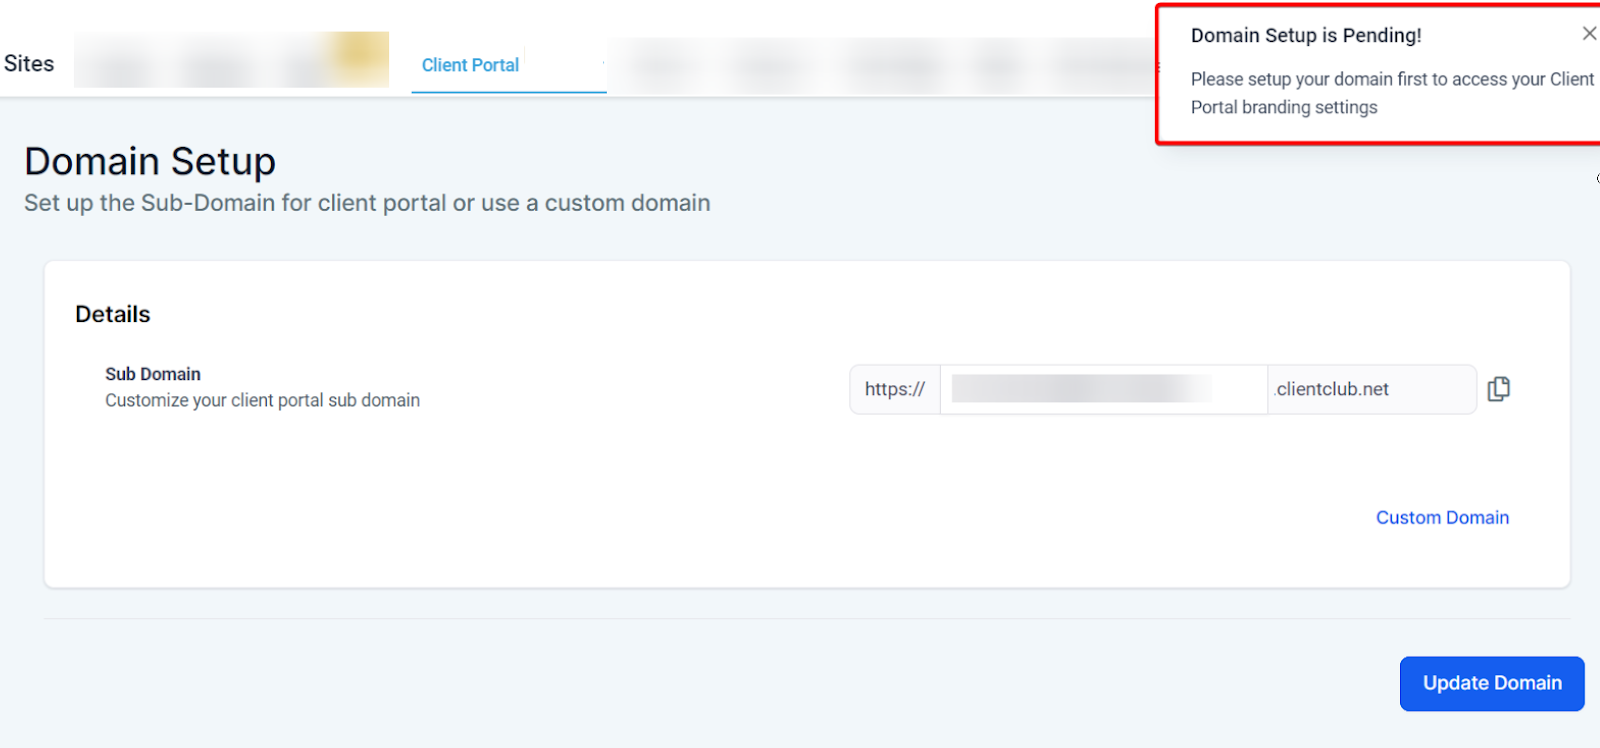
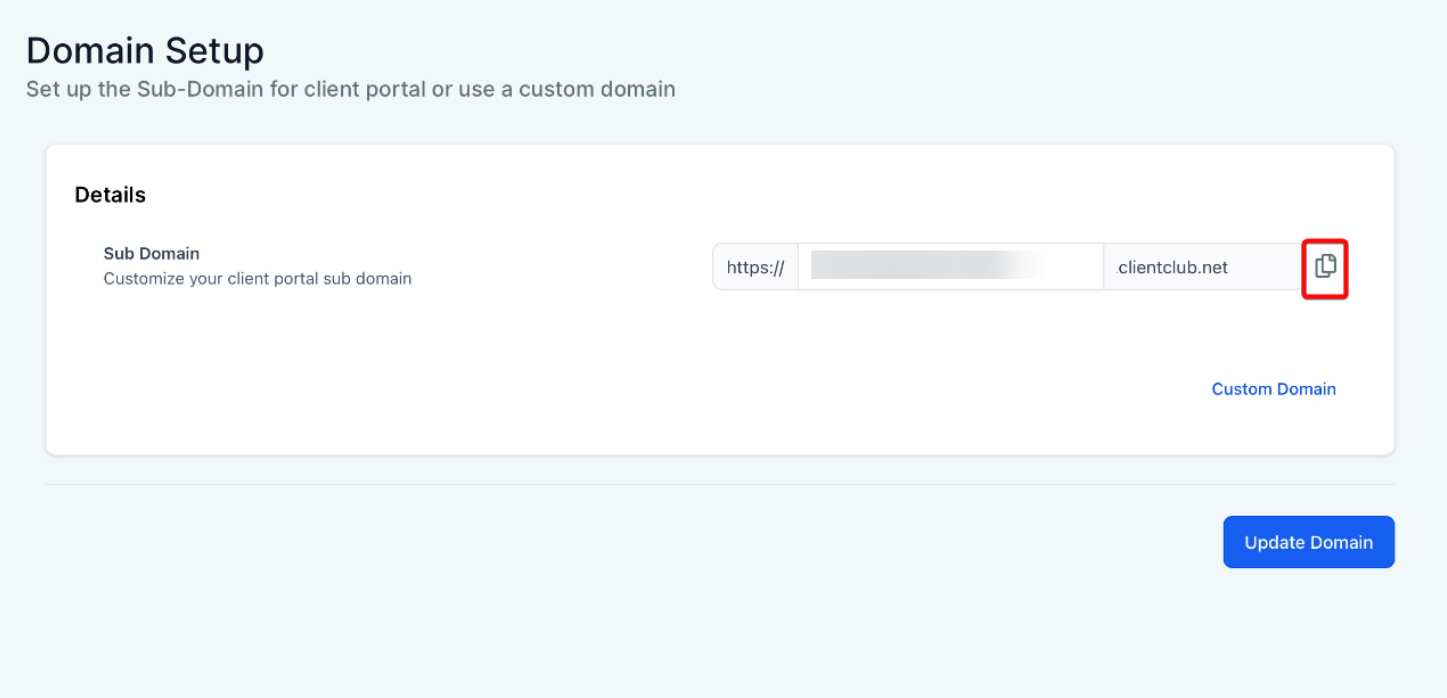
You can set up your portal with a custom domain
You can customize it to reflect your brand identity: by adding your logo, favicon, and color palette
The portal facilitates communication between you and your clients.
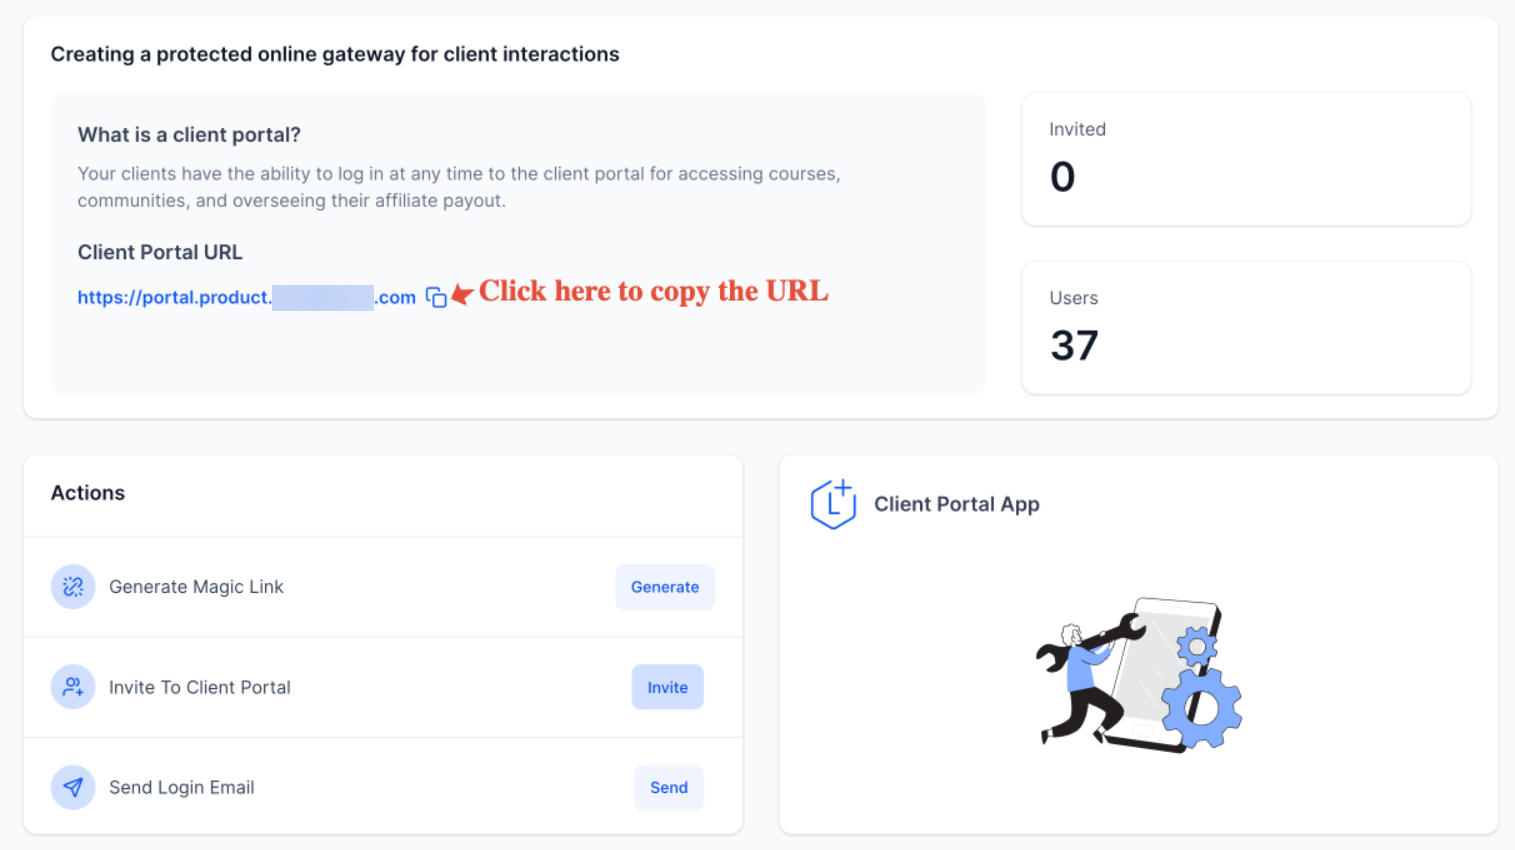
It provides easy ways to invite clients by sharing the portal URL directly
It can be used by many businesses and niches, some examples are:
Marketing Agencies: If it manages several clients, each client could have their custom domain in the client portal. Clients will feel more ownership over their data and campaigns.
Retail E-commerce Businesses: An e-commerce business can use the client portal to invite loyal customers to a VIP program. The customers can log in to view exclusive offers, track their points or rewards, and participate in special community (upcoming) events.
Event Planning Companies: Event planning companies can customize their client portal to each event’s branding. Clients can access event-related documents and updates and communicate directly with the planners.
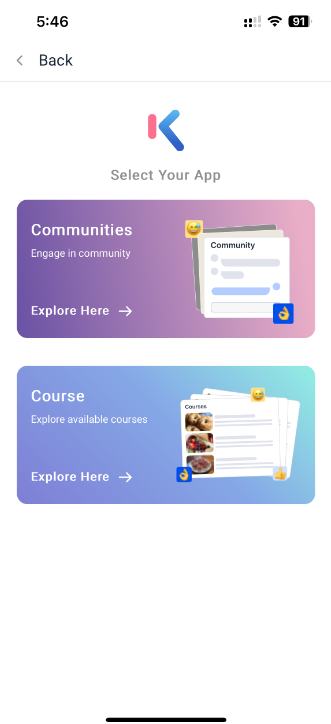
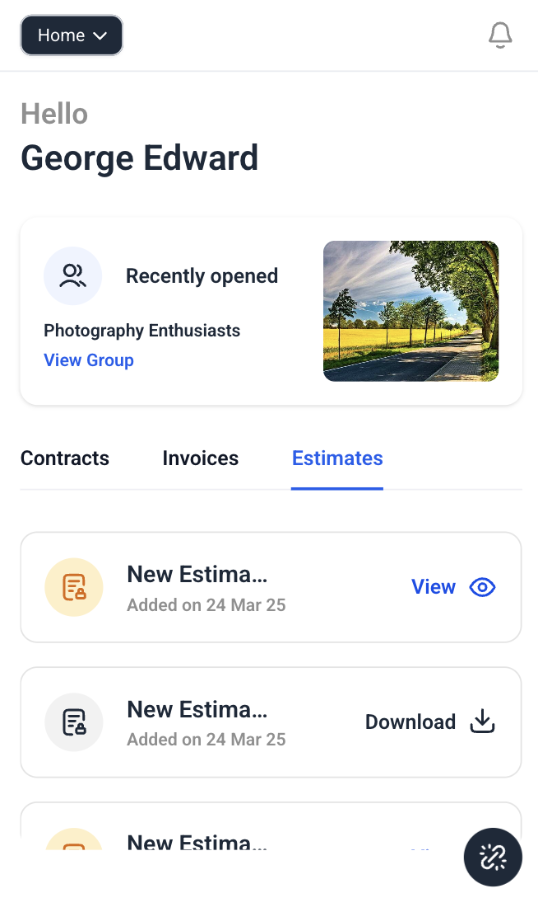
Mobile App view:
 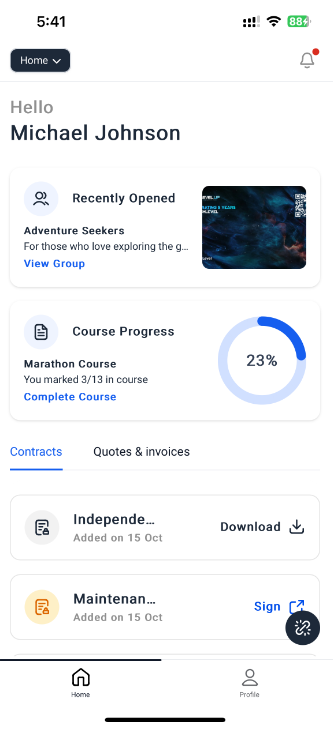
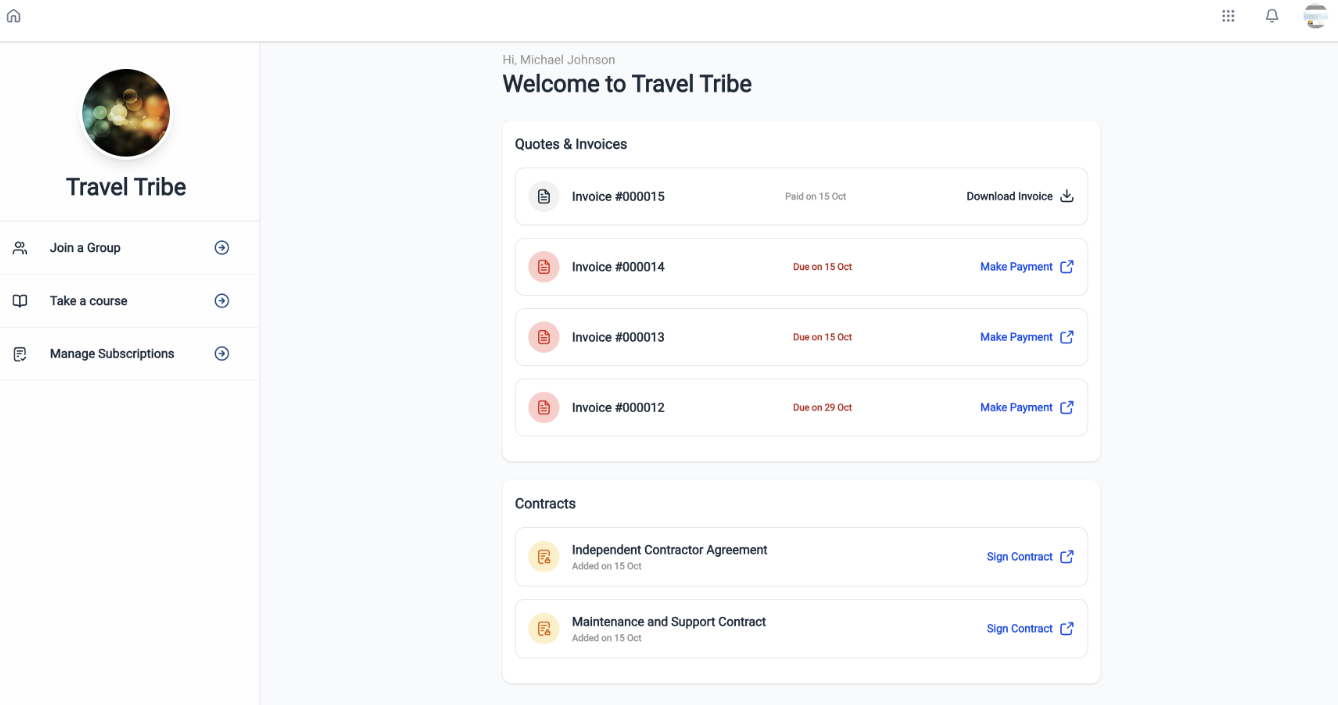
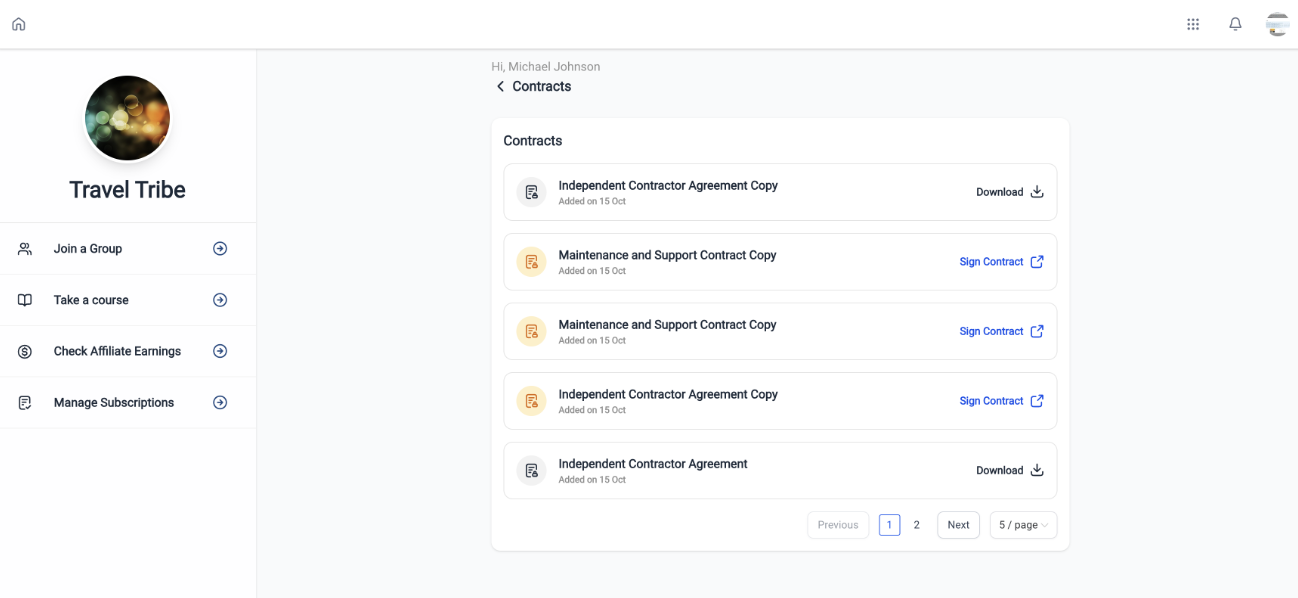
Contract/Document Signing:
Send contracts or documents for digital signing.
Contacts can view and sign documents via their personalized dashboard.
Signed documents can be downloaded with one click.
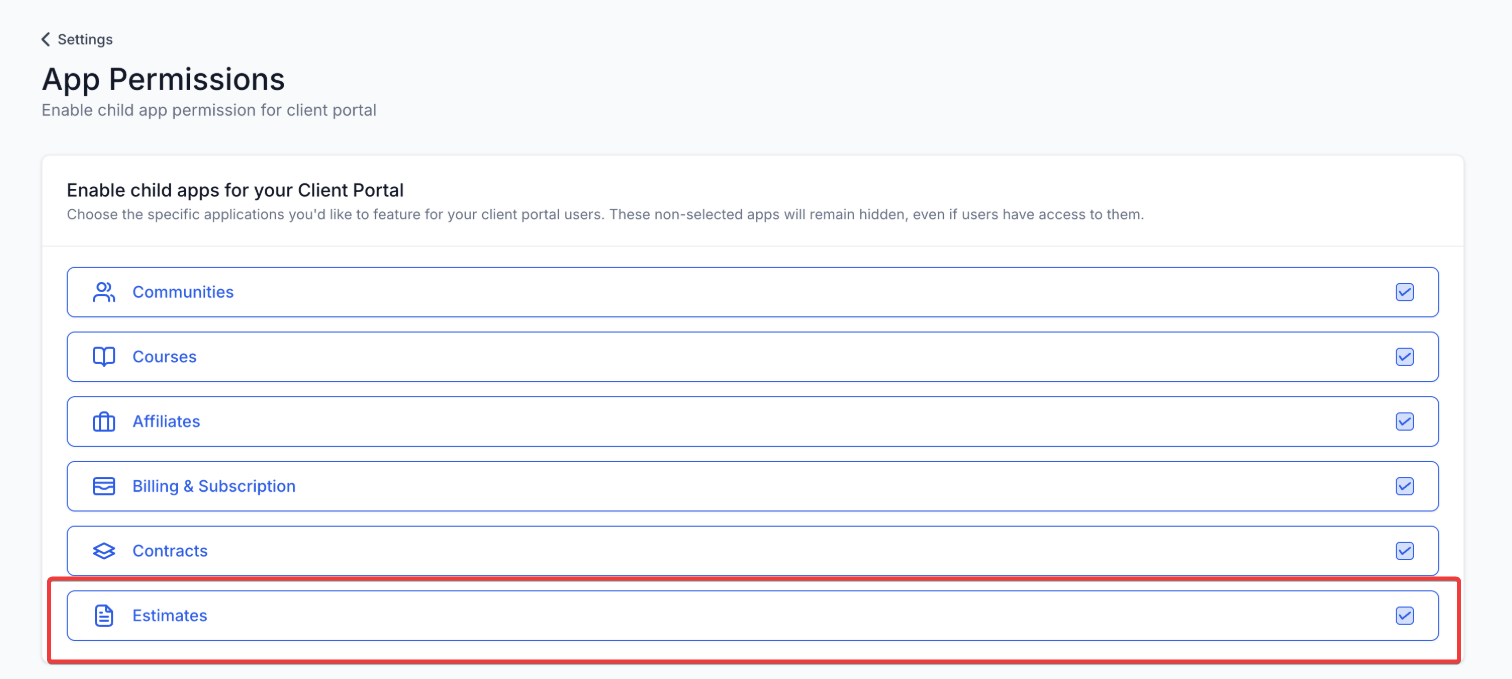
View/Manage Estimates:
View, download, and track the status of estimates on both web and mobile platforms.
For Web : On the client-portal dashboard, check the estimates widget, click the eye icon to view the estimate, and click the download icon to save it. If there are more than five estimates, click “View All” to see them all.
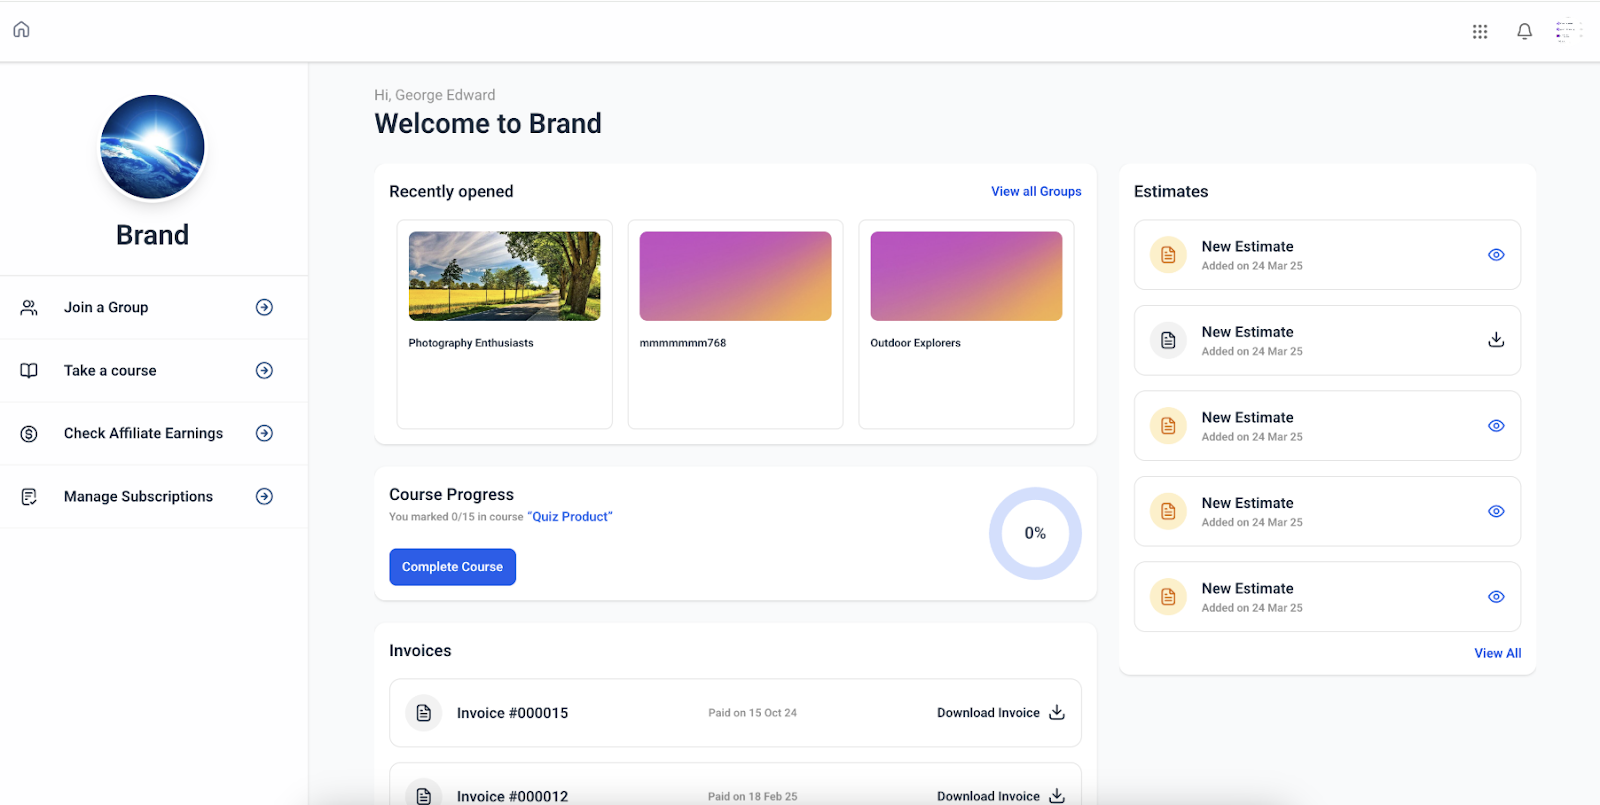
Note : Admins can enable or disable estimates based on app permissions.
In the client portal, you can:

 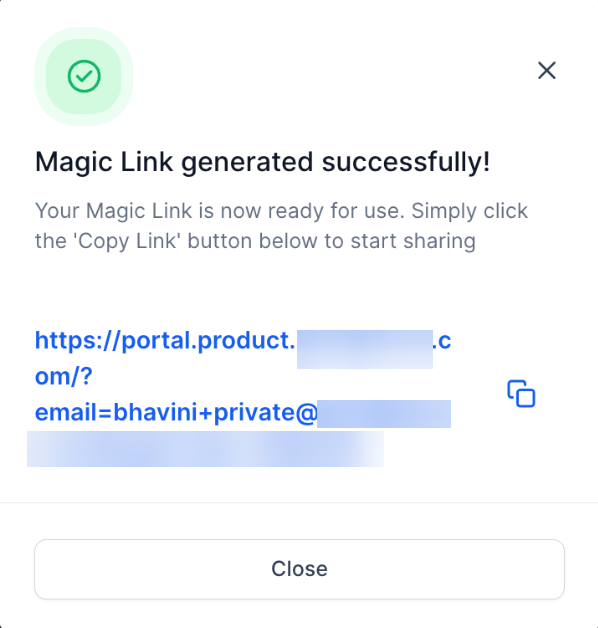
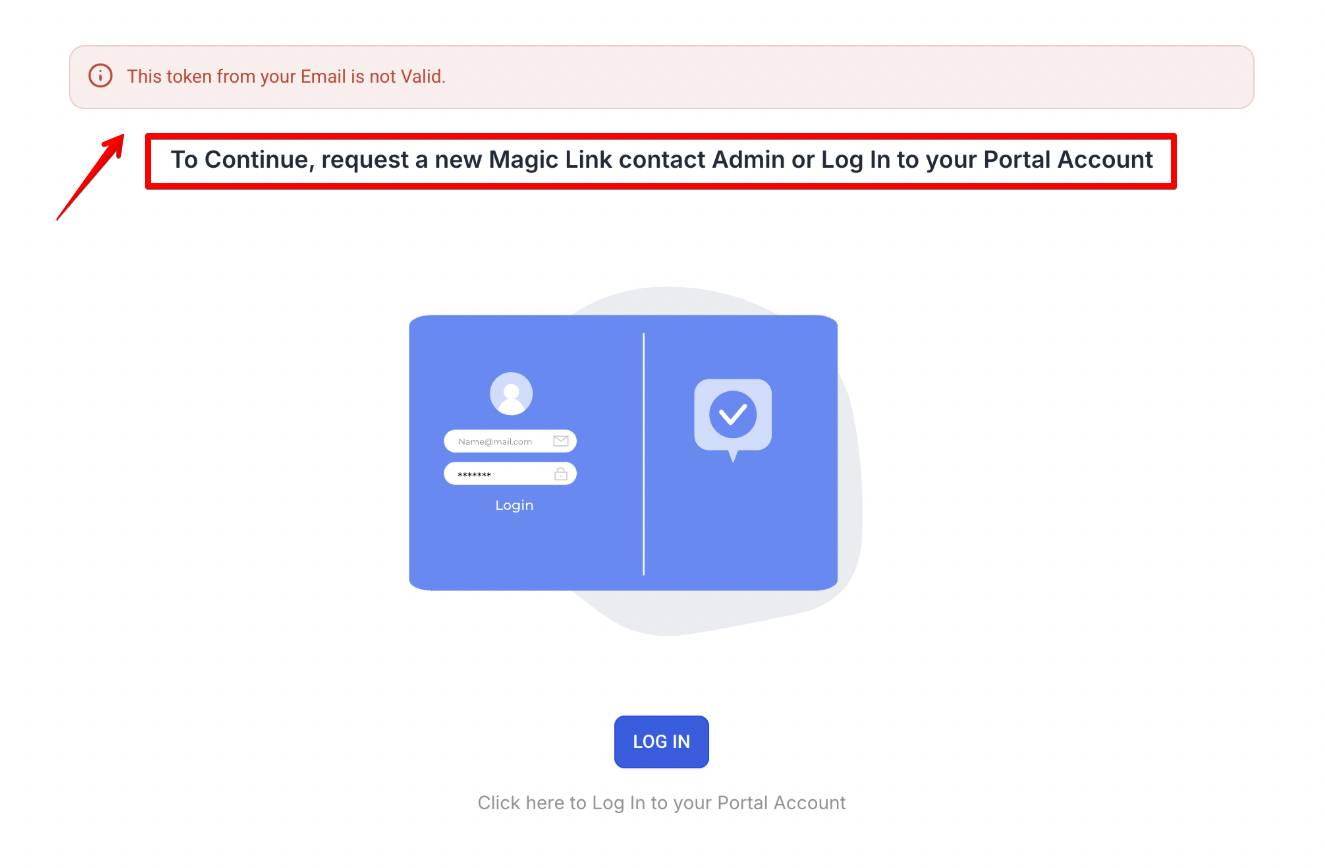
Global Magic Links allow creators to add contact-level login links to membership portals, giving them more flexibility. These links are no longer dependent on course-specific triggers, enabling seamless integration across all template structures.
** Integration Areas:**
Global Magic Links are integrated with workflow email actions, workflows, custom email templates, and smart list conversations, providing seamless automation and communication within the portal.
For workflows , navigate to Automation → Workflows → Create New → Email Action → Select from Client Portal Contact Custom Values.
.jpg)
For email templates , navigate to Marketing → Emails → Templates → Select from Membership Contacts Custom Values.

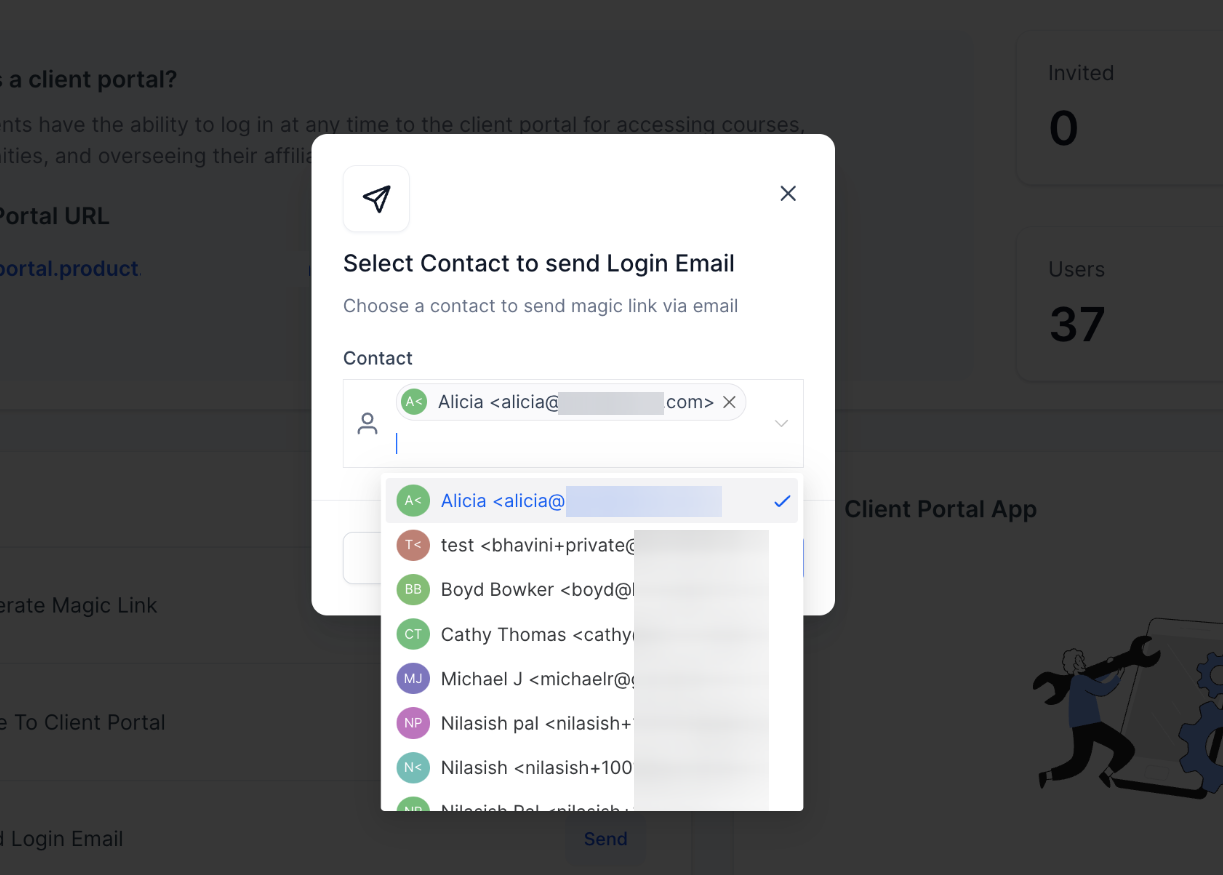
For contact emails , navigate to SubAccount → Contacts → Contact Details → Email → Select from Client Portal Contact Custom Values.
.jpg)
Note: You can select multiple contacts and send them login email together
 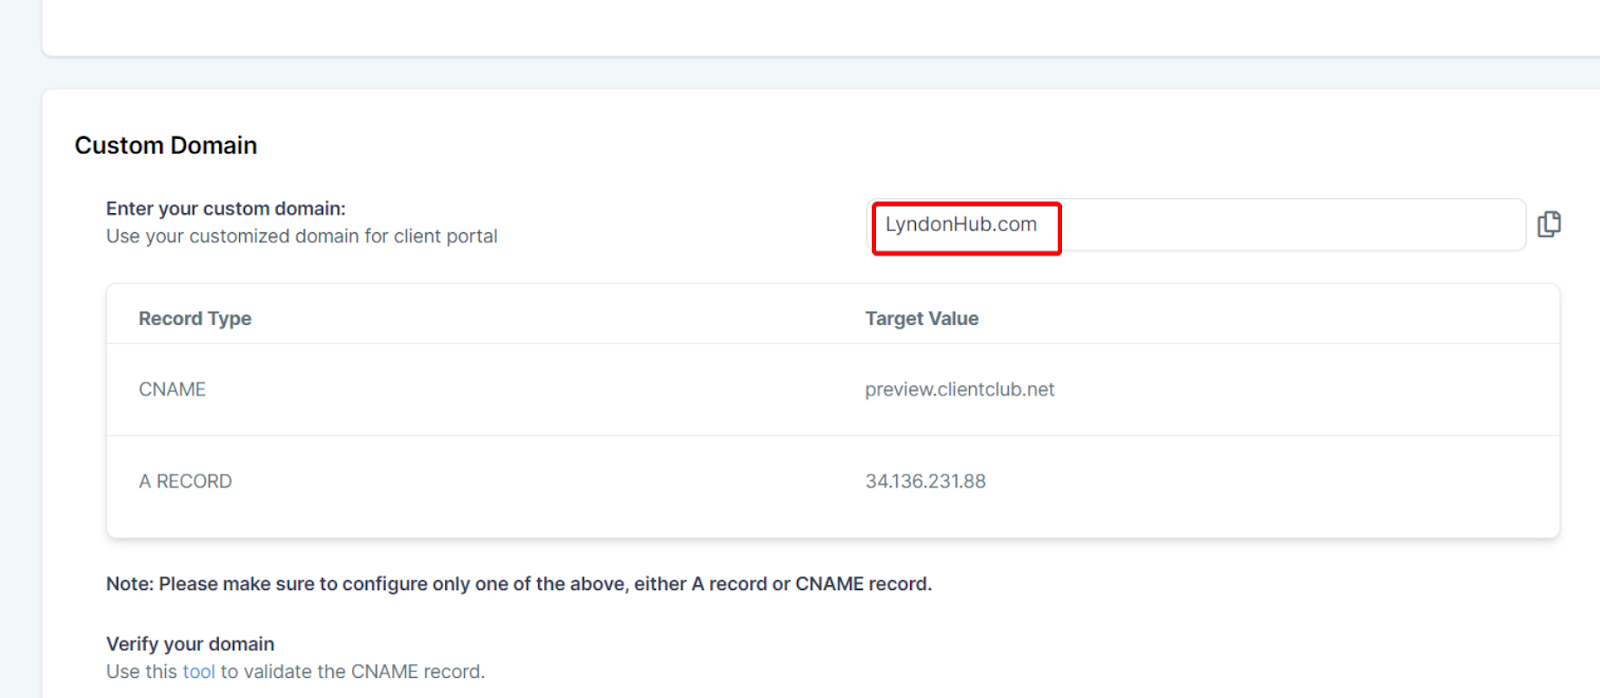
Note: Before you can successfully set up an A or CNAME record, you must ensure that you have already configured your domain registrar to point to the specific IP address or server provided to you. This is an essential step in ensuring that your domain correctly refers to your server, enabling it to function properly.
A Record, also known as an Address Record, maps your domain to an individual server IP address. On the other hand, a CNAME record, or Canonical Name record, is used to map your domain (or subdomain) to another domain name.
Here’s a step-by-step guide on how to add A records and CNAME records:
Login to your Domain Registrar’s dashboard.
Navigate to the DNS settings.
Here, you will find an option to add a new record.
Select the type of record you want to add (A or CNAME).
Enter the details - for an A record, this would be the IP address 34.67.19.69
; for a CNAME record, this would be the target domain preview.clientclub.net
Save your changes.
It’s important to replace the “designated IP address or server” placeholder with your actual IP address or server information in the record. Make sure to fill out this field accurately, as it’s essential to correctly configure your domain settings.
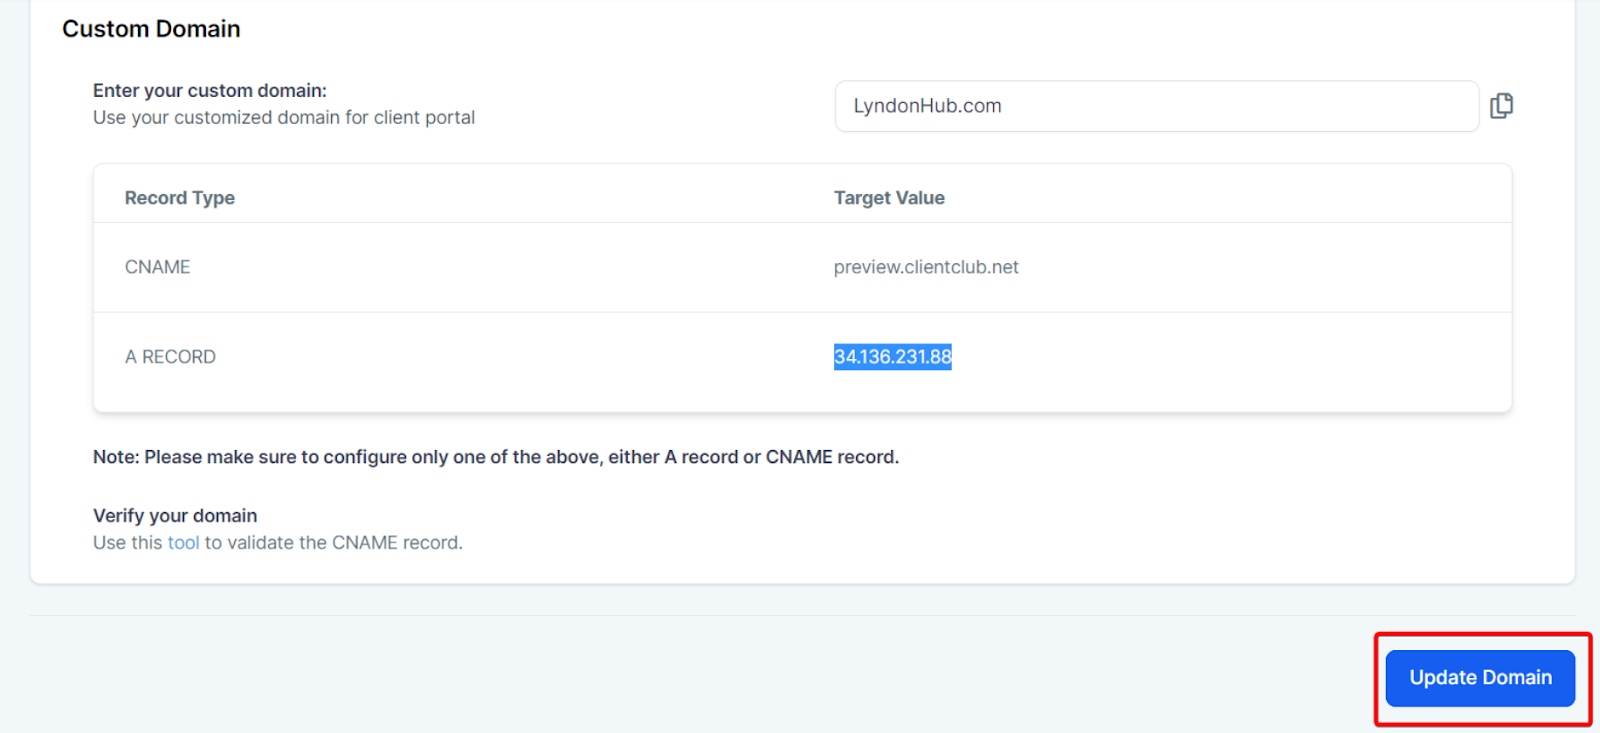
Once you have entered the DNS records in your Domain registrar, give it a reasonable time to propagate them (depending on your domain registrar (up to 24-48 hours for DNS propagation). Click Update Domain

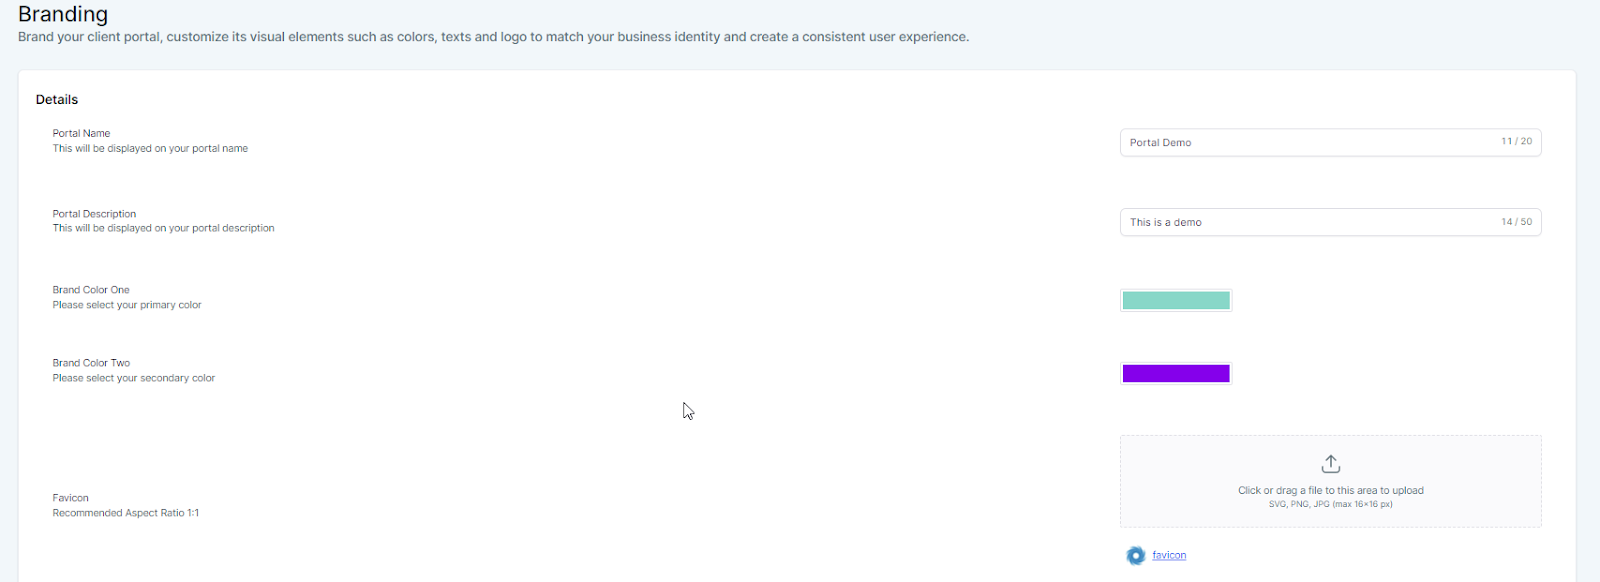
Within the “Branding” section, you can fully customize the look and feel of your client portal. Here are the options available:
After making all the desired changes, click “Save Settings”.
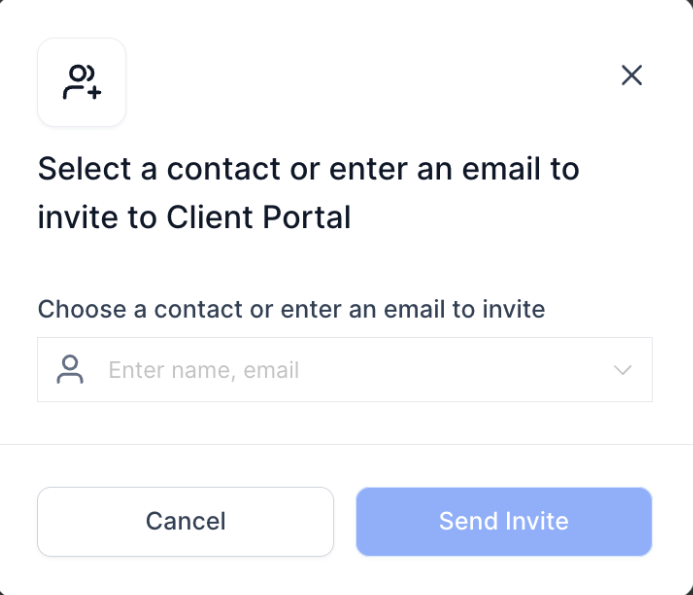
Here’s how to invite your clients to the portal:
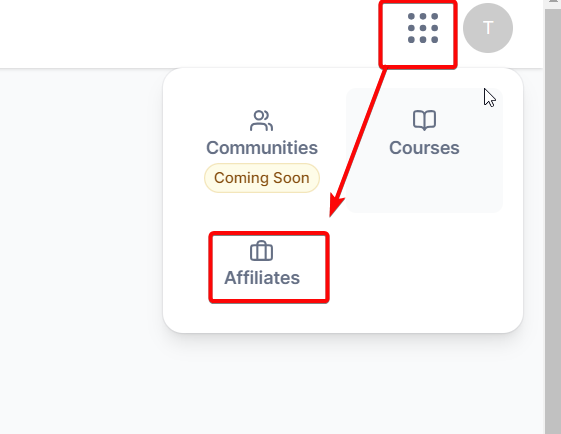
Direct Invitation from Child Applications: Your portal includes various child applications or services, such as a membership course, community platform, affiliate program, etc. You can extend invitations directly from these specific applications.
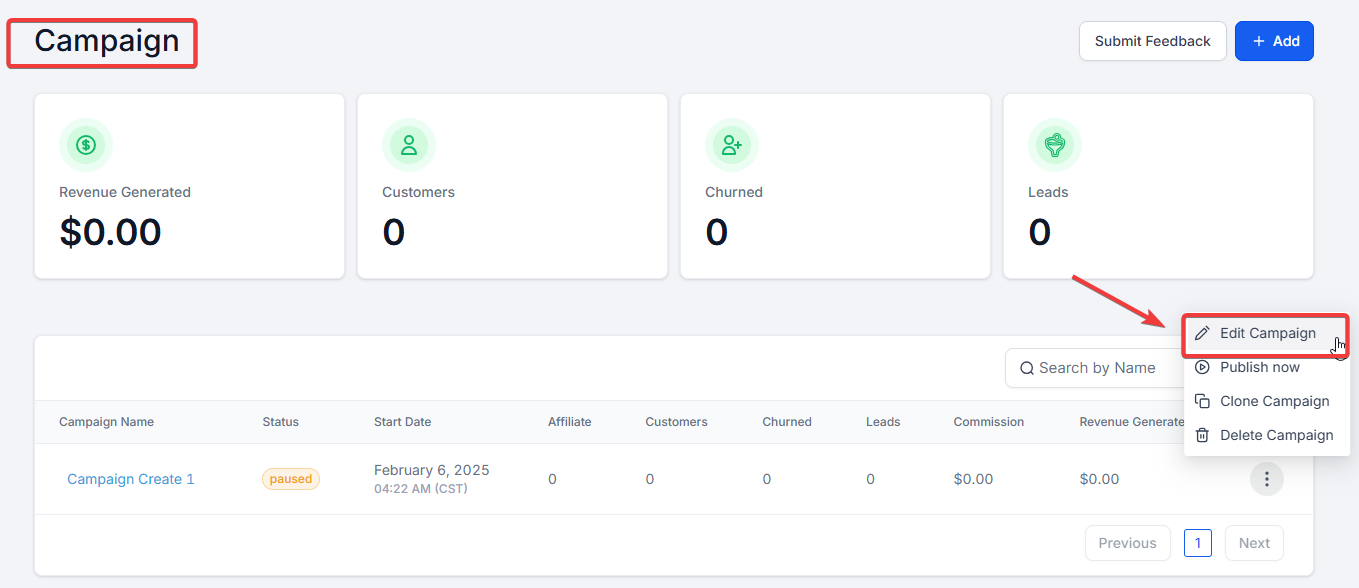

Note: This enables them to sign up as an Affiliate and access all their affiliate-related information through the client portal, such as their referral links, commission rates, and earnings.
There are several ways to invite affiliates to use the client portal:
Note: Once copied, this URL can be shared via email, text message, or any other communication channels you use to interact with your clients. You might consider adding this URL to a welcome email or newsletter for new clients or posting it in an announcement on your main website or social media platforms.
1. Notifications for Invoices, Estimates, and Contracts: Both owners and users can enable or disable notifications for important documents and customize emails to suit their needs. Clients can manage and access all shared documents in one organized interface.
For Client Portal Owners :
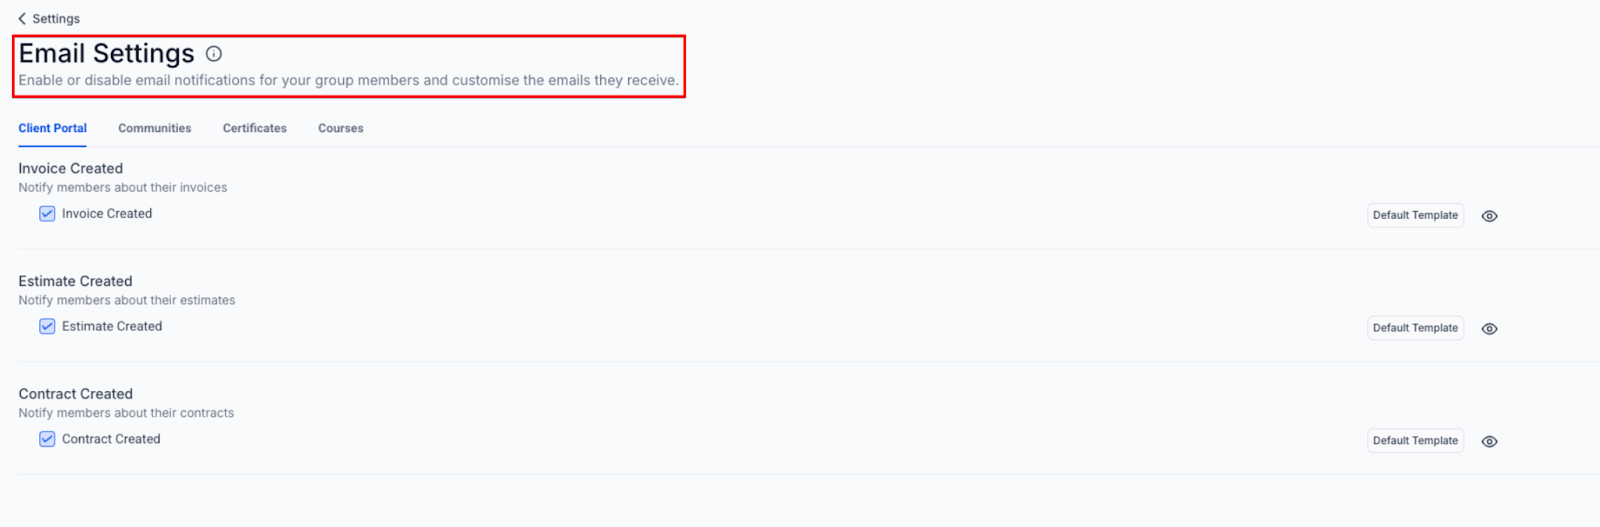
For Client Portal Users :
2. Customizing Default Email Templates: To customize the default template, click the “Default Template” button and then select the Edit (pencil) icon. Click “Proceed” to create an editable copy of the template, allowing you to modify the email content.
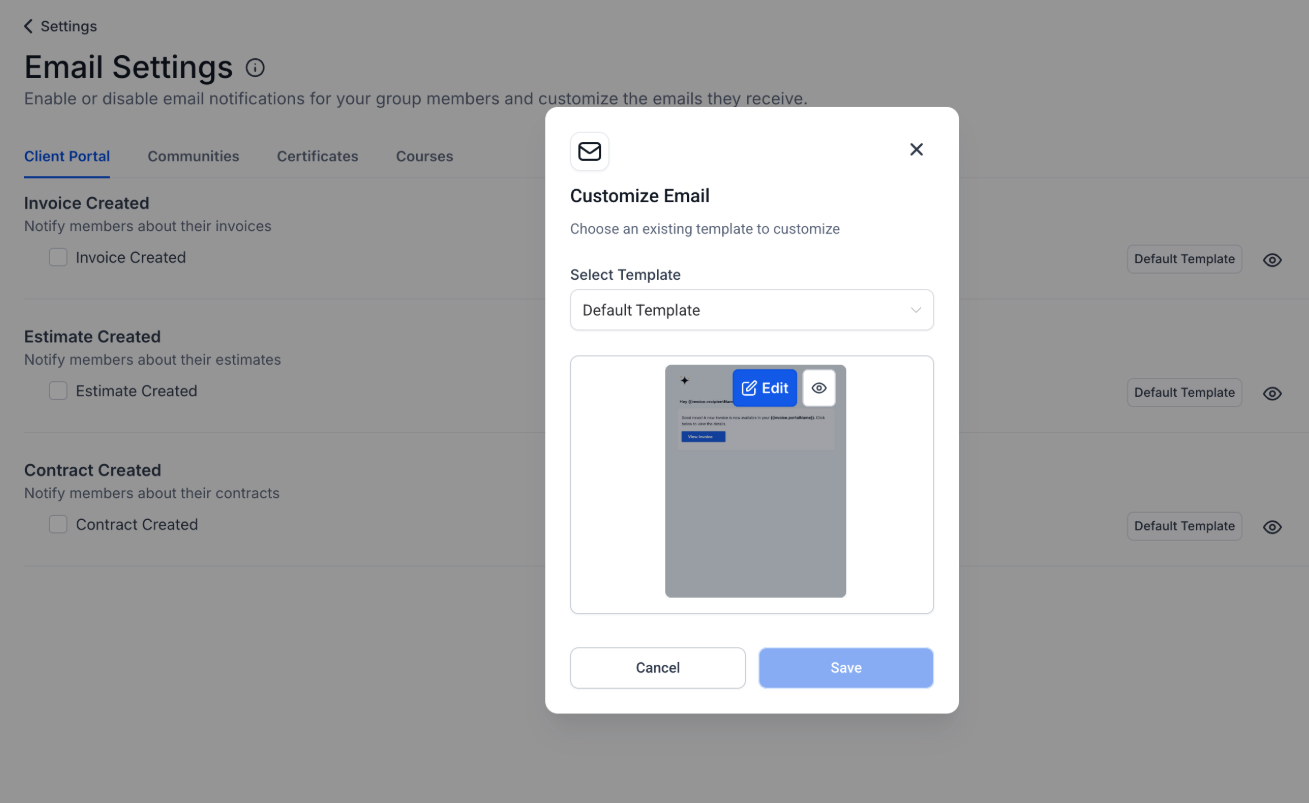
Use the Eye icon to preview the email, and once you’re satisfied, save the template, which will then be applied to that specific notification type.
Question: I’ve branded my client portal, but the changes aren’t showing up. What could be the issue?
Answer: It might be due to cache issues. Try clearing your browser’s cache or try to view the portal in an incognito window. If the issue persists, please get in touch with our support team.
Question: Can I set different branding for different accounts in the client portal?
Answer: You can set individual branding for each account within your client portal. This feature allows you to tailor the visual elements of each portal, such as logos and color schemes, to represent its specific brand identity best. To do this, you must navigate to the account, access the “Branding” option, and customize it to your preference.
Question: My affiliates need help accessing their stats on the client portal. What should I do?
Answer: Ensure that the affiliates have the correct login details. Also, check if you’ve given them the right permissions to access their stats. If the problem continues, contact our support team for further assistance.
Question: I’ve set up the DNS records for my client portal correctly, but it’s not accessible. Why?
Answer: DNS changes can take up to 48 hours to propagate across the internet. It may not be reflected immediately if you’ve just recently made changes. If it takes longer than 48 hours, please get in touch with your domain registrar for support.
Question: I want to customize the favicon for my client portal, but it’s not uploading. What’s the ideal format and size for the favicon?
Answer: The recommended aspect ratio for the favicon is 1:1. The favicon should be in SVG, PNG, or JPG format and not exceed 16x16 pixels. If your favicon meets these specifications and you’re still facing issues, please contact our support team.
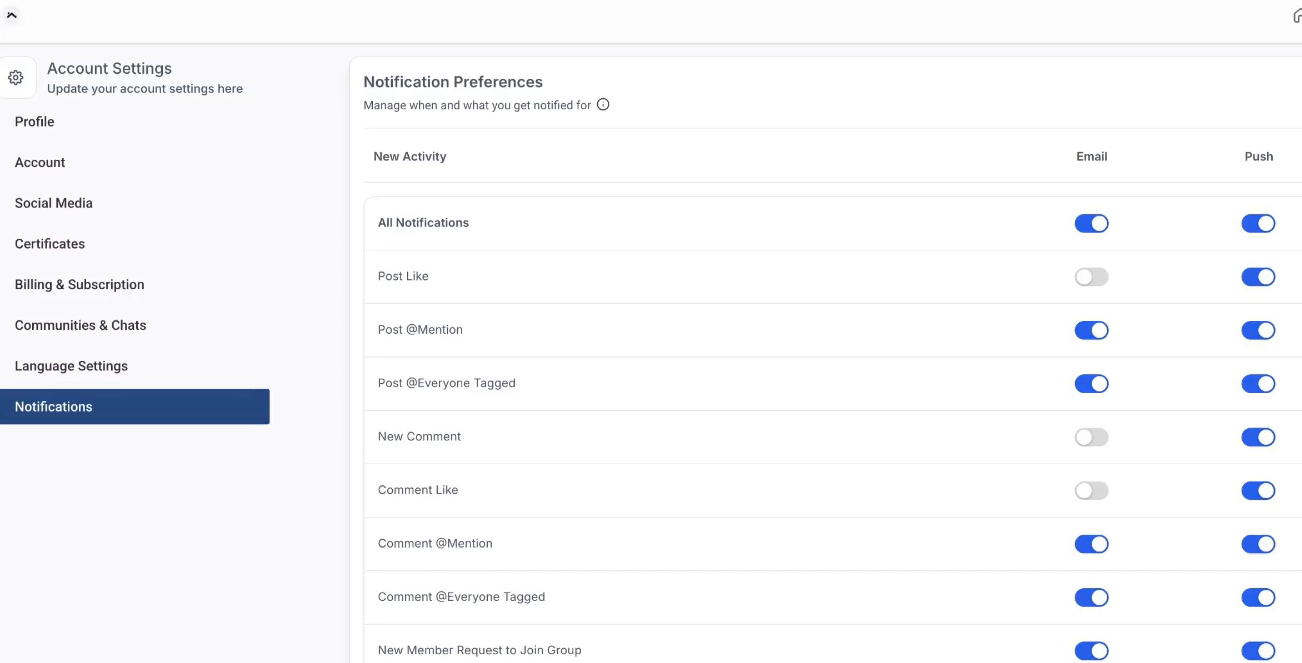
Question: Can clients manage their notification preferences?
Answer: Yes. Clients can enable or disable notifications for activities such as post likes or comment likes, choosing their preferred communication channels.
Question: Can I stop my clients from receiving “Like” notifications?
Answer: While you can set the default email templates, your clients have full control. Under their “Profile > Notifications,” they can toggle email and push notifications on or off for specific community activities, ensuring they only get the alerts they want.