¶ Funnel and Website Settings 101
Funnel and Website Settings 101
In this article, you will see an overview of the funnel and website settings.
¶ Part 1: Creating Your Funnel/Website
- To access your funnel, go to Sites > Funnels.
- To access your website, go to Sites > Website.
- Here you will see all the funnels or website pages you have, and you can place them in folders to keep things more organized.
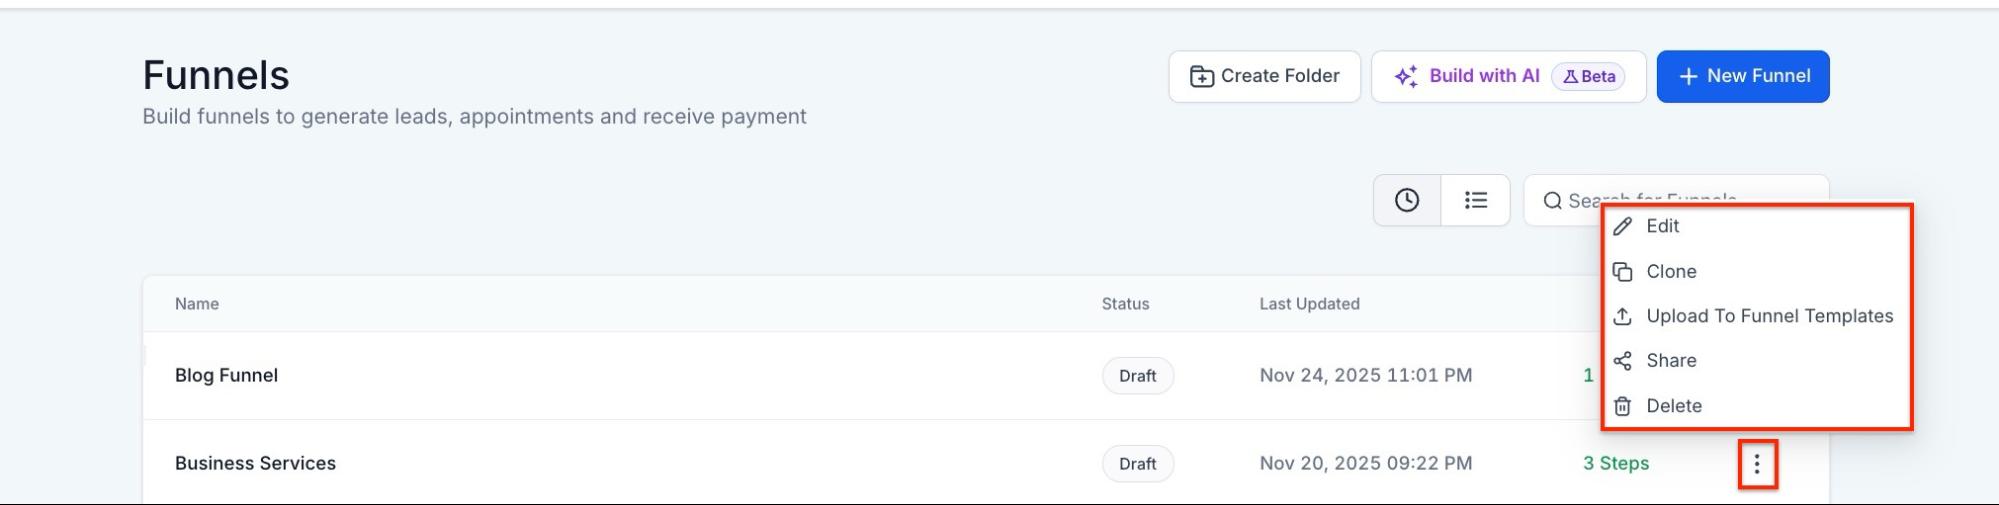
- You can click on the funnel or website page you want to edit by clicking on the 3 dots and to edit or click on +New Funnel or +New Website to create a new one.
- You can also clone the funnel/website, move it to a folder, or delete it. You will see these options when you click the 3 dots next to the funnel.
¶ Part 2: Funnel and Website Settings
¶ Steps: Here is where you will see all the steps you have in your funnel/website.
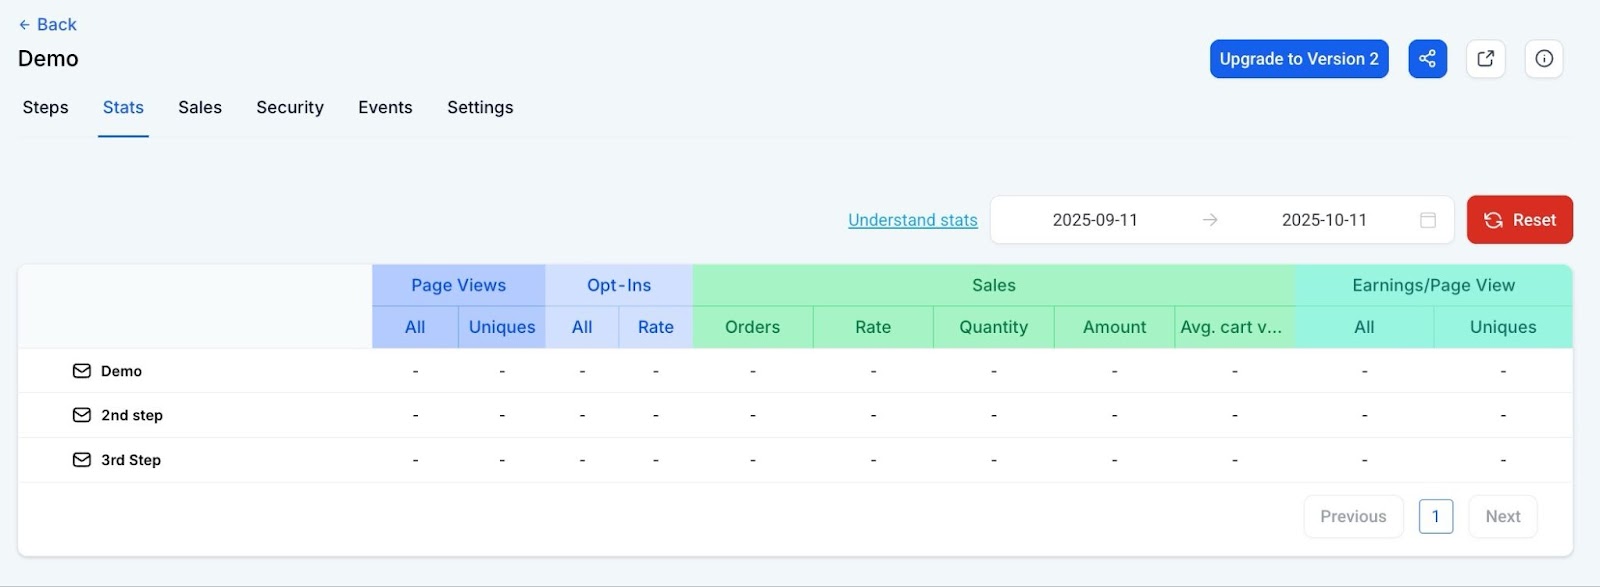
¶ Stats: This section provides customers with an overview of the funnel or website performance.
-
**Page Views: **
- All Page Views: This will show the total number of page views and add one to the counter regardless of the IP address of the page visitor.
- Unique Page Views: This will show the total number of unique page visitors and add one to the counter for every new IP address.
-
Opt-ins:
- All Opt-Ins: This will show the total number of opt-ins received through that page. The test opt-ins will also show here if the test mode is enabled for the funnel.
- Opt-In Rate: This is calculated by dividing All Opt-ins/Unique page views.
-
**Sales Stats: **
- Orders: Total number of purchases recorded in this order step
- Rate: Calculated by dividing the Sales Count / Unique Page Views
- Quantity: The total quantity of all products purchased in this funnel/website step
- Amount: The total value of all the products purchased in that funnel/website step
- Avg. Cart Value: Calculated by dividing the total amount / total orders.
-
Earnings/Pageview:
- All: Calculated by dividing Sales Value / All Page Views
- Unique: Calculated by dividing Earnings / Unique Page Views.
- Sales: This is now shown under the Payments tab.
All orders/sales on version 2 of this funnel are available in the Payments -> Orders and Transactions tabs.
-
Security: The Security Tab allows users to add custom security headers to enhance protection against attacks and vulnerabilities. This feature enables users to configure essential security headers, a previously unavailable functionality. You can enter the header and value in the modal
-
Events: The Events tab in a funnel allows you to enhance event tracking and data analysis by adding and configuring Pixel IDs. To use it, click ‘Add Event’ and enter your Pixel ID, choose the tracking level (funnel-wide or specific pages), and enable the Conversion API by entering your access token. You can manage multiple Pixel IDs and view them in a summary table. This feature provides greater control and flexibility, integrating with Facebook Pixel and Conversion API to offer deeper insights into user behavior, optimize advertising strategies with accurate event data, and improve marketing campaign efficiency through detailed event tracking.
-
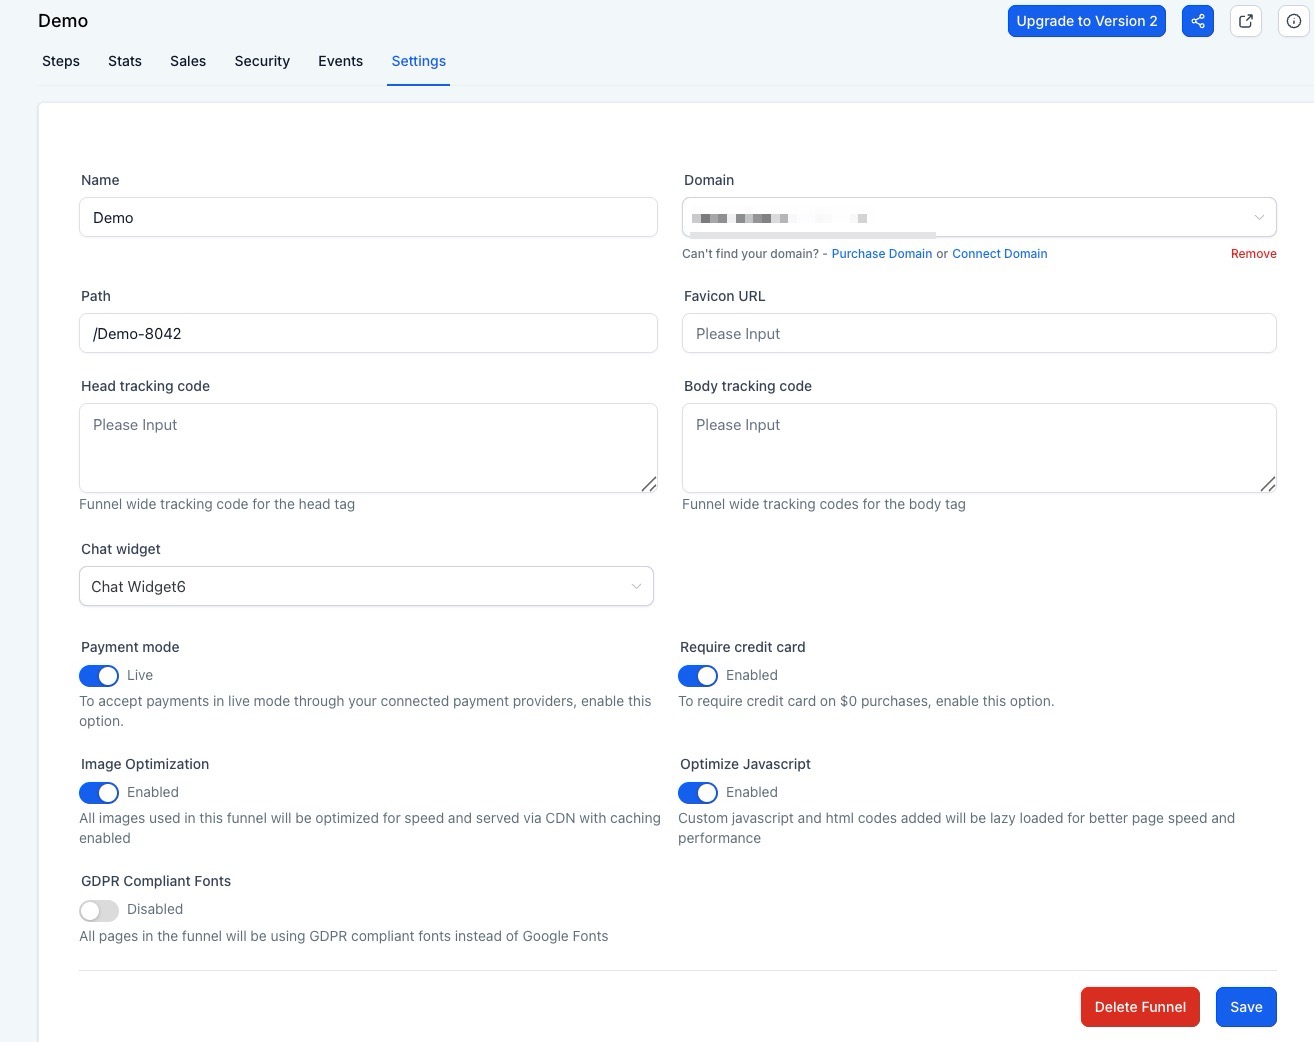
Settings: You can edit the funnel or website name, select your domain, path, and favicon URL, add a head tracking code and body tracking code, toggle your payment to test or live mode, enable or disable the chat widget, and turn on or off the image optimization and the Javascript element optimization. You can also enable or disable the GDPR-Compliant Fonts if you don’t want to use Google Fonts.
¶ Part 3: Page Editor Bar
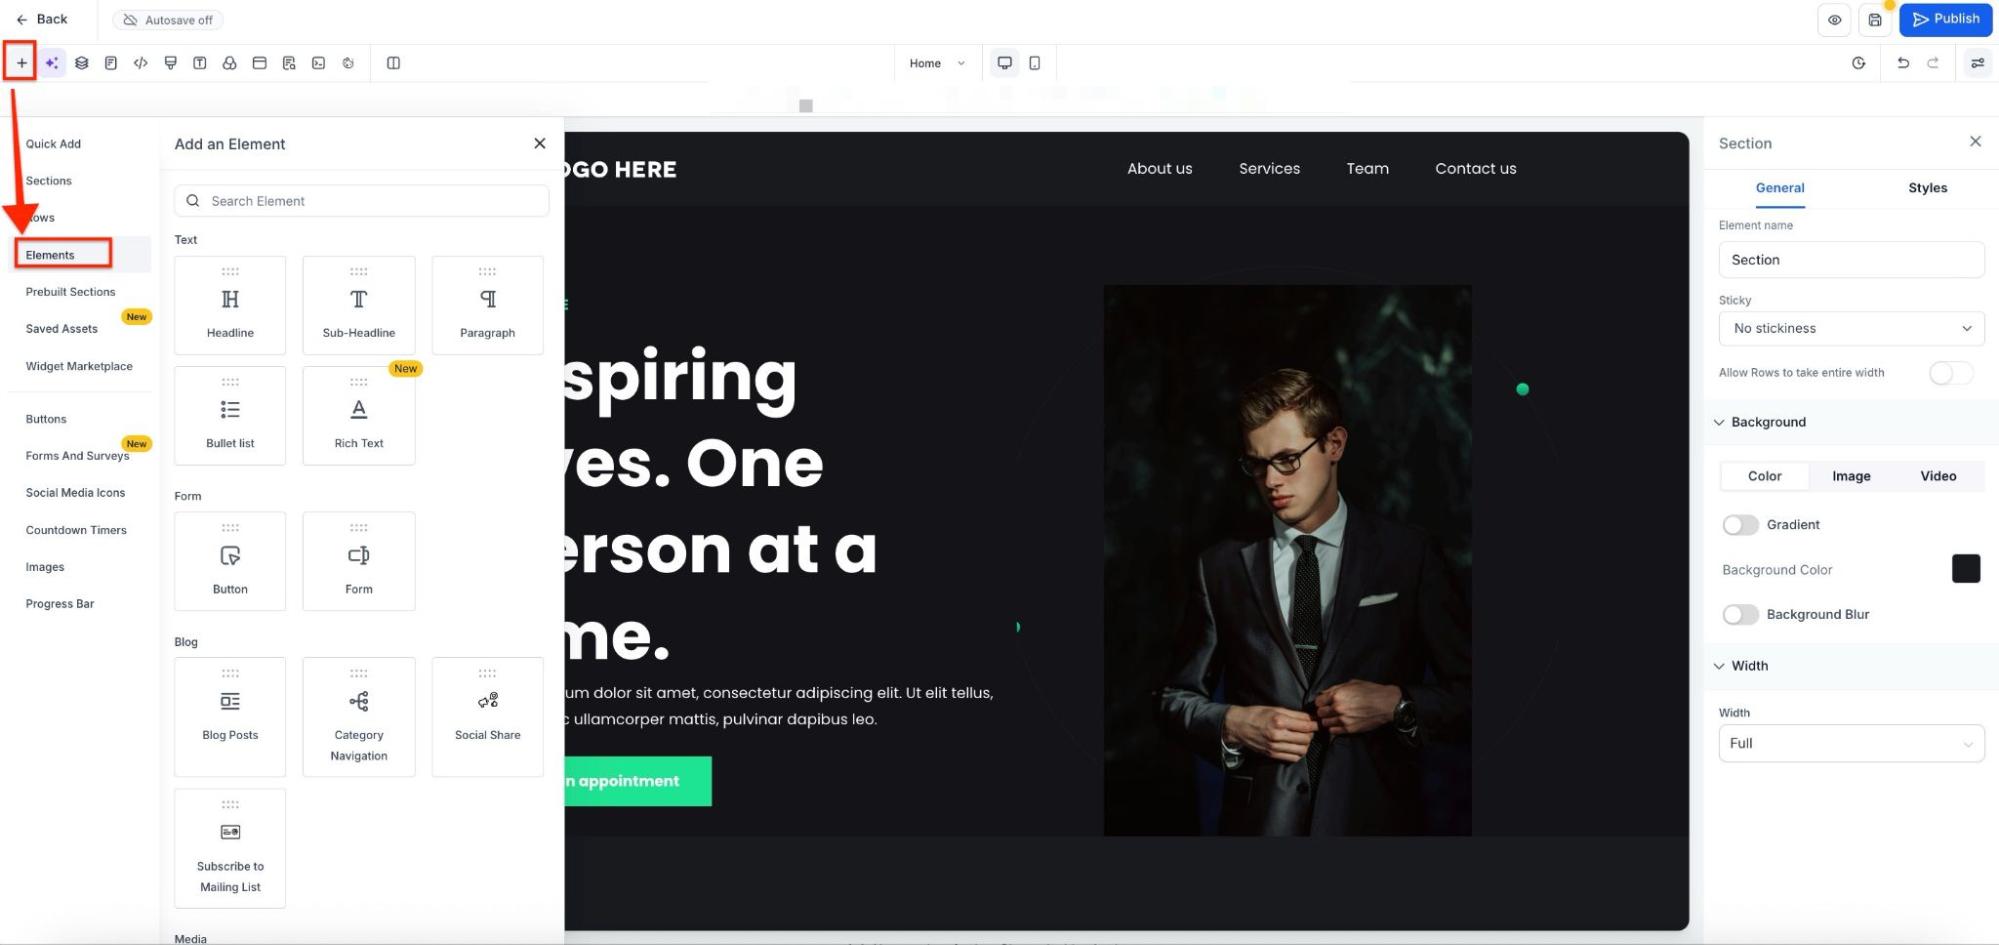
¶ Elements
This feature allows you to add elements to the funnel. You can easily drag and drop the elements into the funnel, customizing it to suit your needs. Additionally, you can manage sections, rows, global sections, and section templates in the elements section.
¶ Prebuilt Elements
Prebuilt elements are powerful design tools that streamline your design process and enhance your website’s functionality. The latest enhancements include prebuilt buttons, images, social media icons, and a progress bar.
- Prebuilt Buttons: A diverse collection of aesthetically pleasing, pre-designed buttons is now available to give your funnels/websites a professional touch without the hassle of starting from scratch.
- Prebuilt Images: Enhance your website with a curated library of high-quality, royalty-free images seamlessly integrated into the design bar. Utilize the drag-and-drop feature to effortlessly integrate images into your web pages, saving you time and maintaining your creative flow.
- Social Media Icons: Expand your website’s reach and user engagement with a comprehensive set of predesigned social media icons. Icons for all major social media platforms, including Facebook, Twitter, Instagram, LinkedIn, and more.
- Progress Bars: Improve user experience with visually appealing progress bars to showcase milestones, loading indicators, and progression metrics.
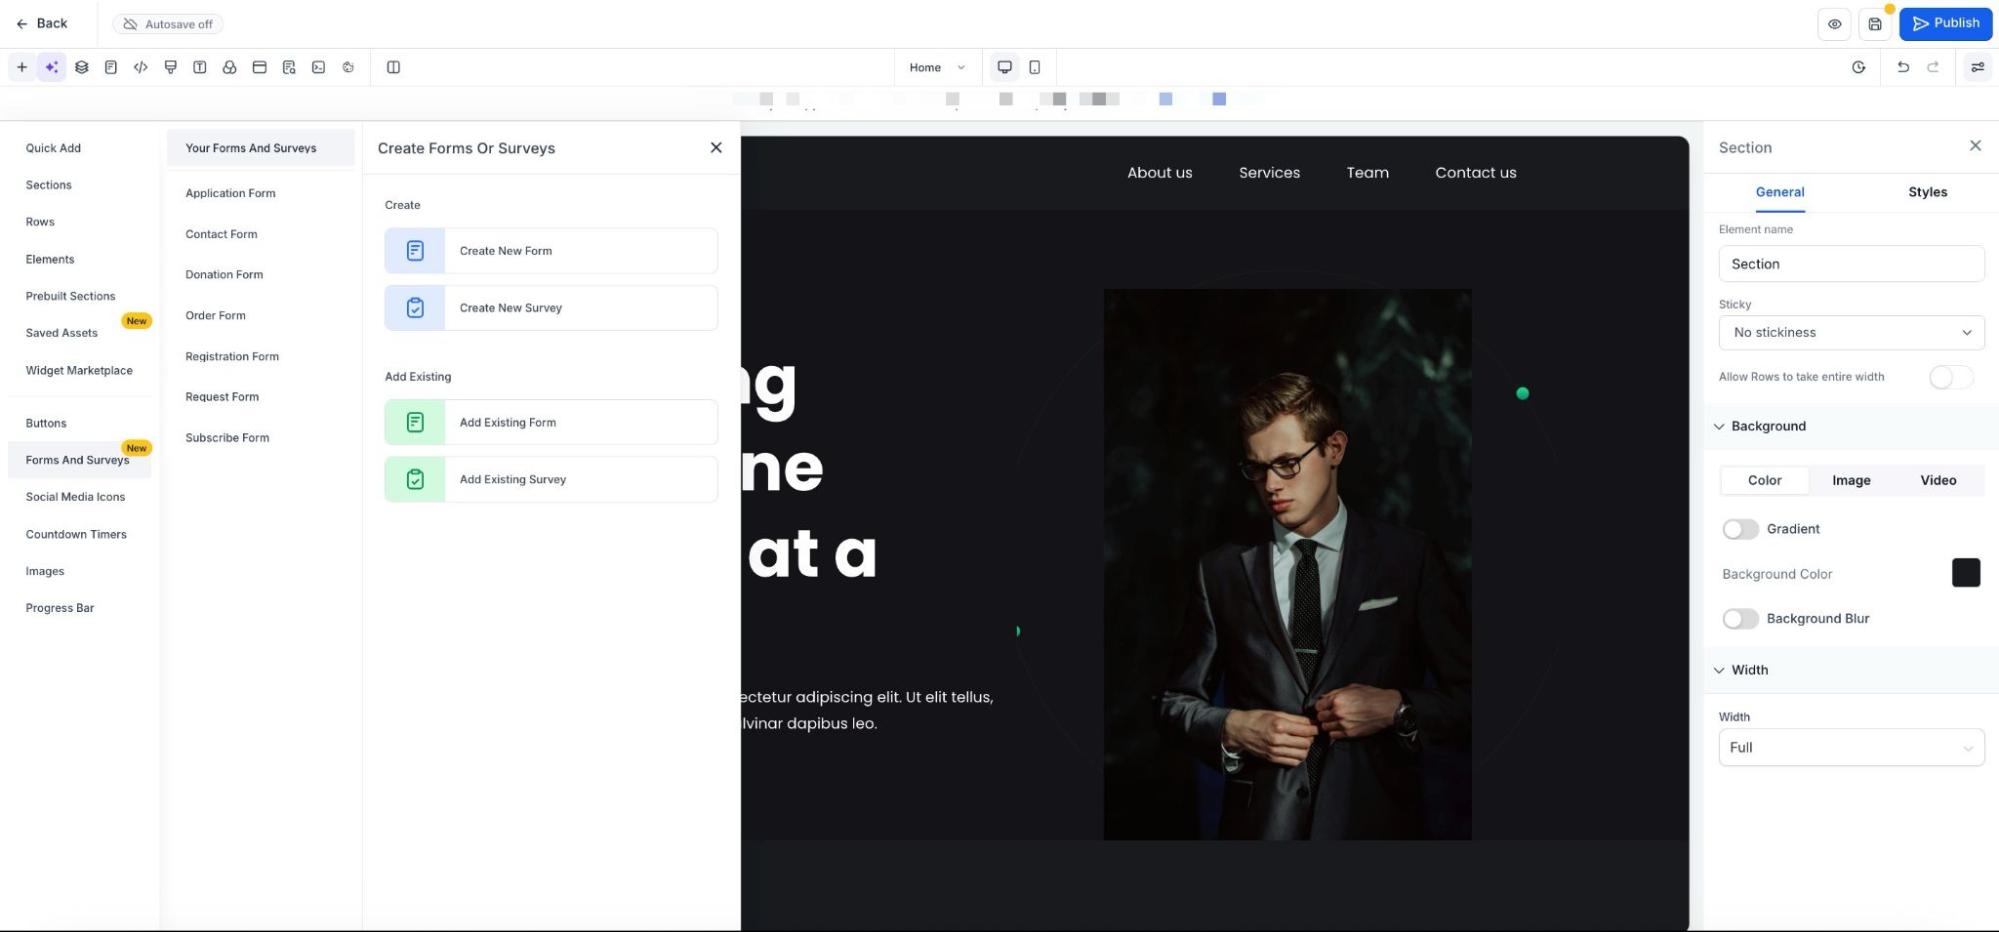
- A dedicated Forms & Surveys section allows users to create, manage, and embed forms or surveys without switching tools.
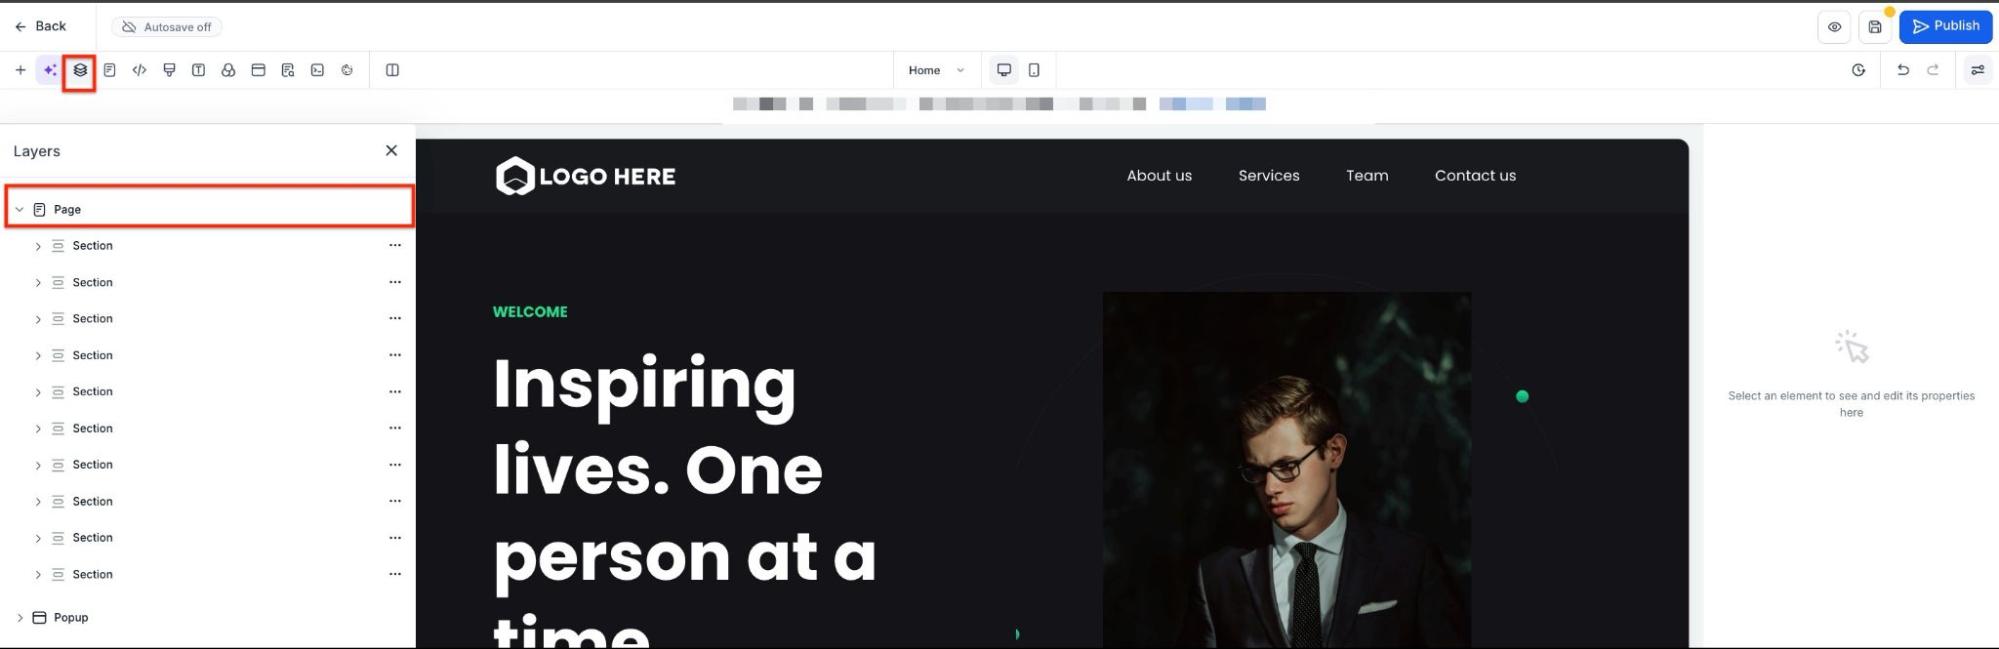
¶ Layers
You can search for any specific layer or section in a funnel. This allows you to navigate to any section and access the elements contained within it.
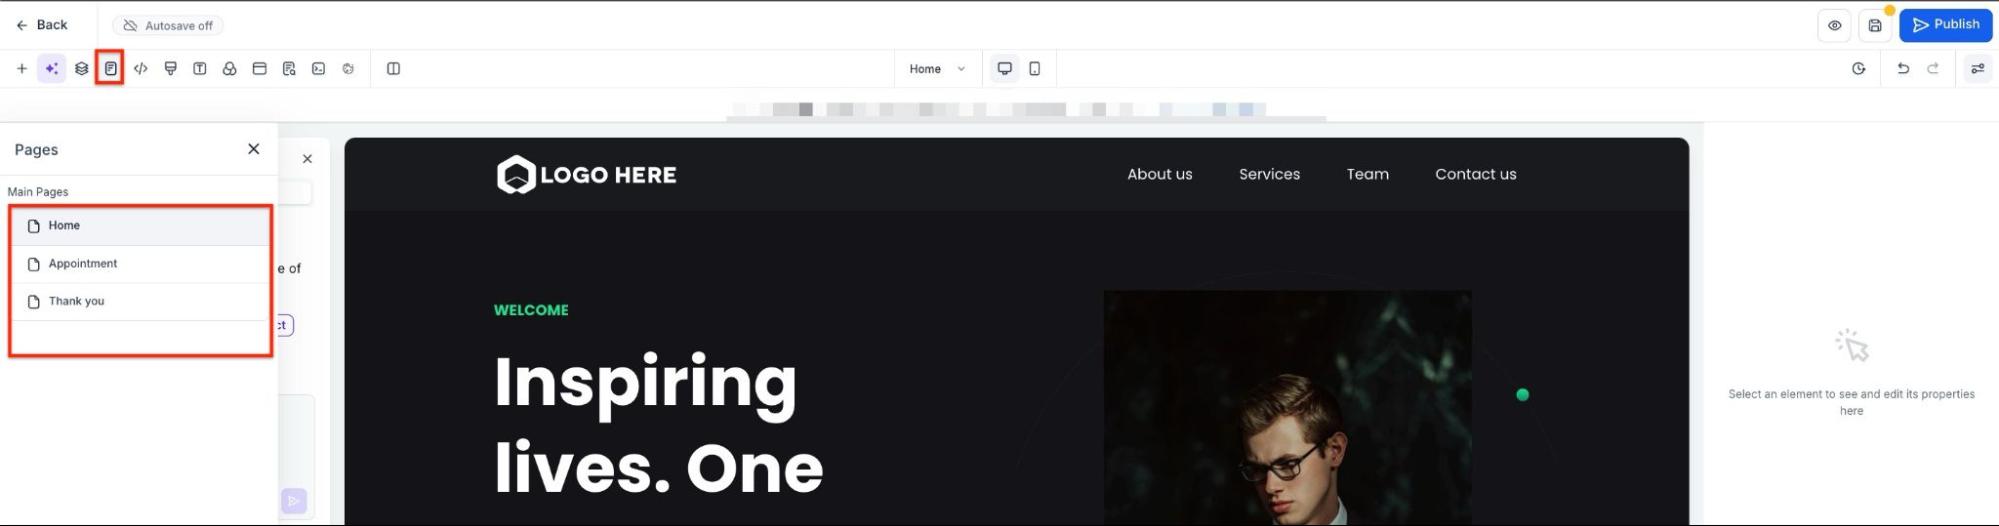
¶ Pages
You can access or navigate to any specific page/step of the funnel. This section contains a list of all the steps in the funnel.
¶ Tracking Code
This is a small snippet of code that allows you to analyze the flow of visitors to your page.
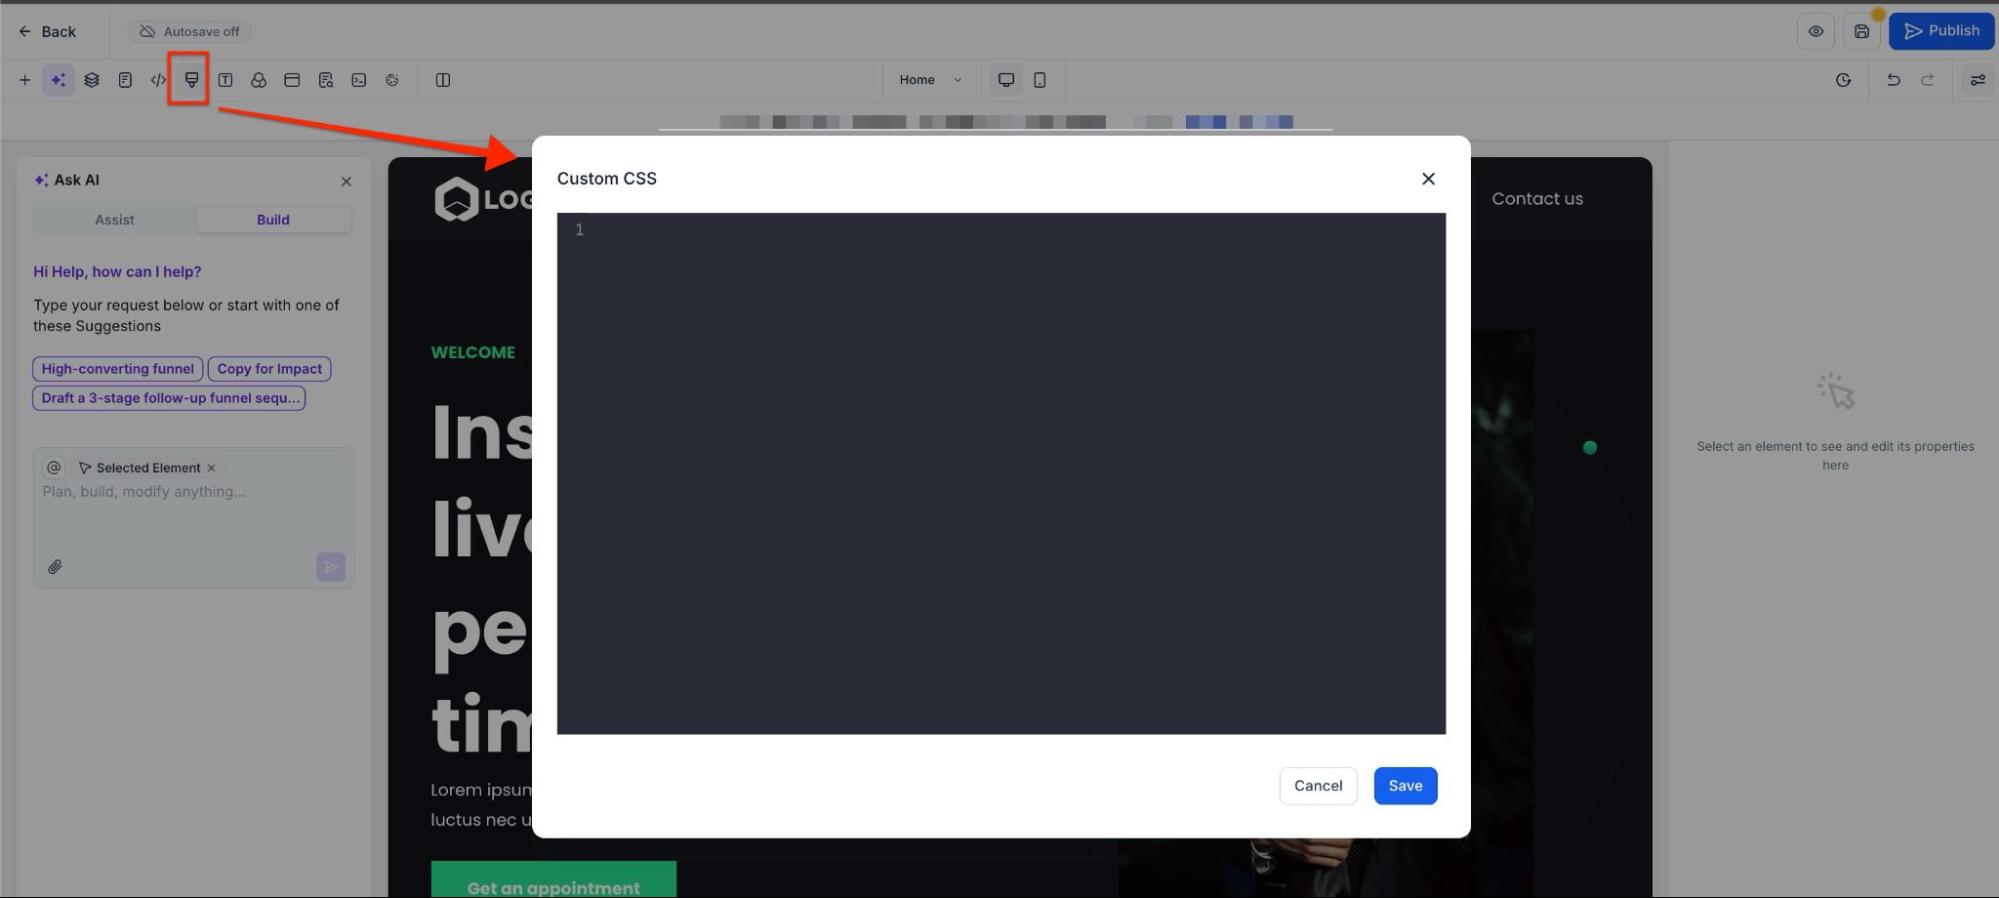
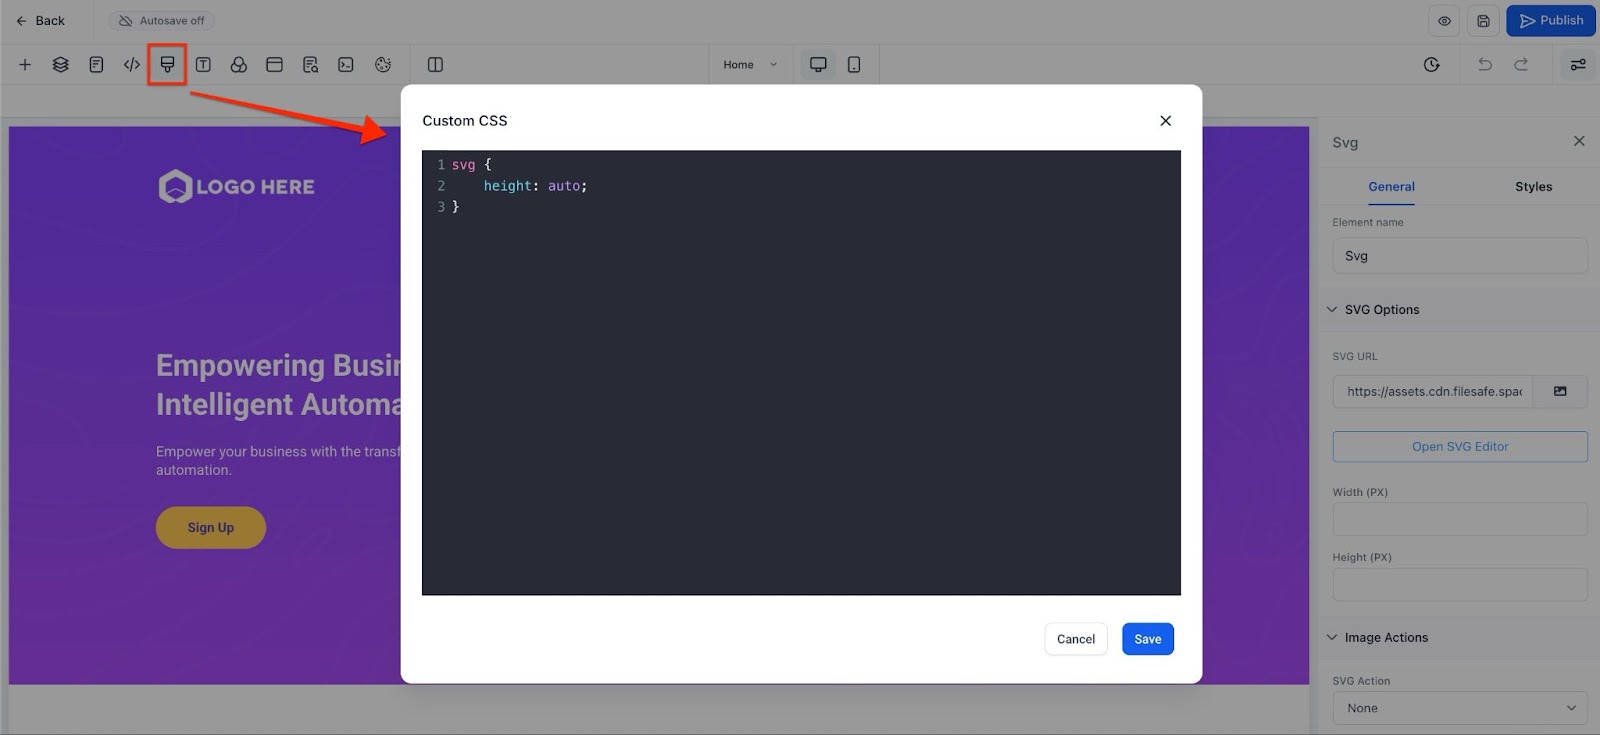
¶ Custom CSS
You can add custom CSS code to make changes to the customization of the elements that are not included in the standard features.
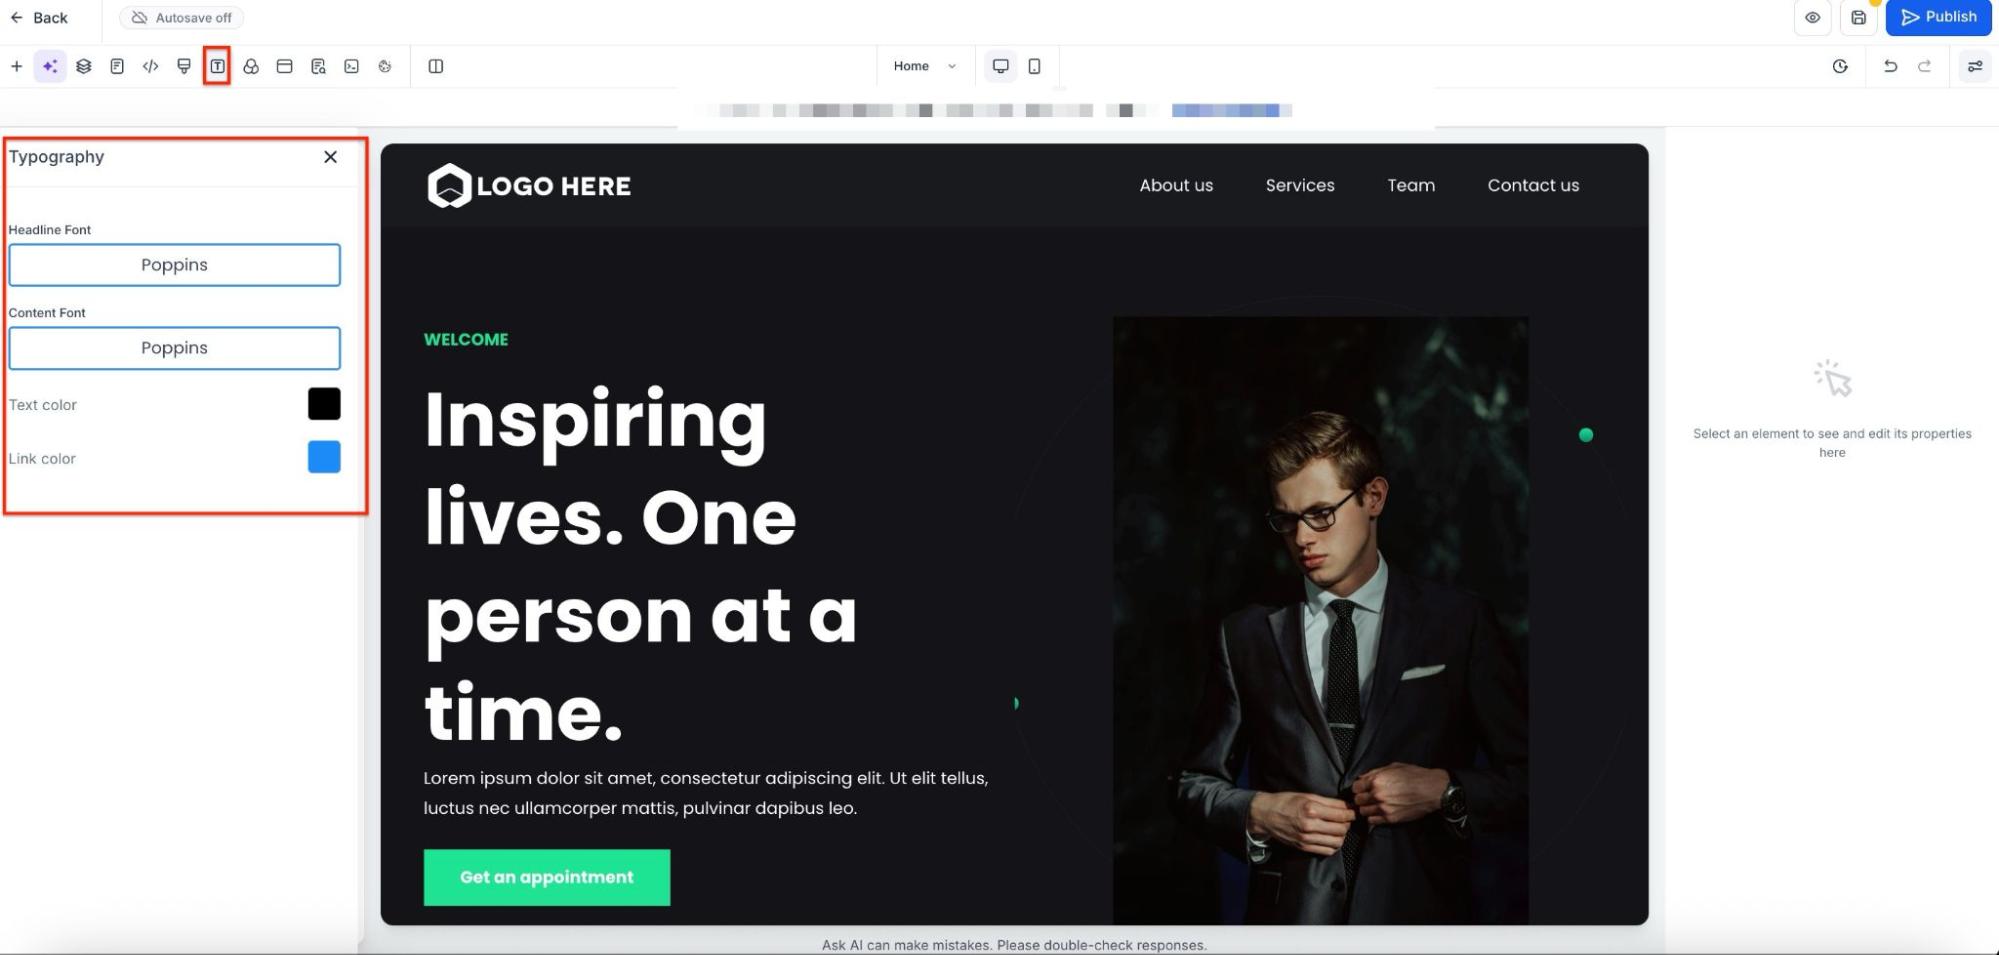
¶ Typography
This feature allows you to change the font type of the headline, content, text color, and link color across all pages. You can still edit the font typography, size, and color of specific text elements in their settings.
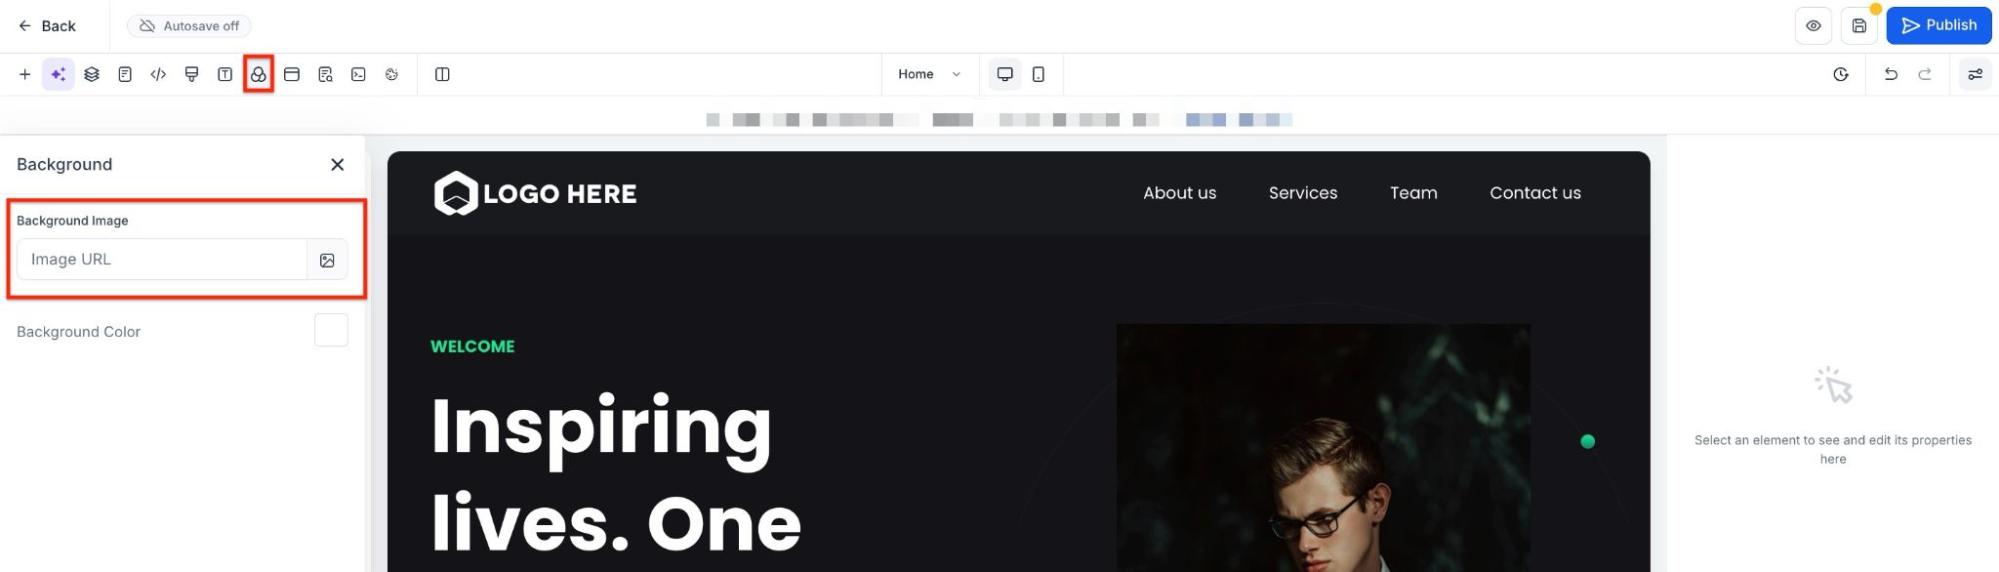
¶ Background
Here, you can add an image or color as your background. Note that this change will apply to all pages, not just a section or row.
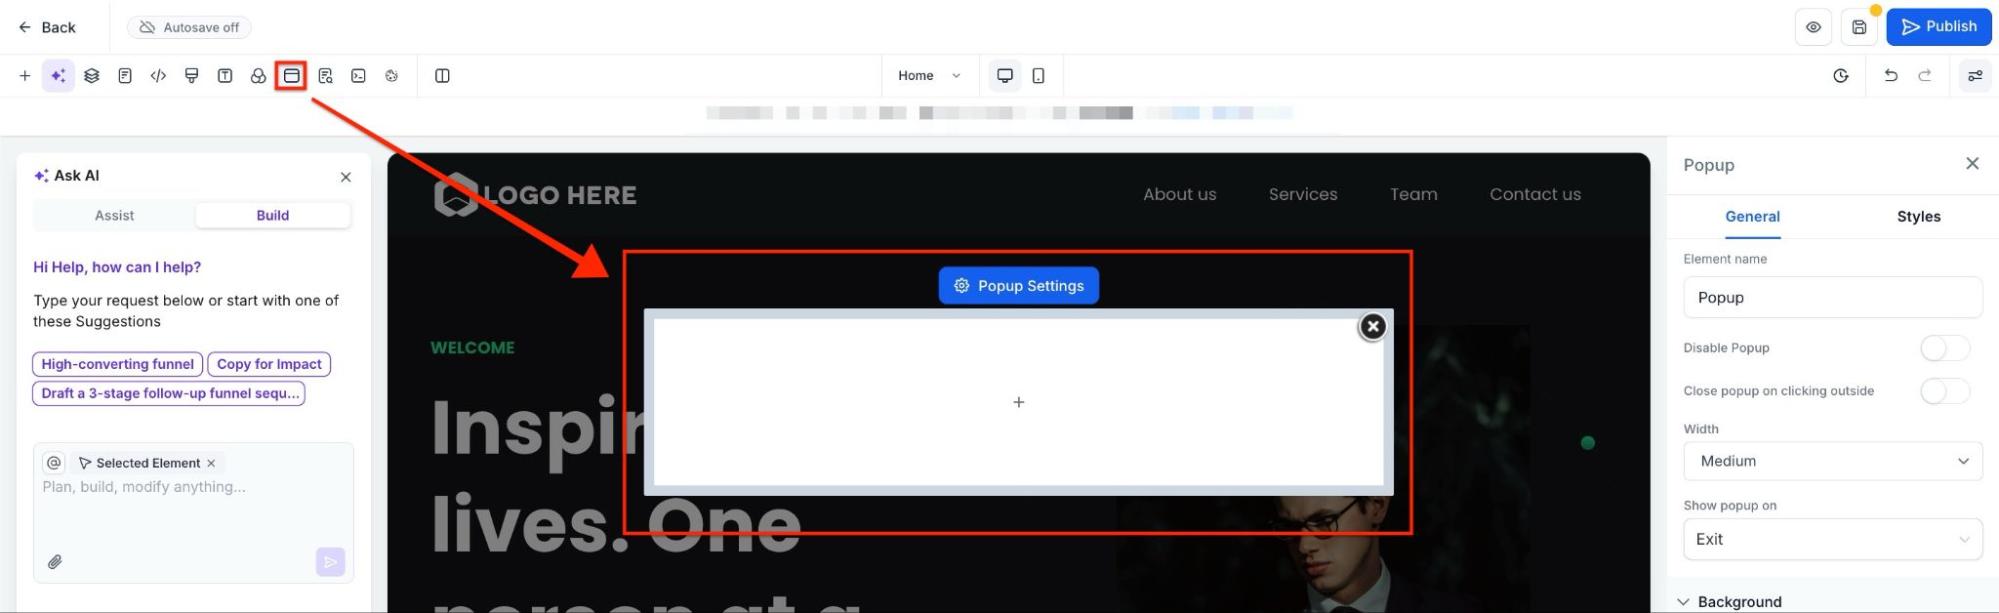
¶ Pop Up
This is a small window that will appear when your leads try to exit the page, click on a button (depending on your settings), or after a specified time. You can add rows and elements, such as a form, to help you collect leads.

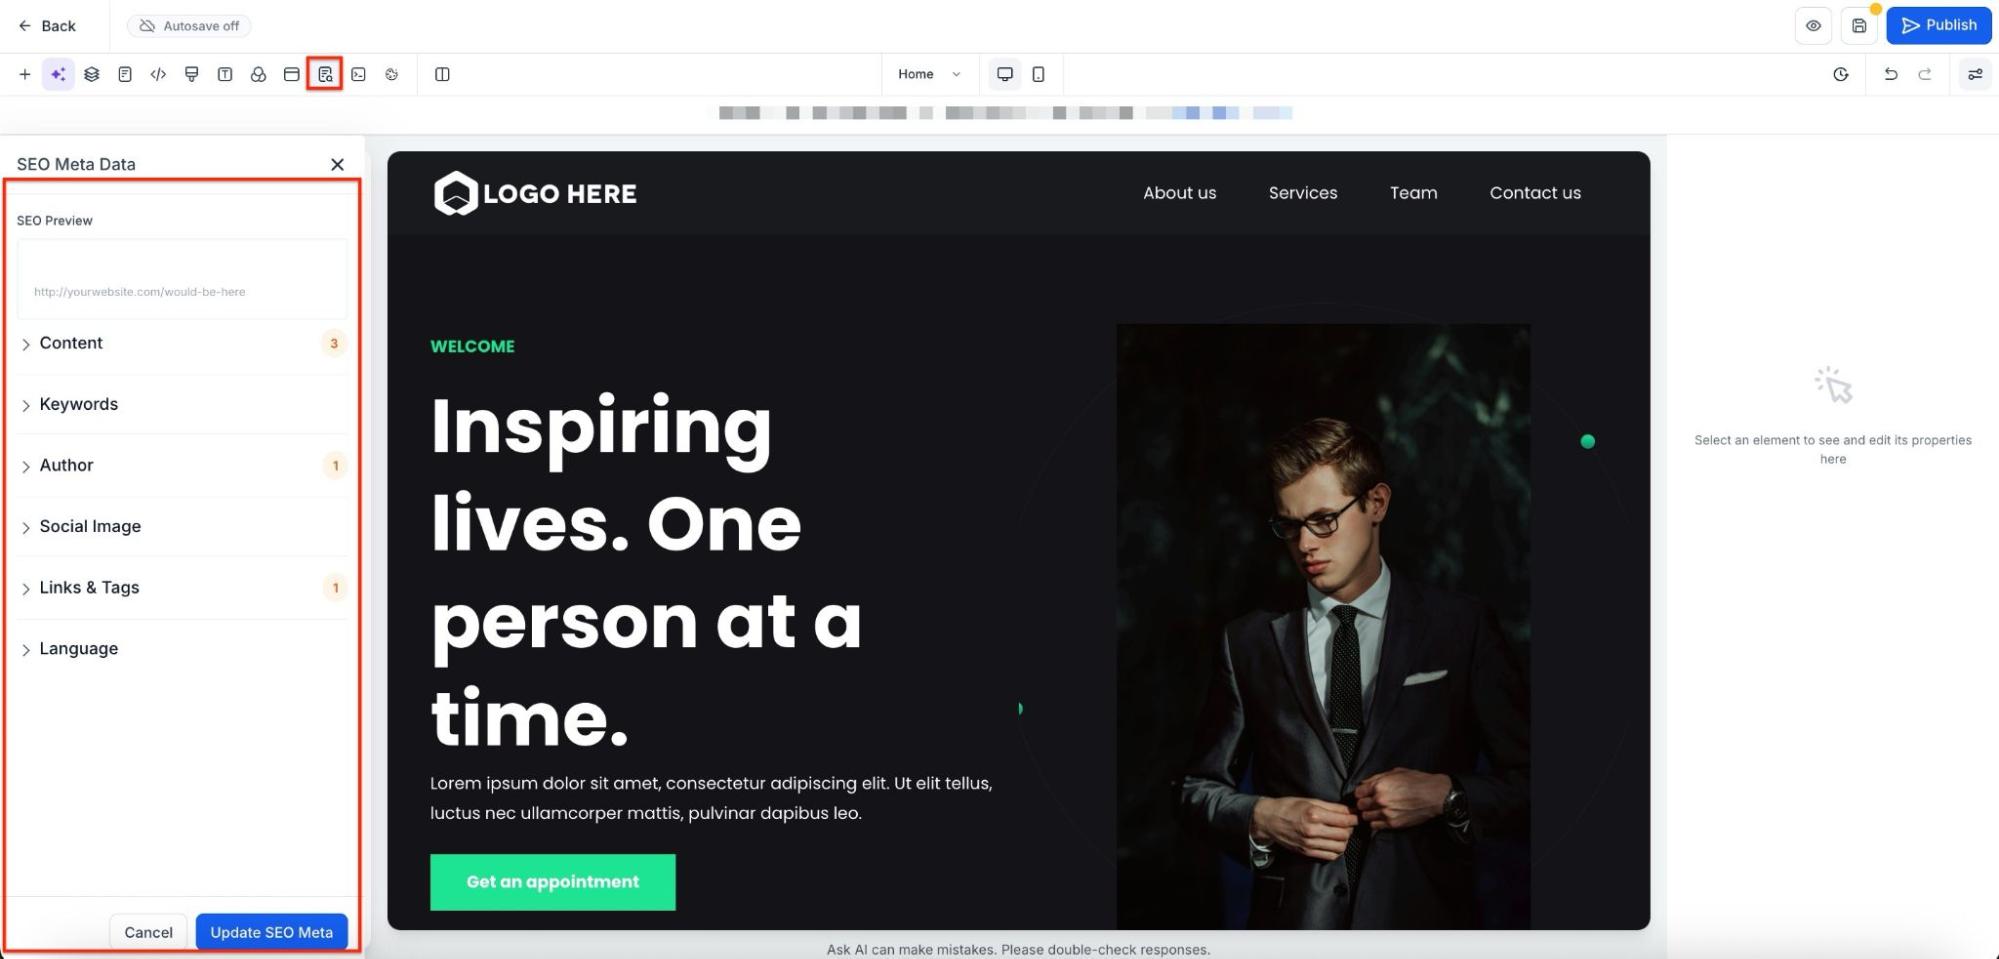
¶ SEO Meta Data
This tool allows you to edit the tab title and improve your Google search results by adding keywords that will appear in search results.
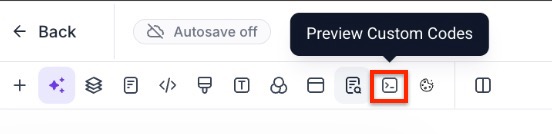
¶ Preview Custom Code
This allows you to preview changes made by the custom CSS code, if added.
¶ Cookie Consent
You can enable the cookie consent feature. Cookie Consent Banners will prevent the loading of marketing, performance, and analytics cookies before the visitor accepts cookies. Some external elements and essential cookies may still load. If any of the following is present in the funnel/website, it is the owner’s responsibility to get consent from users or remove those elements:
- Third-party widgets
- Custom code (Header tracking, footer tracking, Custom JS/HTML elements)\

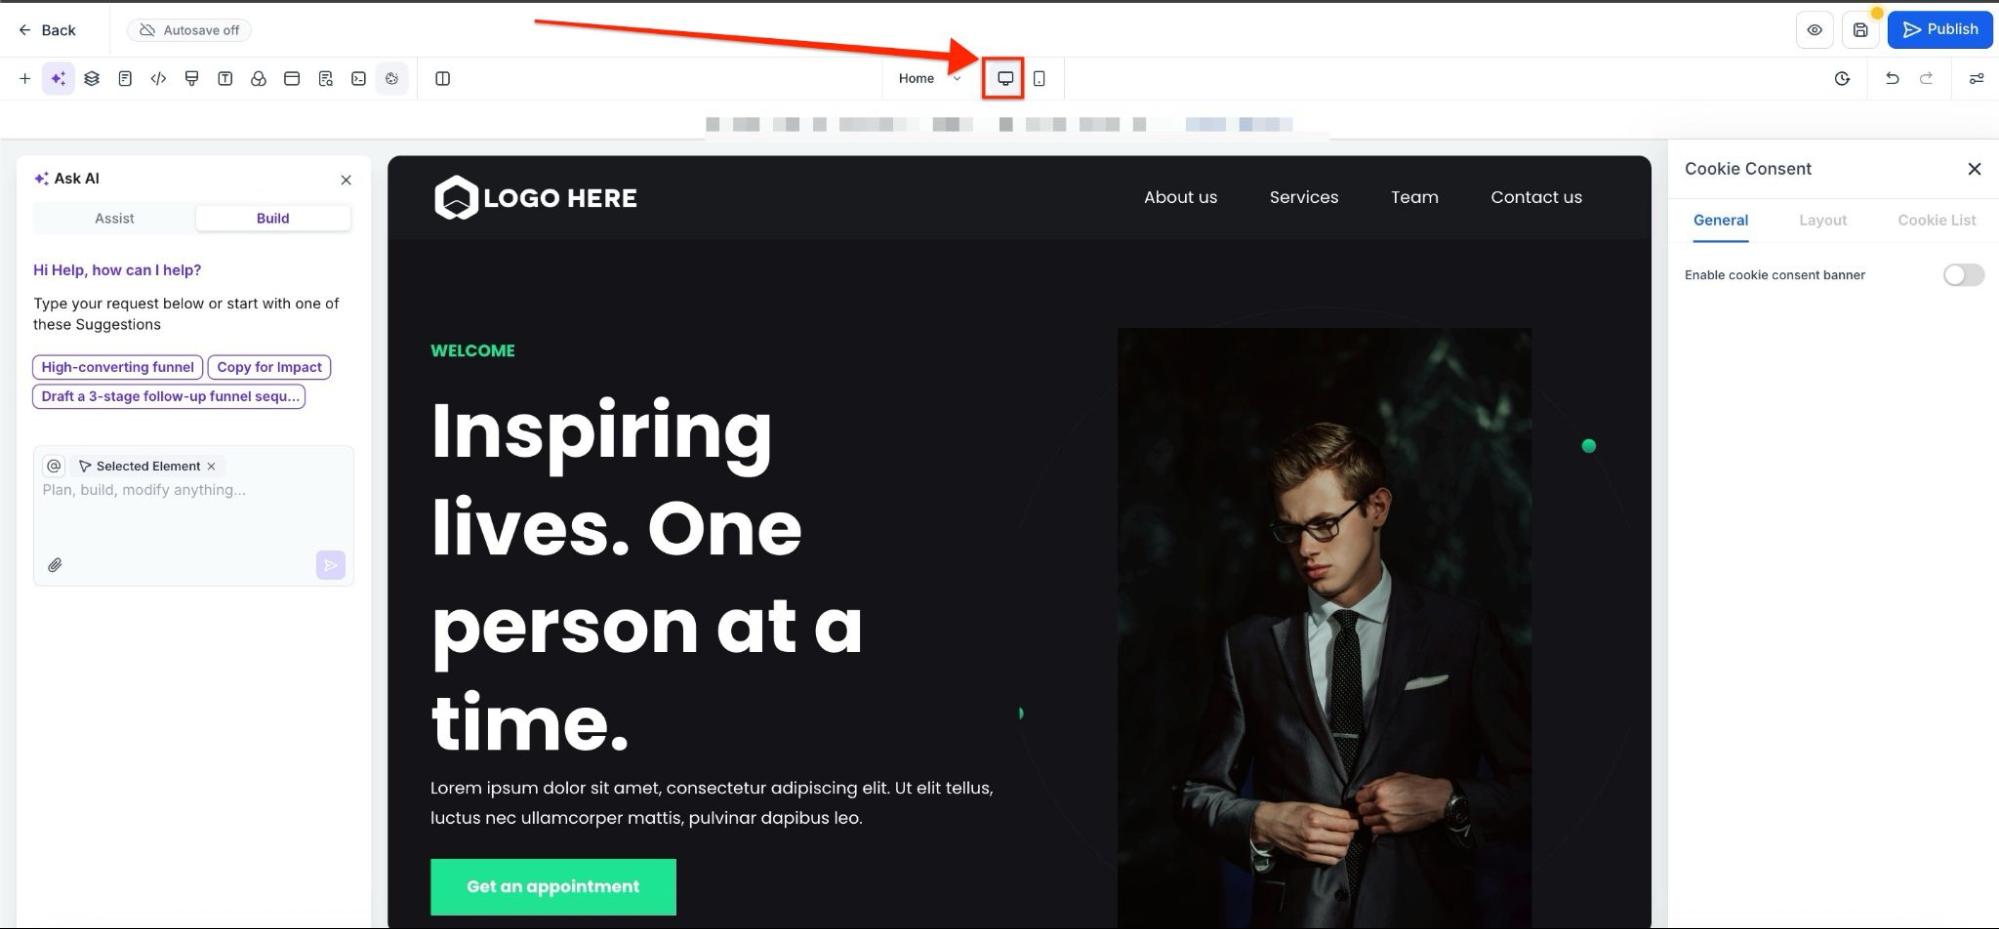
¶ Desktop Icon
This feature allows you to see your page as if you are visiting it from a desktop. You can make changes to the elements according to the desktop view.
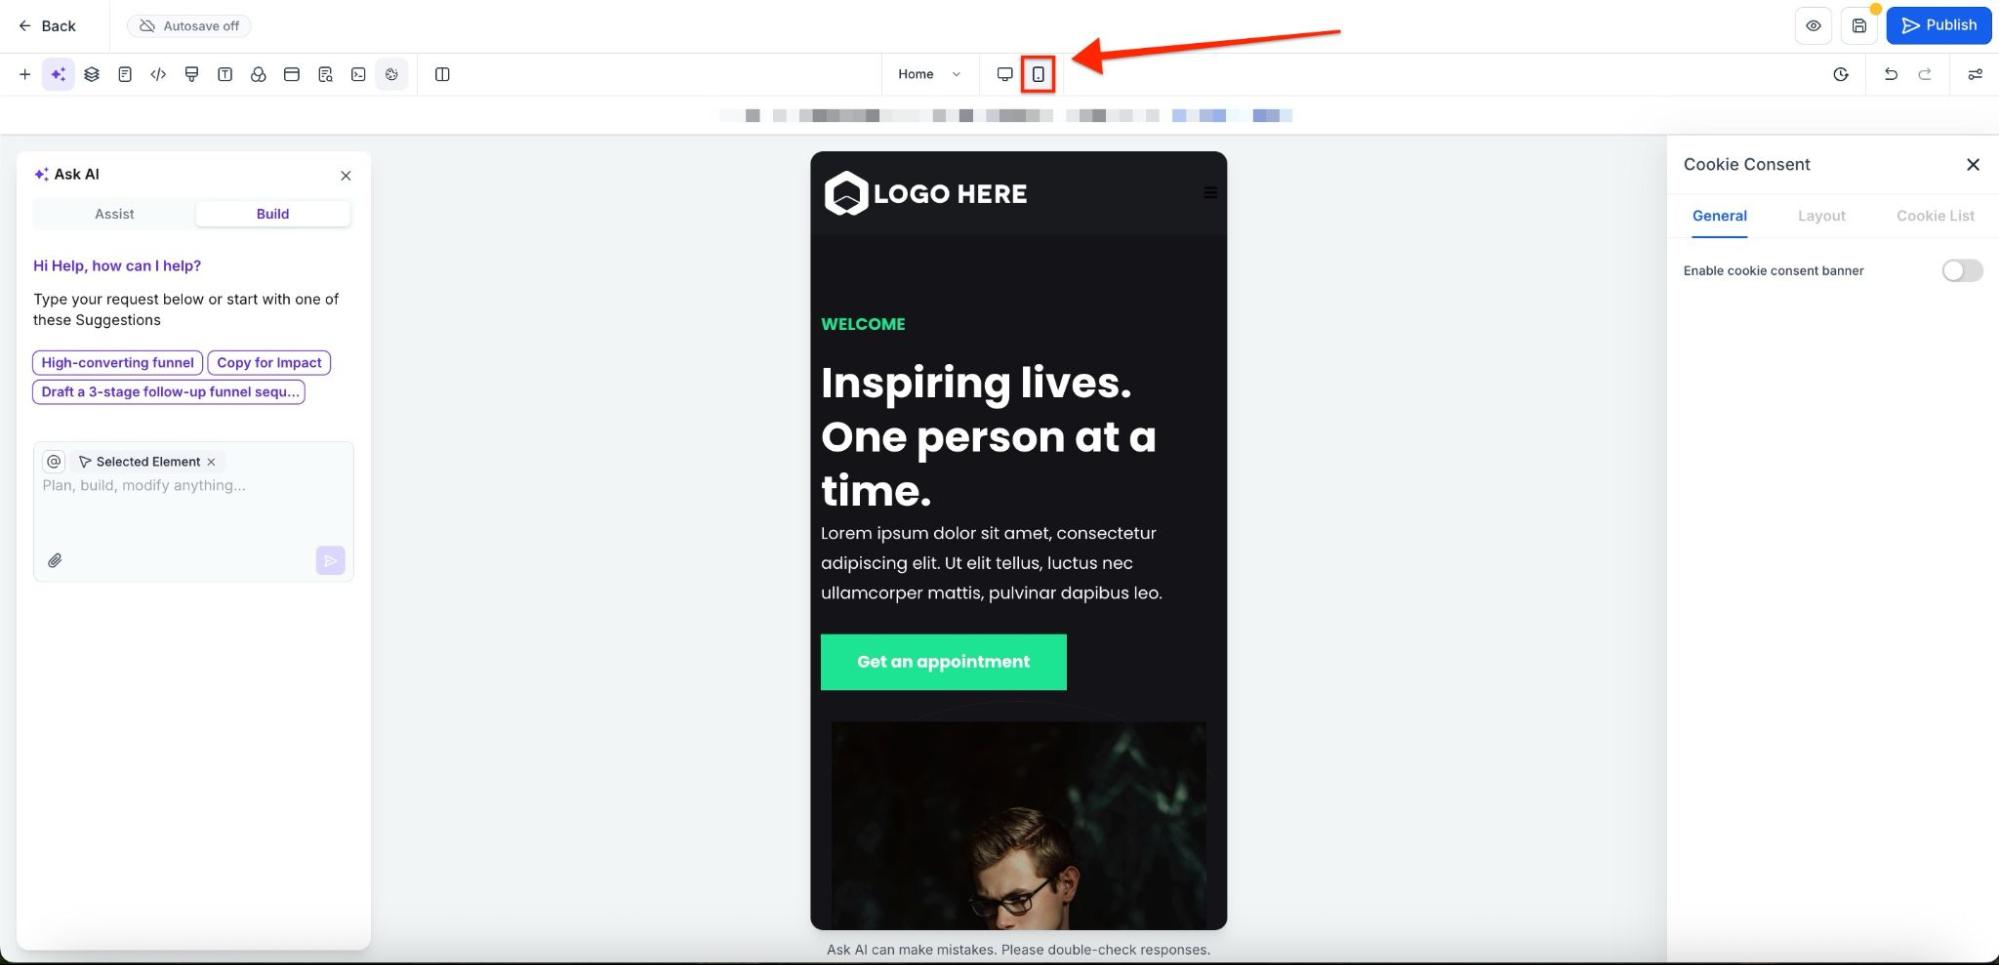
¶ Mobile Icon
This feature lets you see your page as if you are visiting it from a mobile device. You can make changes according to the mobile view.
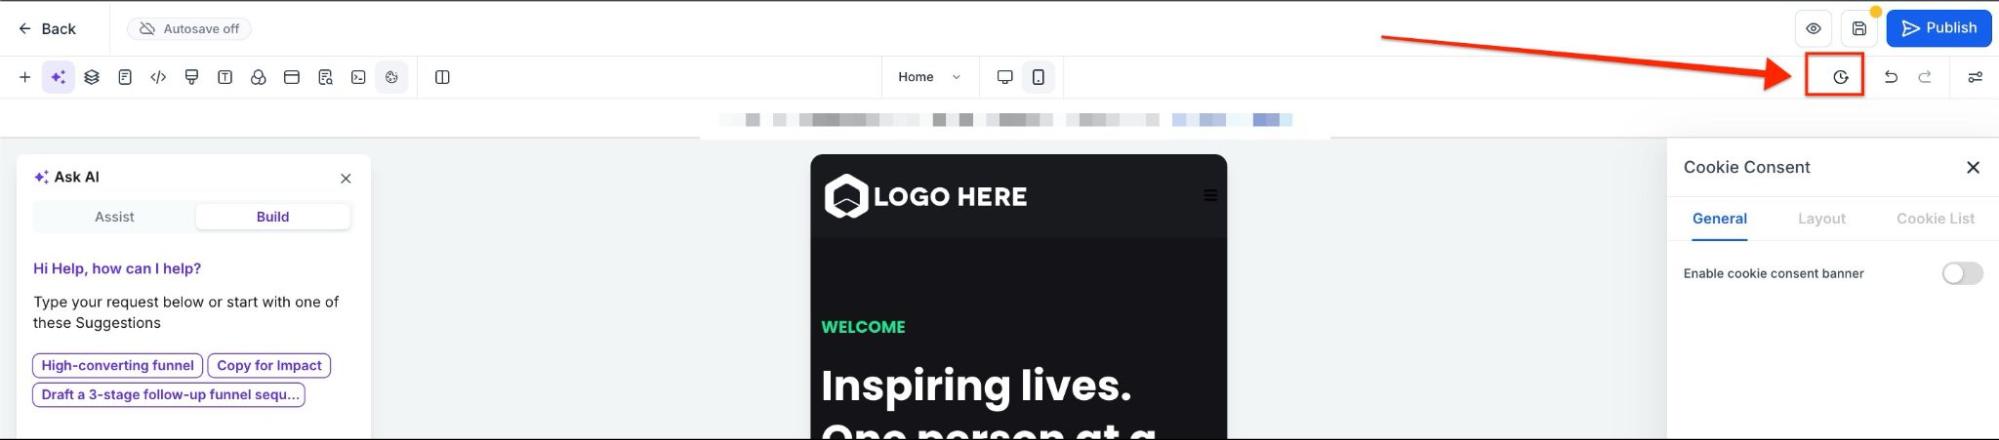
¶ Versions
This feature is useful if you made a change and saved it but prefer the way the page looked before. It helps you restore your page to an earlier version.
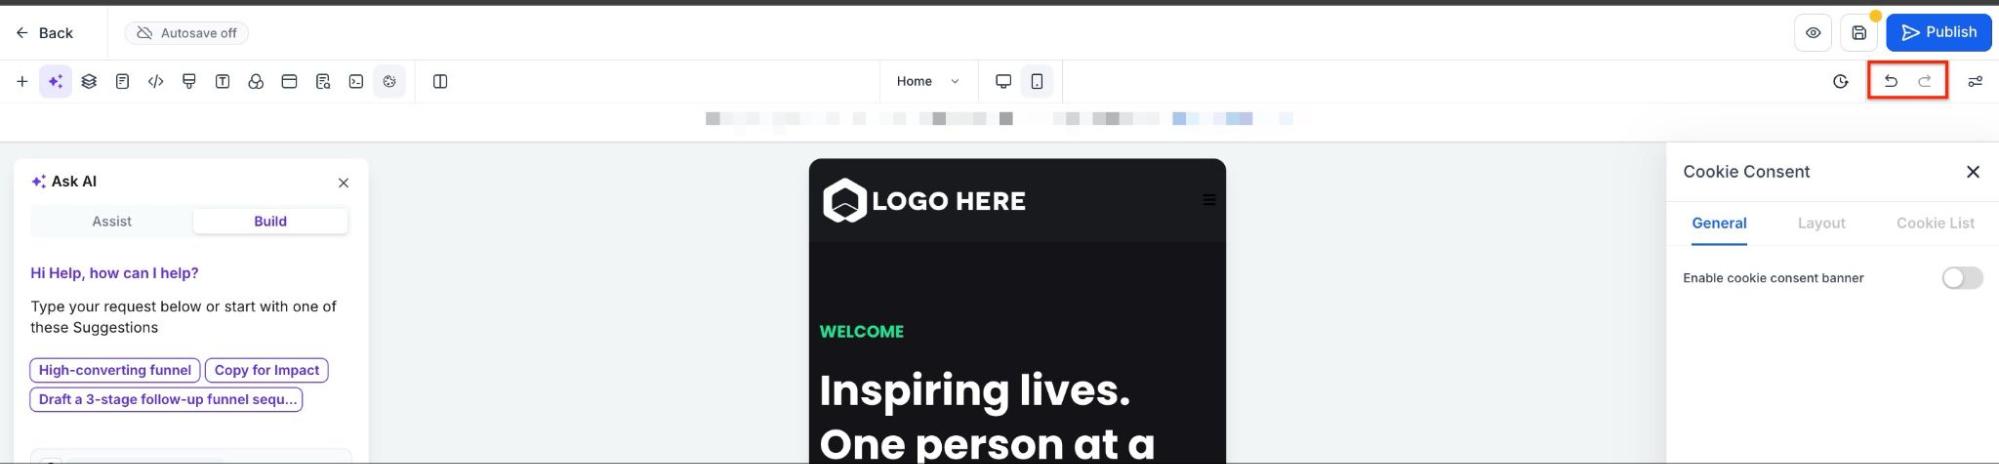
¶ Undo and Redo
These options allow you to undo the last change or redo a change.
¶ Settings
You can show or hide the settings of the selected element.
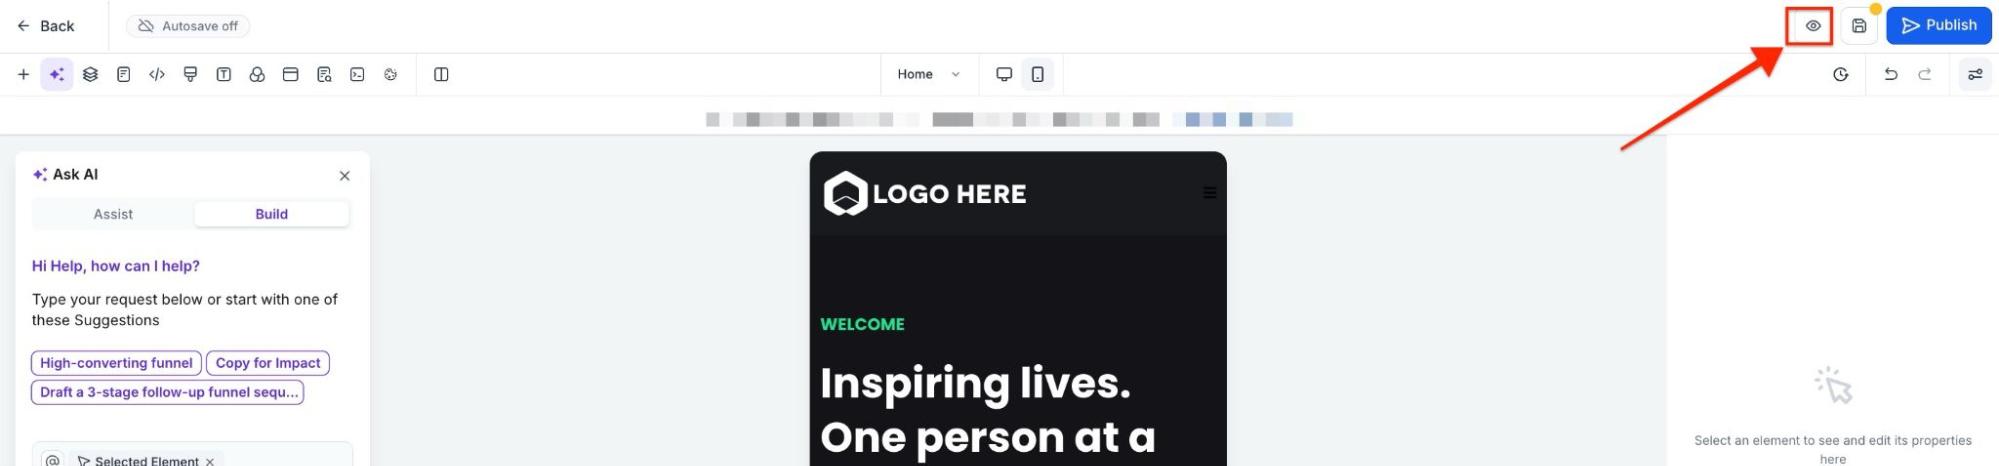
¶ Preview
By clicking here, you can see a preview of how your page is looking so far.
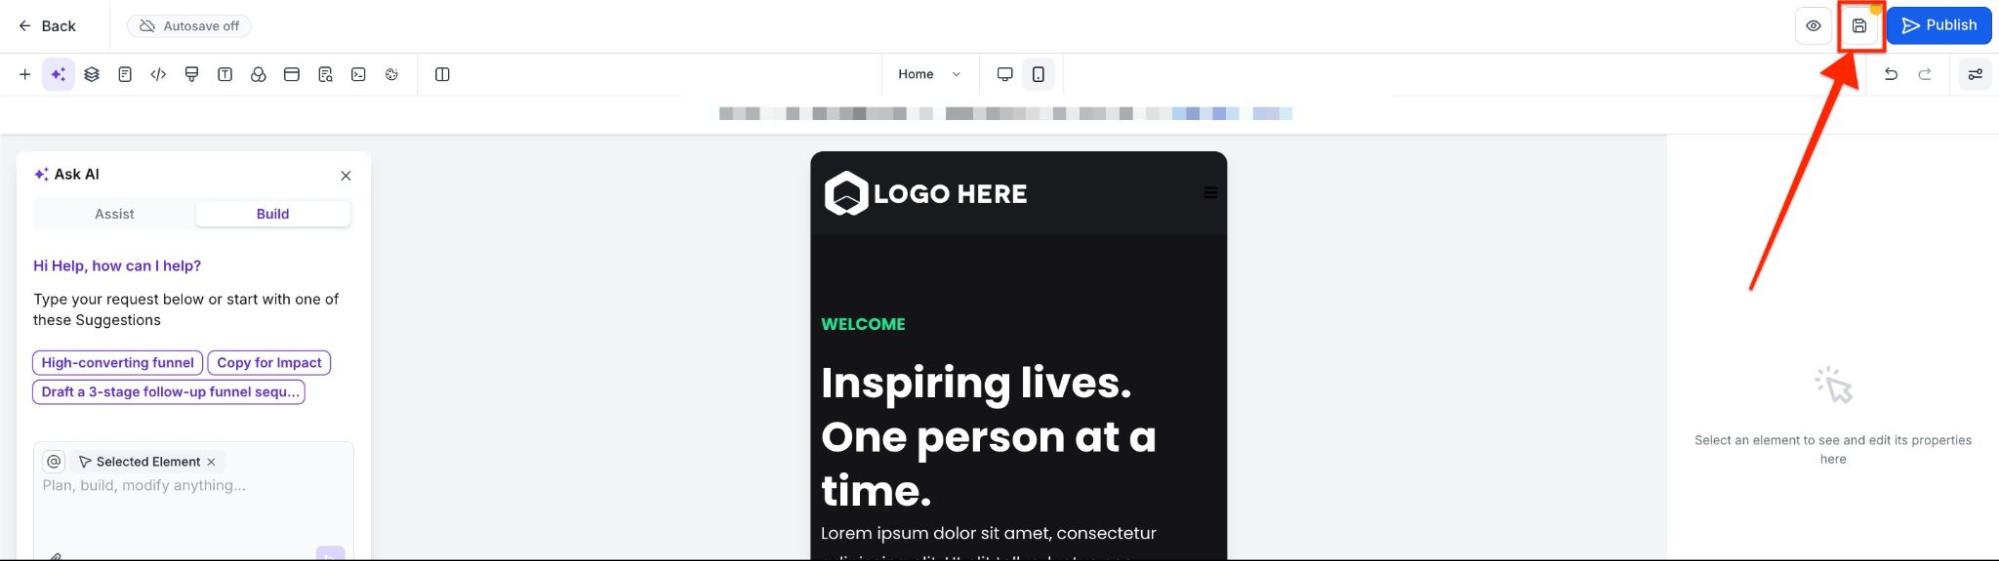
¶ Save
This option allows you to save your changes on the page.

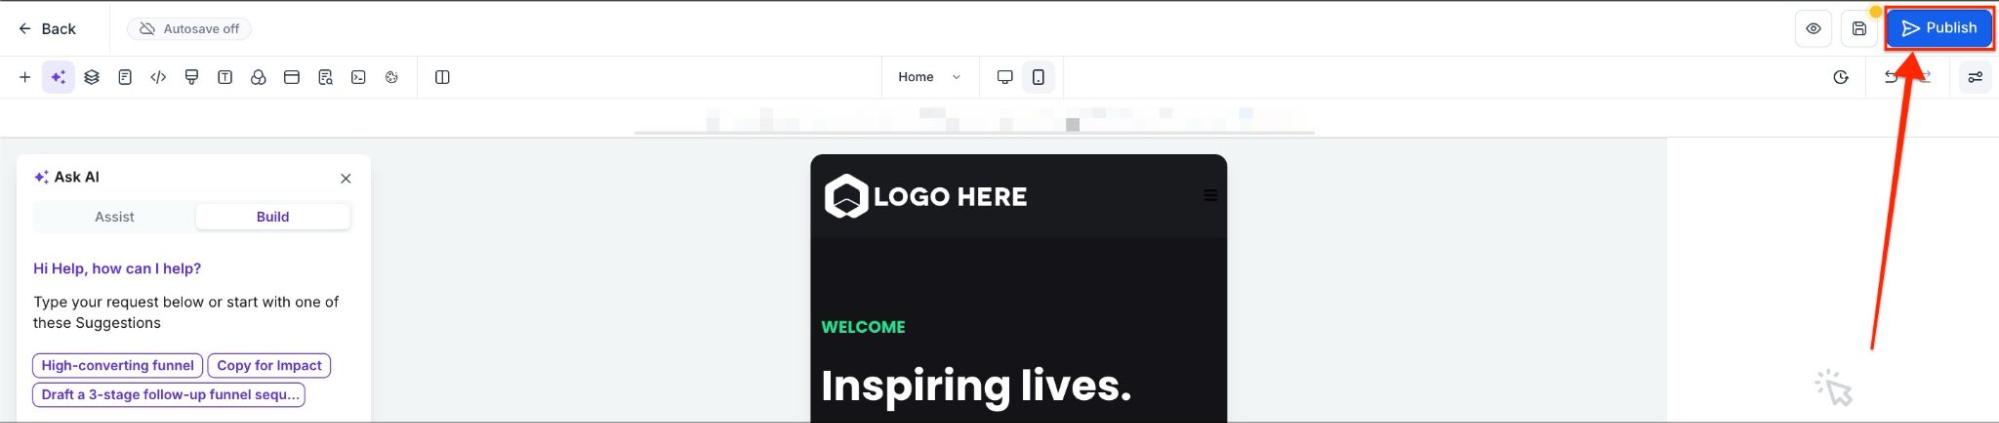
¶ Publish
By clicking on the publish button, you can make changes to the live version of the funnel.
FAQs
Question: How do I create a new funnel or website?**
**Answer: Go to Sites > Funnels or Sites > Website, then click on +New Funnel or +New Website.
Question: How can I edit or manage my funnel/website?**
**Answer: You can edit a funnel/website by clicking the three dots next to it and selecting the Edit option. You can also clone, move it to a folder, or delete it.
Question: What is the difference between “All Page Views” and “Unique Page Views”?**
**Answer: All Page Views count every page visit, regardless of the visitor’s IP address, while Unique Page Views count only new visitors based on IP addresses.
Question: How is the Opt-In Rate calculated?**
**Answer: It is calculated by dividing All Opt-ins by Unique Page Views.
Question: What does the “Sales Stats” section show?**
**Answer: It provides insights into the number of orders, the sales rate, the number of products sold, the total sales amount, and the average cart value.
Question: What are Security Headers in the Security Tab?**
**Answer: These are custom headers that enhance protection against attacks and vulnerabilities.
Question: How do I track events using Pixel IDs?**
**Answer: In the Events tab, you can add Pixel IDs, select the tracking level (funnel-wide or specific pages), and manage event tracking through Facebook Pixel and Conversion API.
Question: Can I add custom tracking or CSS to my funnel/website?**
**Answer: Yes, under the Tracking Code section, you can add code to analyze visitor flow, and under Custom CSS, you can add custom styles.
Question: What are Prebuilt Elements?**
**Answer: Prebuilt elements, such as buttons, images, social media icons, and progress bars, are ready-to-use design tools to enhance the website’s functionality and appearance.
Question: How do I manage layers and elements on the page?**
**Answer: Use the Layers feature to navigate through sections and elements, or drag and drop elements into the funnel.
Question: Can I preview my funnel/website on different devices?**
**Answer: Yes, the Desktop Icon and Mobile Icon let you view the page on both desktop and mobile devices.
Question: How do I manage SEO metadata?**
**Answer: Use the SEO Meta Data feature to edit tab titles and add keywords for better search engine optimization.
Question: Can I revert to an earlier version of my page?**
**Answer: Yes, the Versions feature allows you to restore a previous version of the page.
Question: What does the Cookie Consent feature do?**
**Answer: It prevents certain cookies from loading until the visitor consents, helping to ensure GDPR compliance.
Question: How do I publish changes to my funnel/website?**
**Answer: After editing, click the Publish button to make your changes live.
Question: How can I ensure my fonts are GDPR-compliant?
Answer: In the Settings tab, you can enable the “GDPR-Compliant Fonts” toggle. This allows you to provide a privacy-friendly experience if you prefer not to use Google Fonts on your funnel or website.
Question: How do “Global Sections” save me time?
Answer: A Global Section (like a header or footer) allows you to edit it once and have that change reflect across every page where that section is used. If you update your logo or a link in a Global Header, you don’t have to manually go through 10 different funnel steps to fix it.
Question: How is “Avg. Cart Value” calculated in the Sales Stats?
Answer: It is calculated by dividing the Total Sales Amount by the Total Number of Orders. This helps you understand the average spend per customer in that specific funnel or website step.