If you are using a Facebook Pixel to track events for your ads, you will want to add the Pixel code to your website and website pages. Seamlessly send tracking events data to Facebook using the Facebook Pixel and Conversion API. This will provide enhanced tracking capabilities to optimize your marketing efforts and improve your business insights.
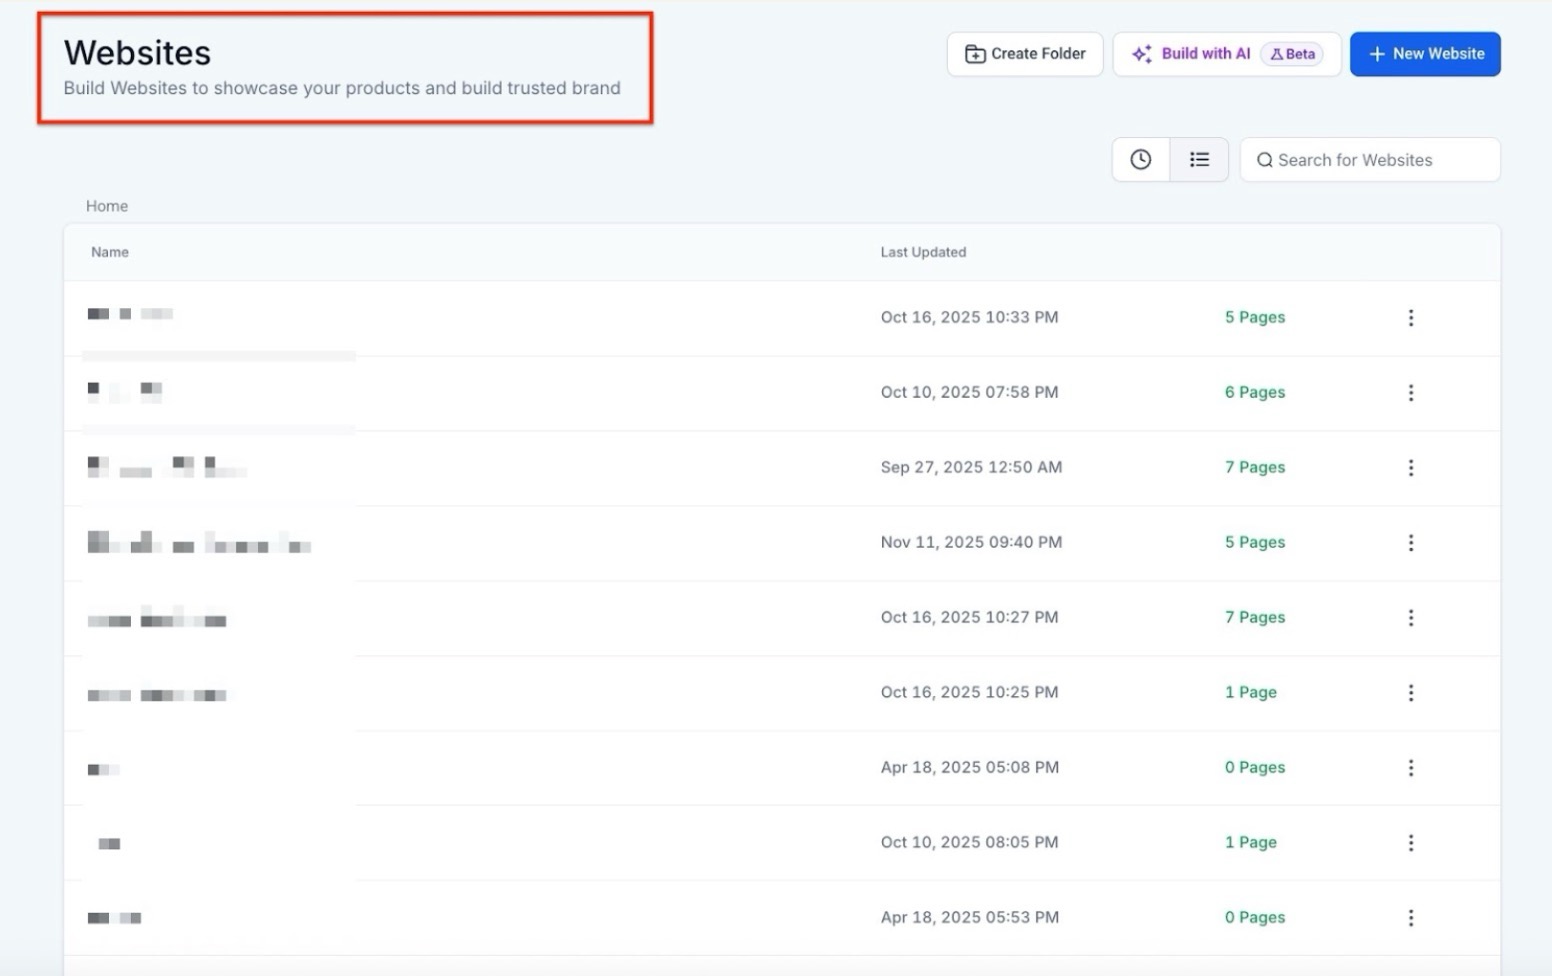
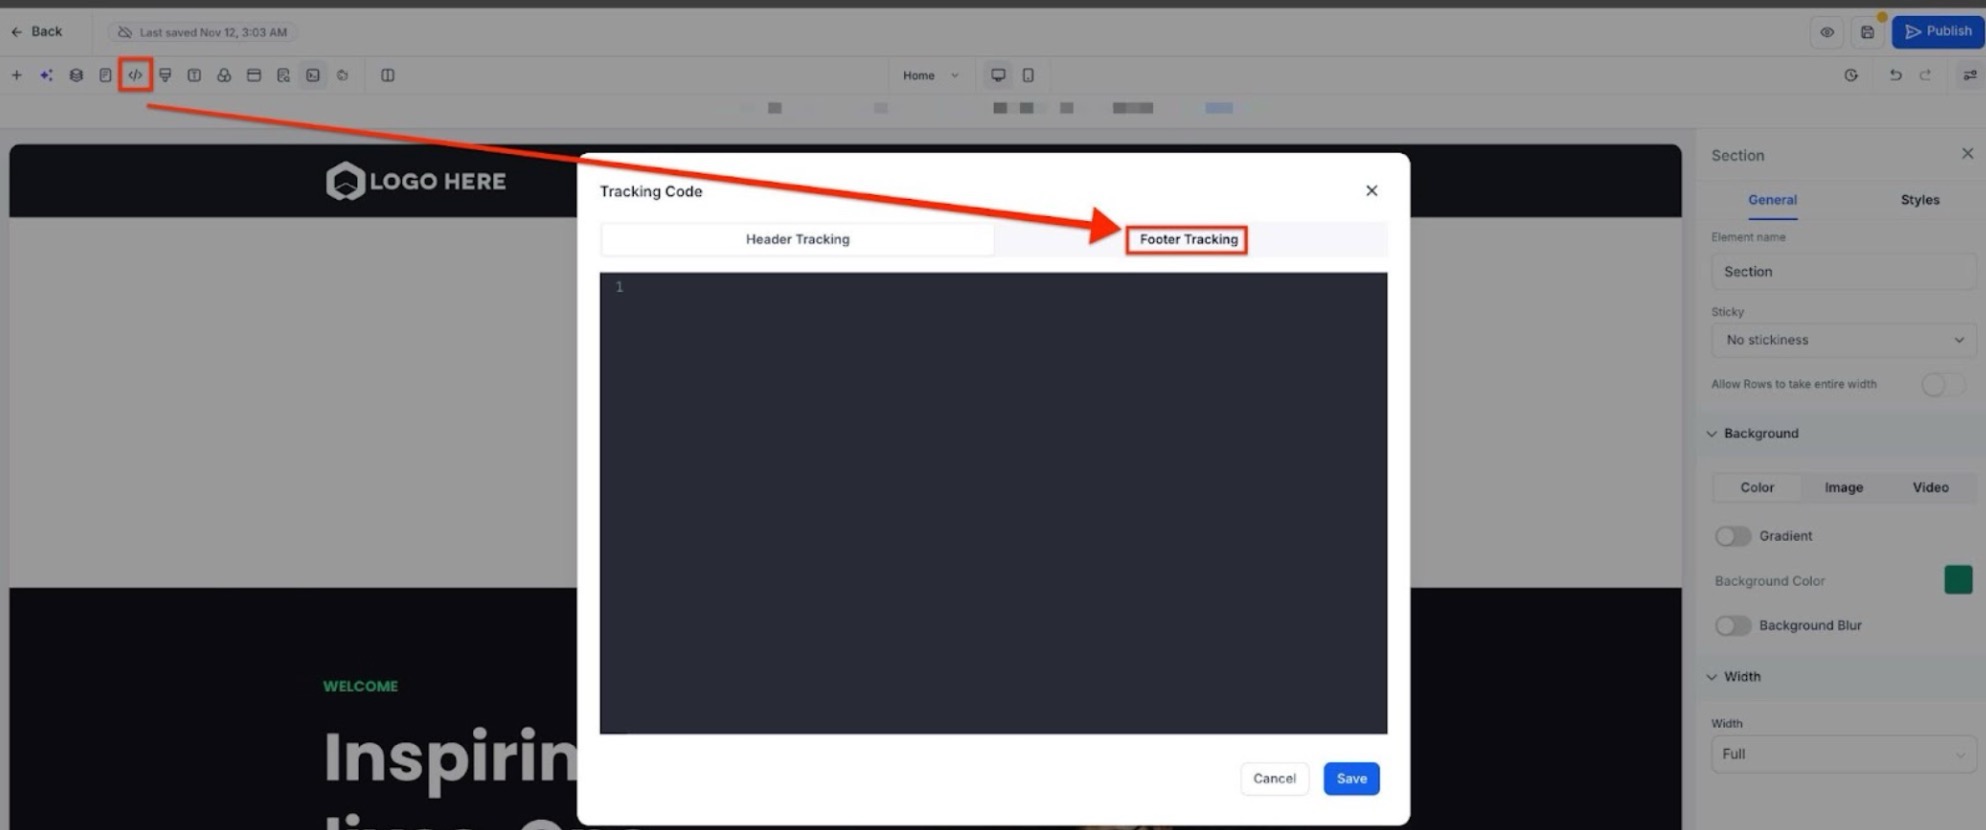
1- Login into your account, go to Sites, and choose any website by clicking on the Website tab.
2- Open the funnel/website you want to send track events on. Go to the Events tab in the funnel/website overview screen.
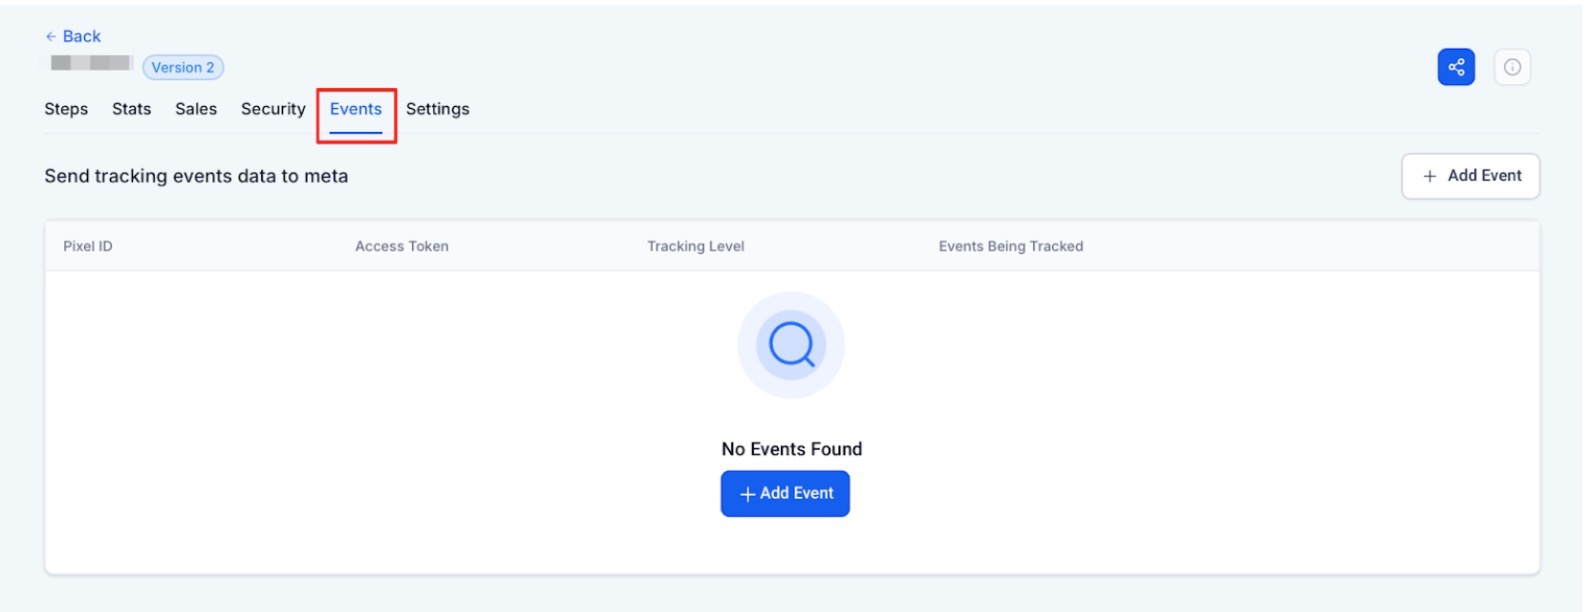
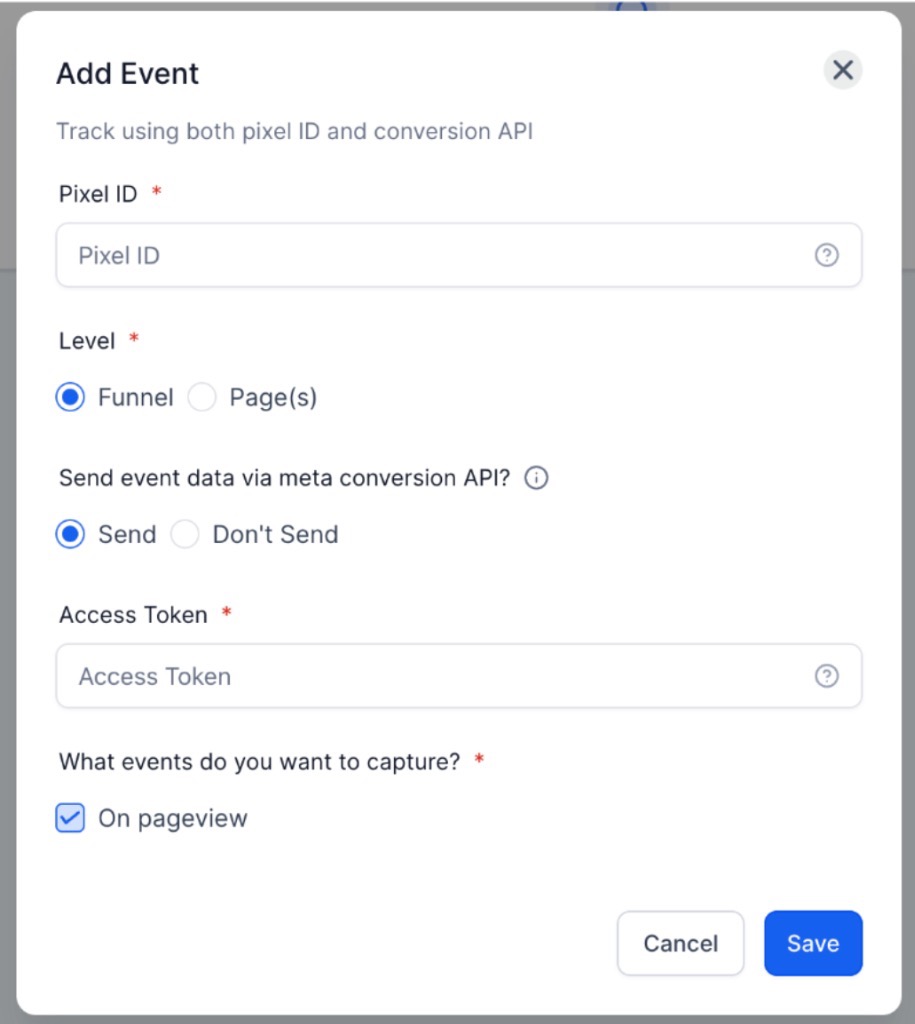
3- Click ‘Add event’ and enter your Pixel ID, you can find the instructions to find and add.
This feature will give you more control and flexibility over event tracking. By integrating with Facebook Pixel and Conversion API, you can:
Step 2: Add Event Specific Code to Individual Pages
https://developers.facebook.com/docs/facebook-pixel/reference#standard-events
Question: What is the Facebook Pixel, and why is it important?
Answer: The Facebook Pixel is a piece of code that you add to your website to track visitor behavior, such as page views, clicks, or conversions. It allows you to gather data that can help you optimize your Facebook ads, measure performance, and create retargeting campaigns based on user behavior.
Question: How do I add the Facebook Pixel code to my website?
Answer: To add the Facebook Pixel code:
Question: What is the Facebook Conversion API, and how does it work?
Answer: The Facebook Conversion API allows you to send events directly from your server to Facebook, providing a more reliable way to track events that may not be captured by the browser Pixel (e.g., due to ad blockers). You can enable this by selecting the Conversion API option and entering your access token.
Question: Can I track events at both the funnel level and specific page level?
Answer: Yes, you can. Funnel-level tracking monitors events across the entire customer journey, while page-specific tracking focuses on particular actions taken on individual pages. You can configure both depending on your needs.
Question: How do I track multiple events or use multiple Pixel IDs?
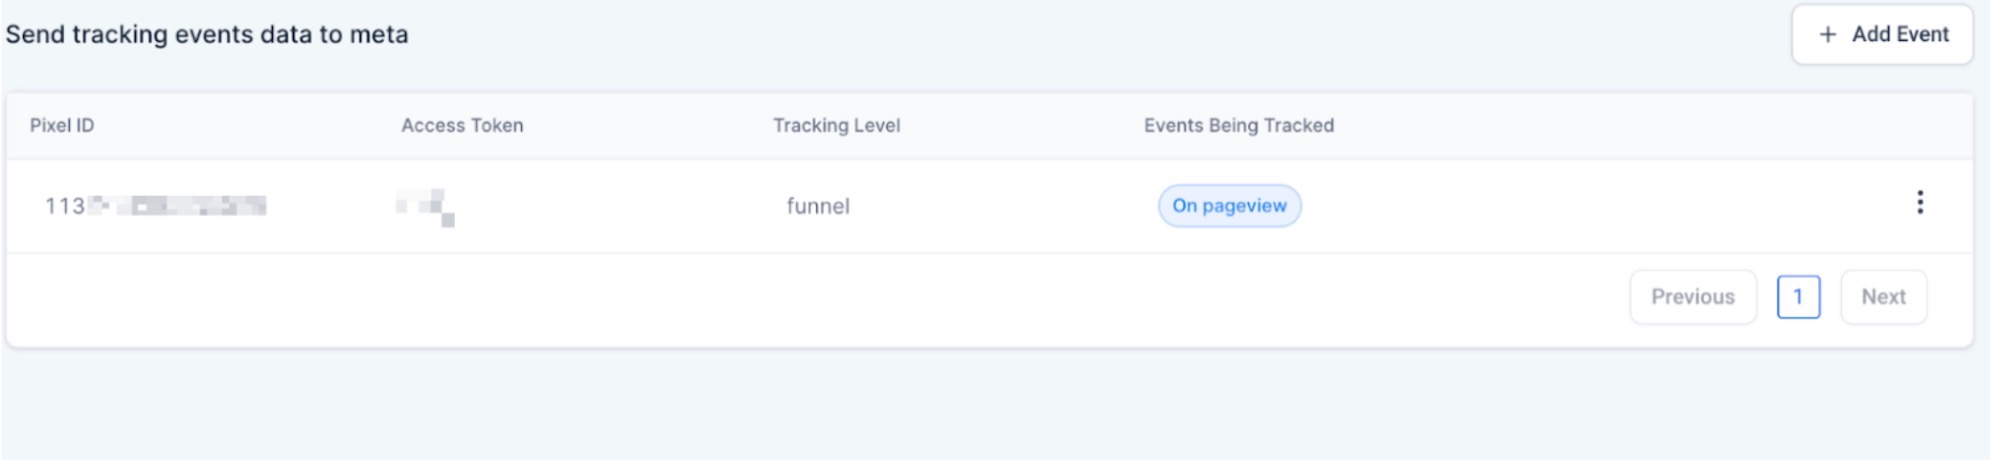
Answer: You can manage multiple Pixel IDs by adding them in the “Events” section. Each ID can be configured separately, and you can view and manage them all in a summary table for easy access.
Question: What events can I track using the Facebook Pixel?
Answer: You can track standard events like page views, leads, purchases, and custom events. The standard events include actions like ‘Add to Cart,’ ‘Initiate Checkout,’ and more. You can find a full list of Facebook’s standard events here.
Question: What’s the difference between using the Facebook Pixel and the Conversion API?
Answer: The Facebook Pixel tracks events using the browser, which can be affected by ad blockers or other restrictions. The Conversion API sends data directly from your server, ensuring more accurate tracking. Combining both provides the most comprehensive tracking setup.
Question: How do I verify that my Pixel and events are working correctly?
Answer: Use the Facebook Pixel Helper browser extension or check your Facebook Events Manager to ensure events are firing correctly. Test events on different pages and steps to confirm proper tracking.
Question: Where do I find my Facebook Pixel ID and Access Token?****
Answer: Both can be found in your Facebook Events Manager. Navigate to “Data Sources,” select your Pixel, and go to the “Settings” tab. Your Pixel ID is listed at the top. For the Conversion API, scroll down to the “Conversions API” section and click “Generate access token.”
Question: What specific information do I need to replace in the Facebook Pixel base code?
Answer: In the provided resource code, you must locate the text “IDHERE” (found in both the script and the noscript sections) and replace it with your actual Facebook Pixel ID from your Events Manager.