¶ Images in Forms
Images in Forms
In the ever-evolving world of form and survey design, visual appeal plays a crucial role in capturing respondents’ attention and enhancing their overall experience. In this article, we introduce these exciting features that allow users to add custom images to their forms: Background Images, Header Images, and the Image Resizing & Alignment tool.
By adding background images and header images to your forms, you can create an aesthetically pleasing and visually engaging experience for your respondents. With image resizing and alignment included, the experience is further enhanced for the builder. Let’s explore how these features work and the benefits they bring to your form-building process.
Benefits:
-
Background images significantly improve the visual engagement of forms, capturing the attention of respondents from the very beginning.
-
Header images set a visually appealing tone right at the top, creating an immersive form experience for your audience.
-
Header images offer a bold visual statement without the need for extensive design efforts.
-
Background and header images provide the flexibility to align your forms with your branding and design preferences, creating a cohesive visual representation.
-
Custom images enable you to showcase your brand’s essence and message to respondents, strengthening brand recognition.
-
The image Resizing & Alignment feature reduces the time spent on image adjustments, enhancing the overall form-building process.
Branding and Personalization
- Make the most of the customization options. For background images, select images that align with your branding or design preferences to create a cohesive visual representation.
- When choosing a header image, consider images that reflect your brand’s essence and the message you want to convey to respondents.
**Accessing the Form Builder: **
- Log in to your account and navigate to Sites > Forms > Builder.
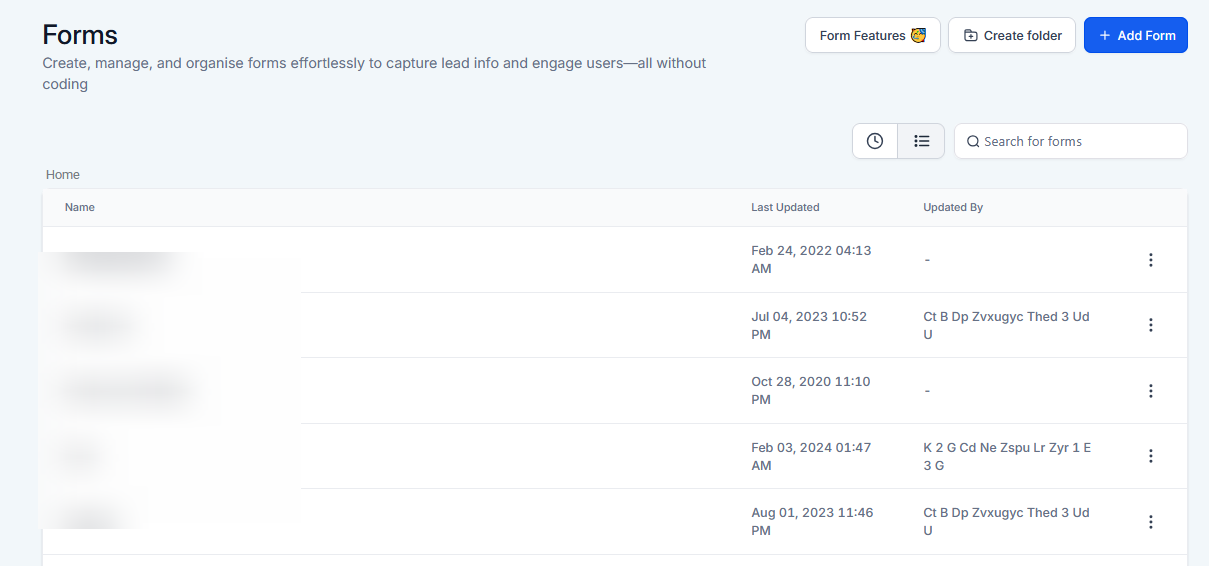
- For a new form, click on “+ Add Form”. If you wish to update an existing form, select the form you want to edit.
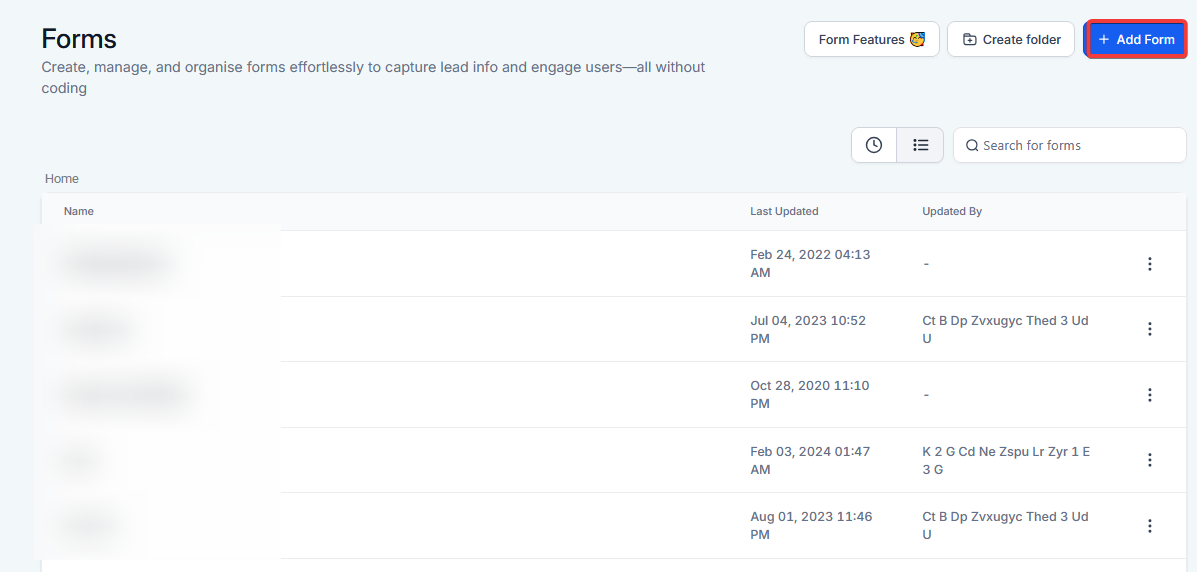
Image Resizing and Alignment
- Find the "Add Form Element” option in the form builder.
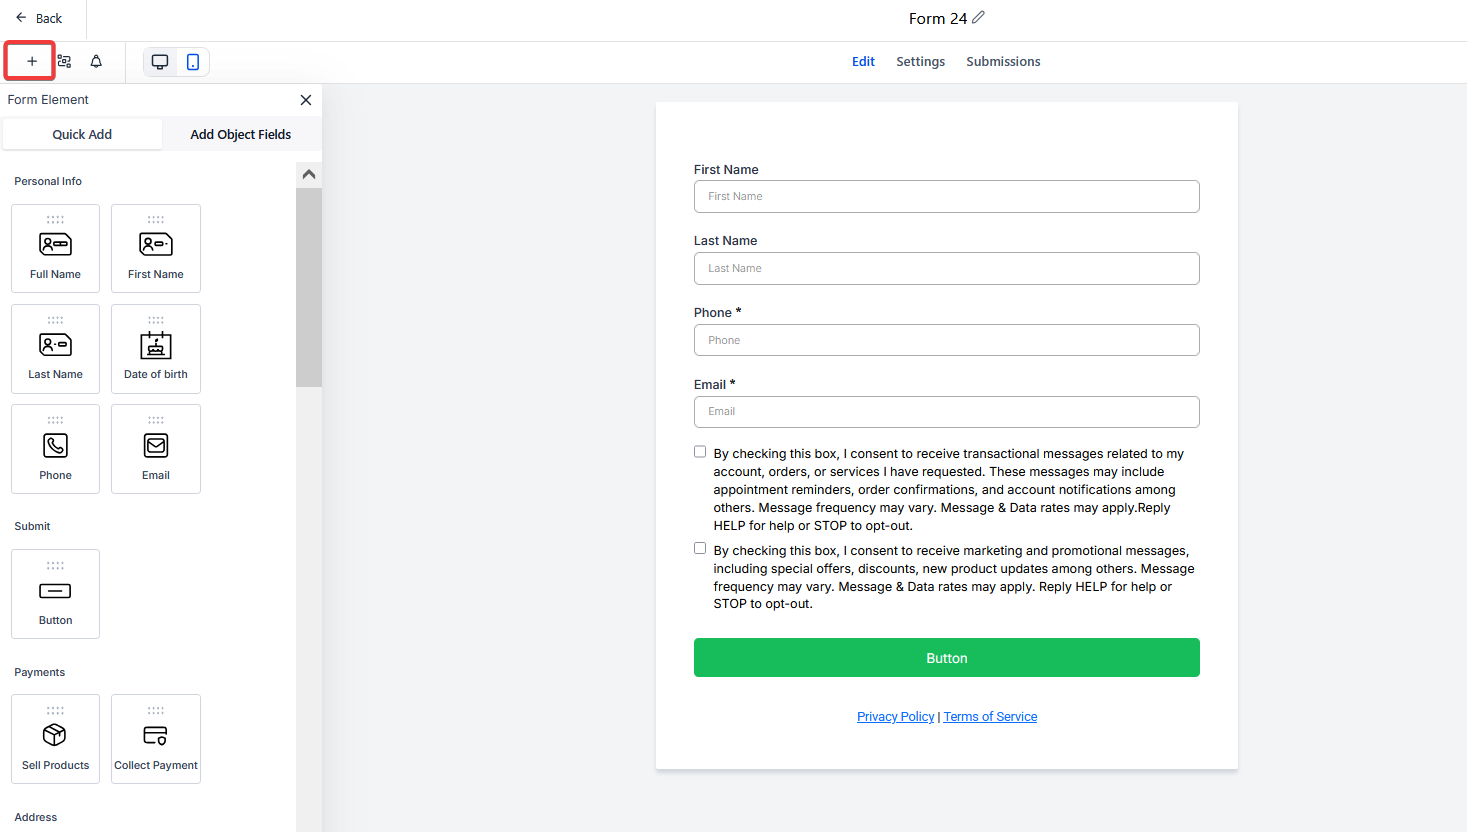
- Scroll down to select “Image” from the Customized section and drag it onto the form.
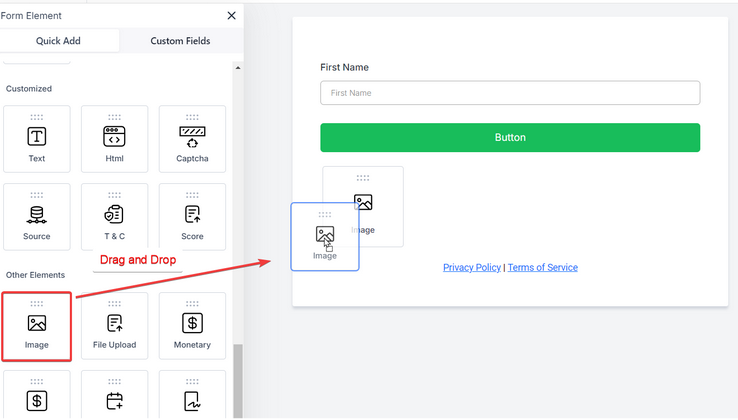
- This will place a choose file field on the page. Click on the added image to adjust settings such as text, alignment, and width manually in advance.
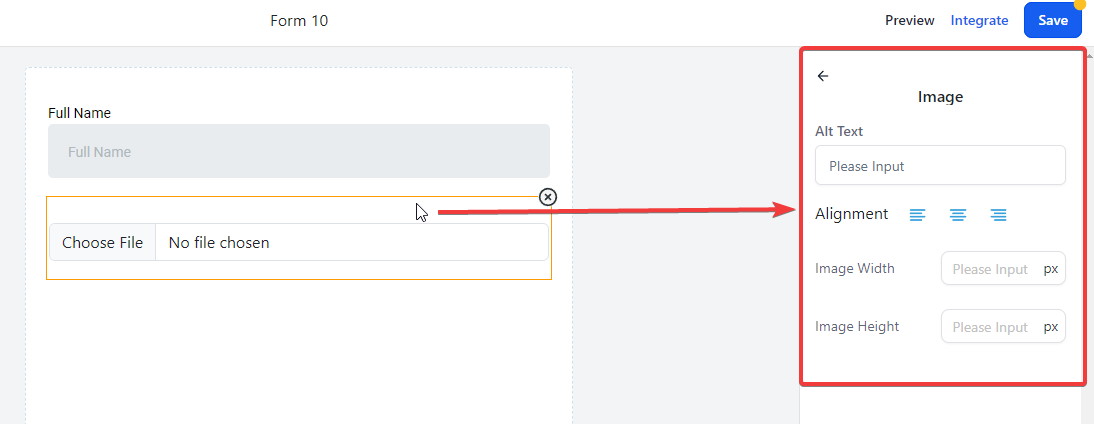
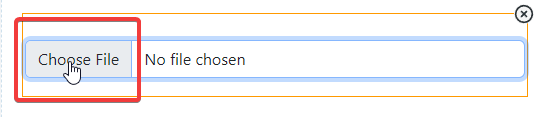
- Click on Choose File to add an image
Note: Adjust settings at any time by clicking on the image.
- Background Image - A Captivating Backdrop for Your Forms:
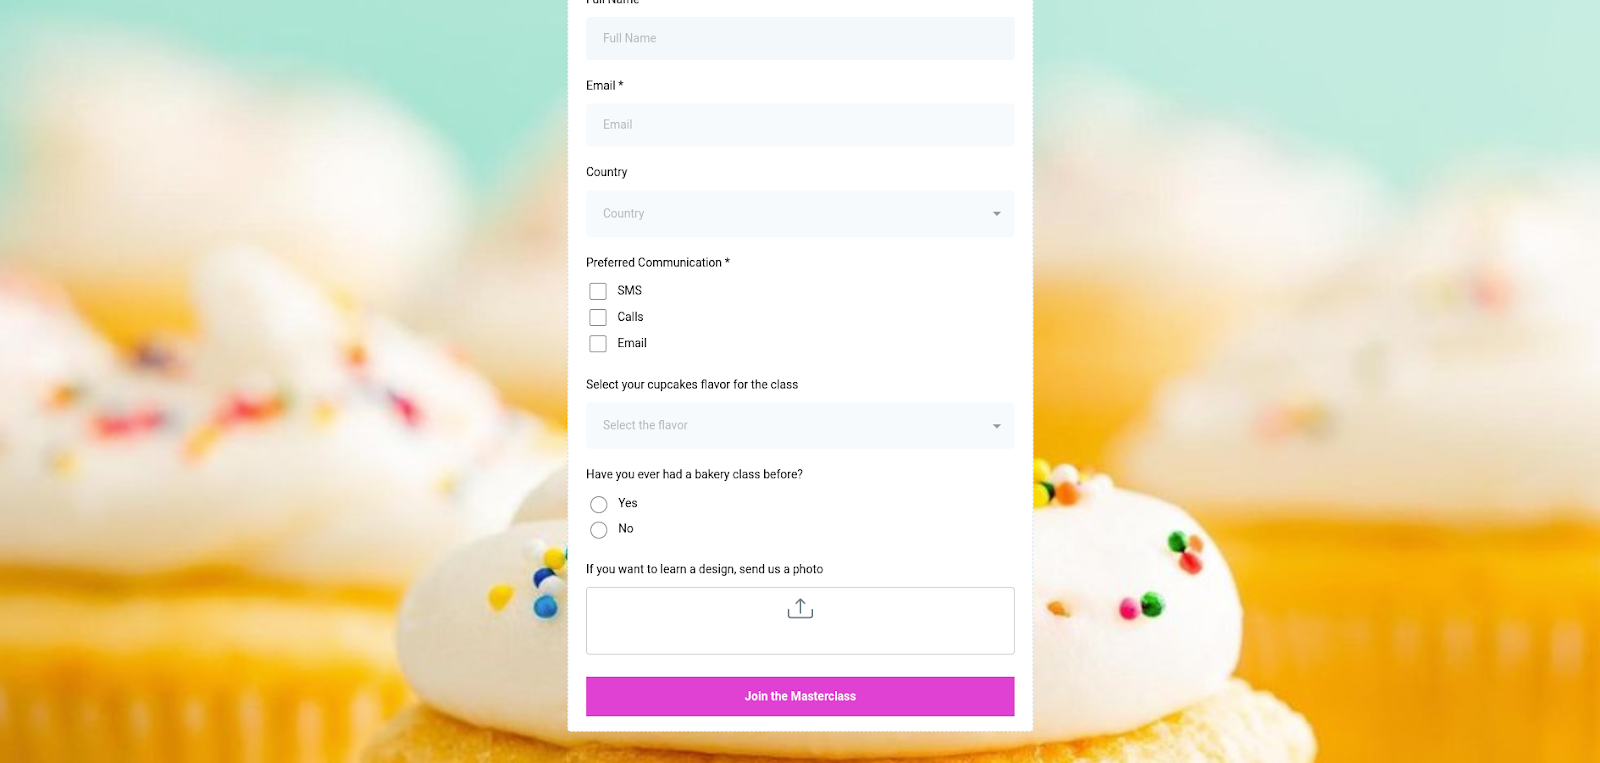
- Background images allow you to add custom visuals that cover the entire page of your form, providing a captivating backdrop that sets the tone for your form and captures the attention of respondents.
How to Use Background Images:
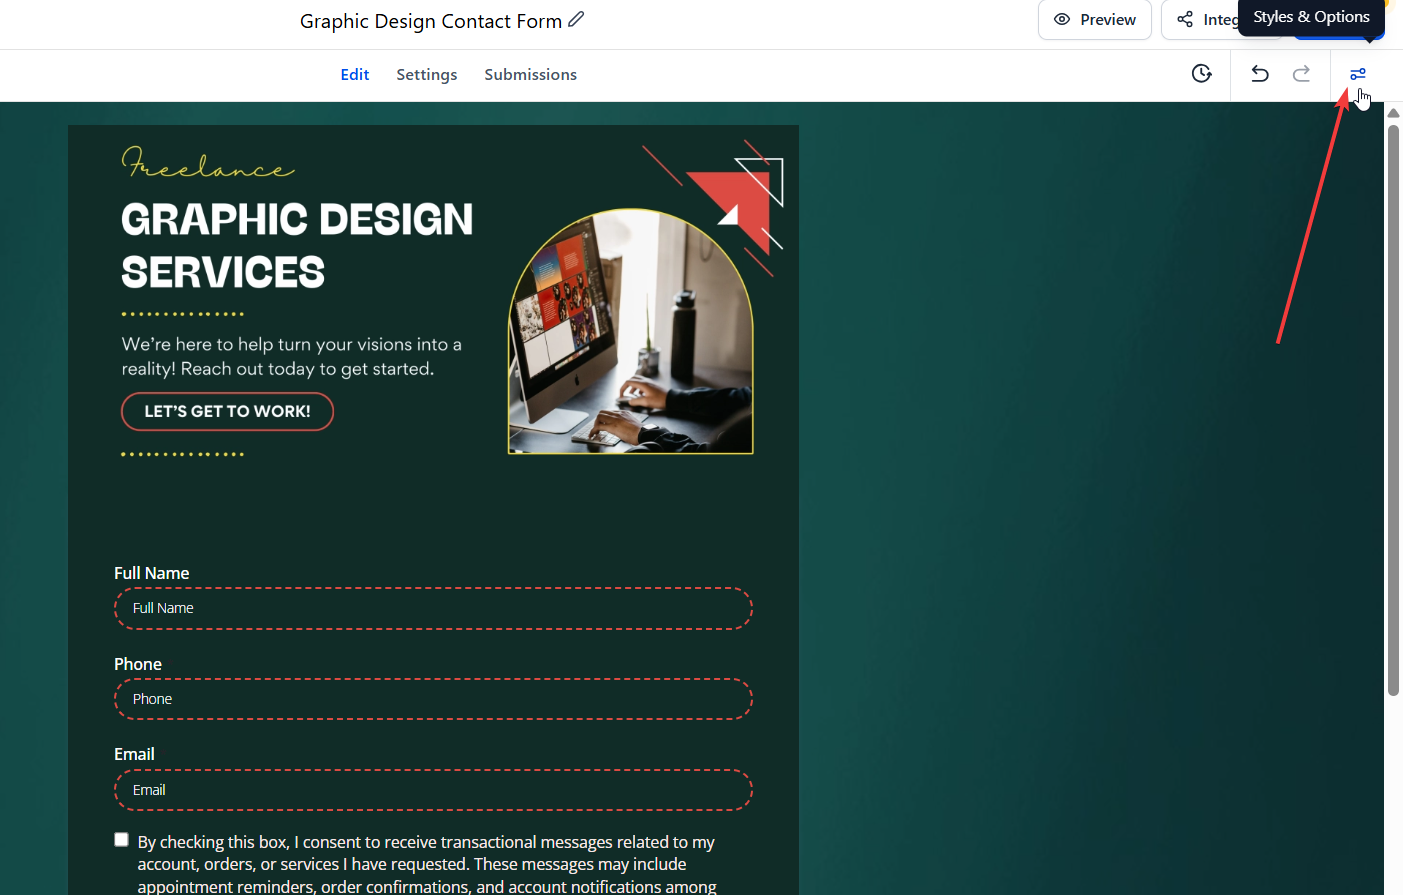
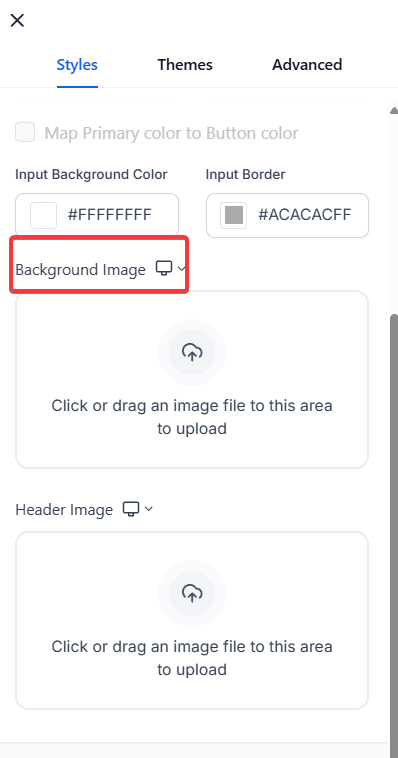
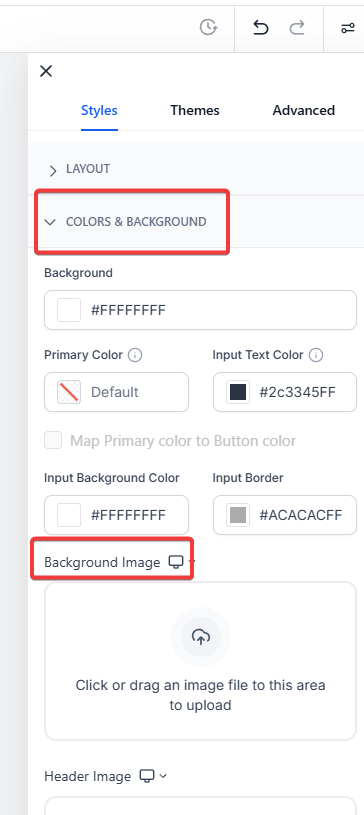
- Access the form builder and navigate to the “Styles” section.
- Scroll down in the menu to Colors and Background, click on the upload area, or drag an image file to this space to add a background image of your choice. The image will cover the entire page background, enhancing the form’s visual allure.
- Header Image - Make a Bold Statement at the Top:
- The header image feature allows you to display custom images that span the width of your form, prominently positioned at the top. This immediately captures attention and set a visually appealing tone.
How to Use the Header Image:
- Access the form builder and navigate to the “Styles” section.
- Scroll down in the menu, click on the upload area, or drag an image file to this space to add a header image of your choice.
- This image spans the width of the form, immediately capturing attention and setting a visually appealing tone.
Save and Preview Your Form
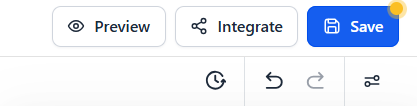
- Before making your form live, remember to save your changes.
- Once saved, click on the “Preview” button to see how your form looks with the new background and header images.
- Previewing the form allows you to make any additional adjustments if needed before sharing it with respondents.
Congratulations! You’ve learned how to enhance your forms with captivating background and header images, elevating your form experience and creating a visually appealing journey for your respondents. With the flexibility to align forms with your branding and design preferences, and the reduced form-building time, you now have the tools to captivate your audience and make a lasting impression.
¶ FAQs
Question: Can I use both background and header images in the same form?**
**Answer: Yes, you can use both background and header images simultaneously in your forms. This allows you to create a more visually dynamic and engaging form experience for your respondents.
Question: What image formats are supported for background and header images?**
**Answer: Supported image formats typically include JPEG, PNG, and GIF. Ensure that your images are high-quality and appropriately sized for optimal display in your forms.
Question: How can I adjust the size and alignment of images in my forms?**
**Answer: You can adjust the size and alignment of images directly in the form builder by clicking on the image element. Use the Image Resizing & Alignment tool to manually set the desired width, alignment, and other settings.
Question: Will adding images affect the loading speed of my forms?**
**Answer: Adding images can impact loading speed, especially if the files are large. To maintain performance, optimize your images by compressing them and using appropriate dimensions. This will help ensure a smooth and responsive form experience for your respondents.
Question: How can I preview my form with the new images?**
**Answer: After saving your changes, click the “Preview” button in the form builder to see how the form looks with the background and header images. Make adjustments if needed before publishing.
Question: What is the difference in how a Background Image and a Header Image are displayed?
Answer: A Background Image acts as a backdrop that covers the entire page behind your form, creating an immersive environment. A Header Image is positioned prominently at the very top and spans the width of the form itself to set a visual tone.
Question: How do I specifically add a custom image element to the middle of my form rather than using the background or header settings?**
**Answer: To add a standalone image within the form body, go to the “Add Form Element” menu and scroll to the “Customized” section. Drag the Image element onto your form. You can then click “Choose File” to upload your visual and use the sidebar settings to manually adjust the width and alignment.