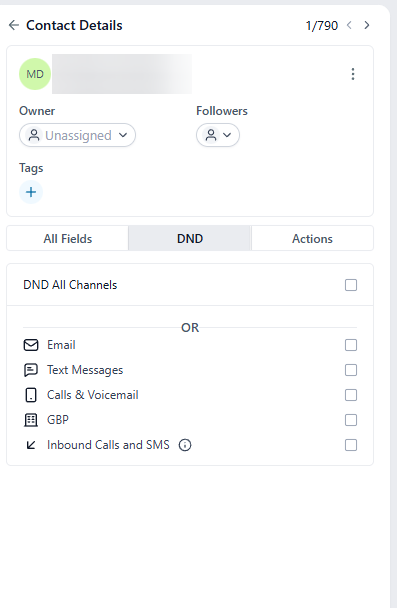
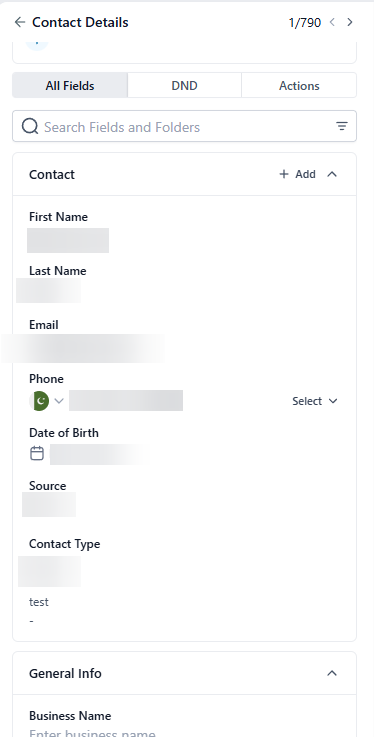
Every contact record has three parts: Contact, General Info, and Additional Info. If you click on a contact record, you can view the person’s full profile/card. This will give you a great overview of their pertinent contact information, the communication you’ve had with them, and a quick snapshot of their history in LeadMagicX. You can also add and view what company they are a part of.
This section gives you contact information you’ve collected, such as name, email, phone, address, and more. It also tells you what campaigns, opportunities, and other system sections have been applied for this person.
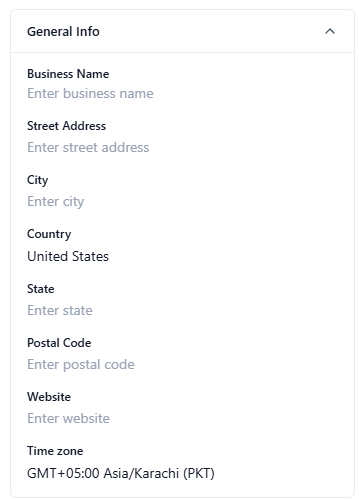
Here you can view Business information for this Contact, their website, and timezone.
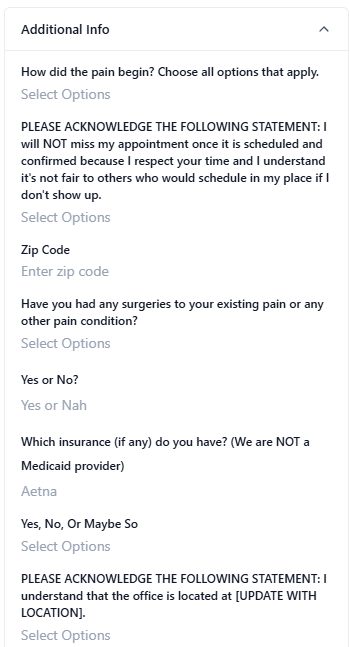
This section will also contain any custom fields you’ve created and collected.
By default, you’ll have these 3 tabs - Contact, General Info, and Additional Info. These tabs can be completely customized - you can add tabs and also move/add/delete fields from specific tabs.
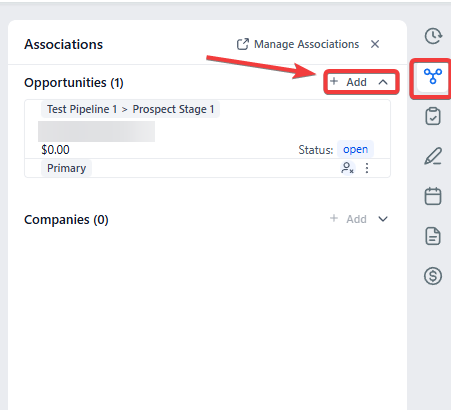
The primary and additional opportunities associated with a contact are displayed directly on their contact details page. You can view all relevant opportunities at a glance without needing to navigate back to the opportunities page.

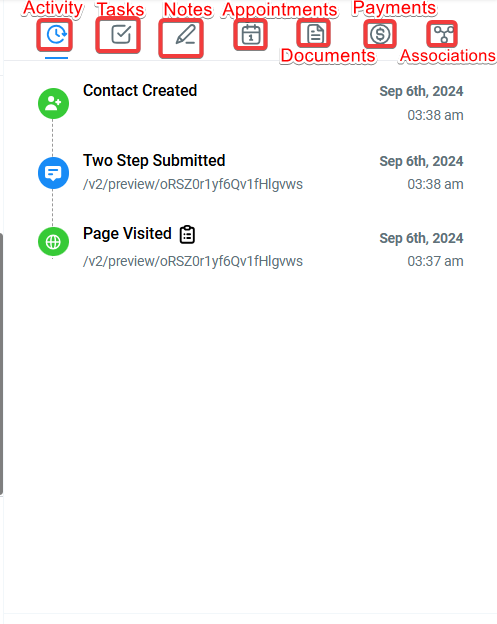
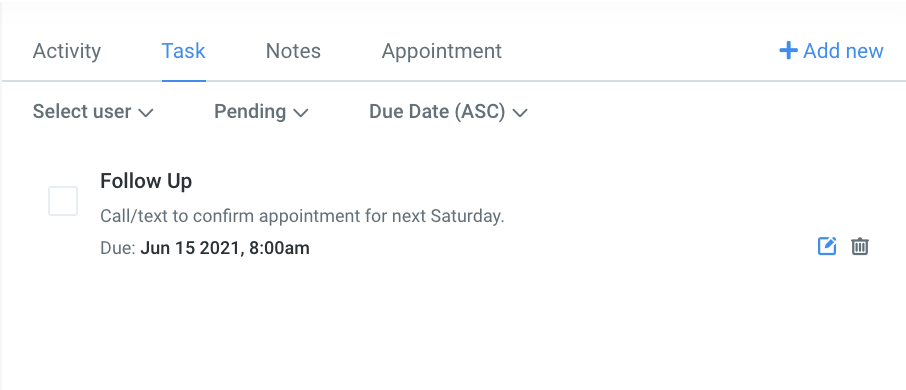
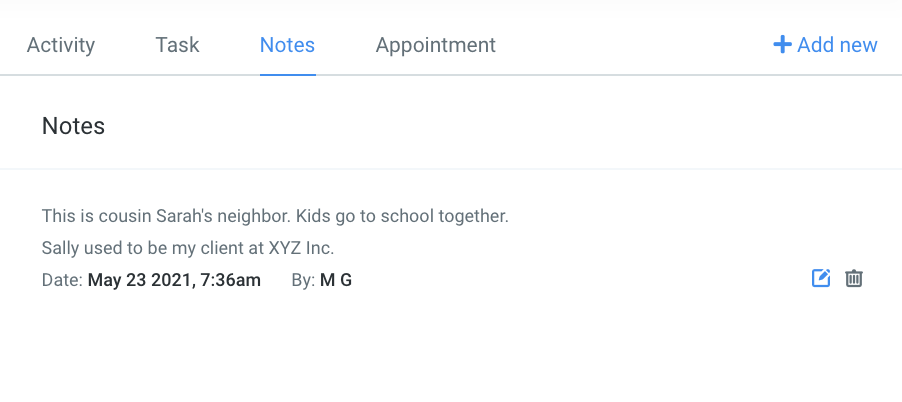
In the right sidebar, you will see: Activity, Task, Notes, Appointments, Documents, and Payments

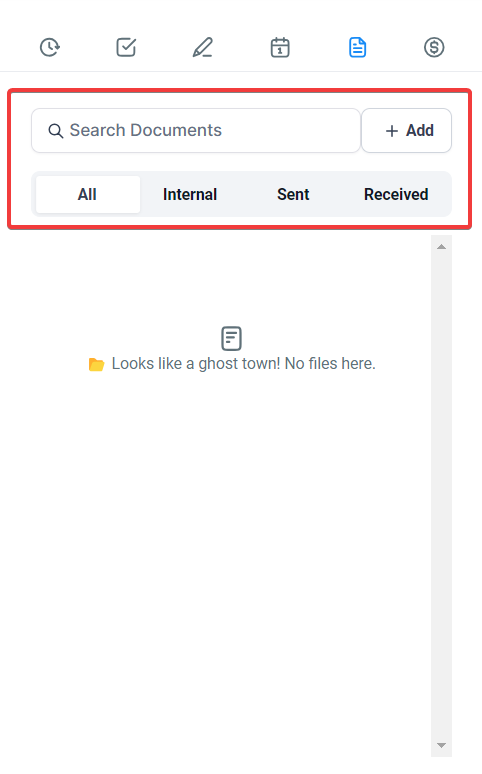
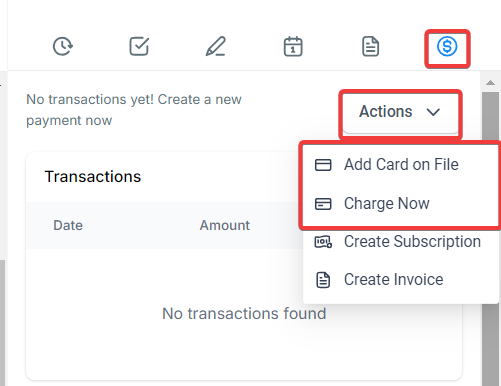
Payments:
Process customer payments directly from the Contact page.
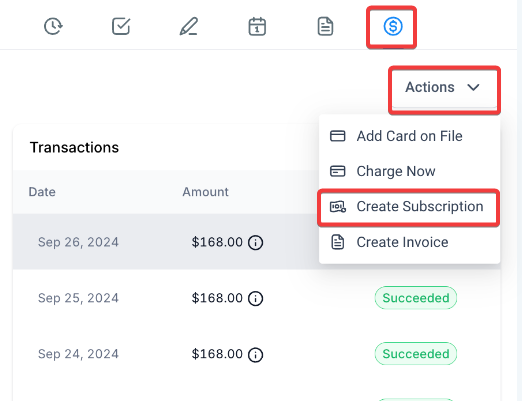
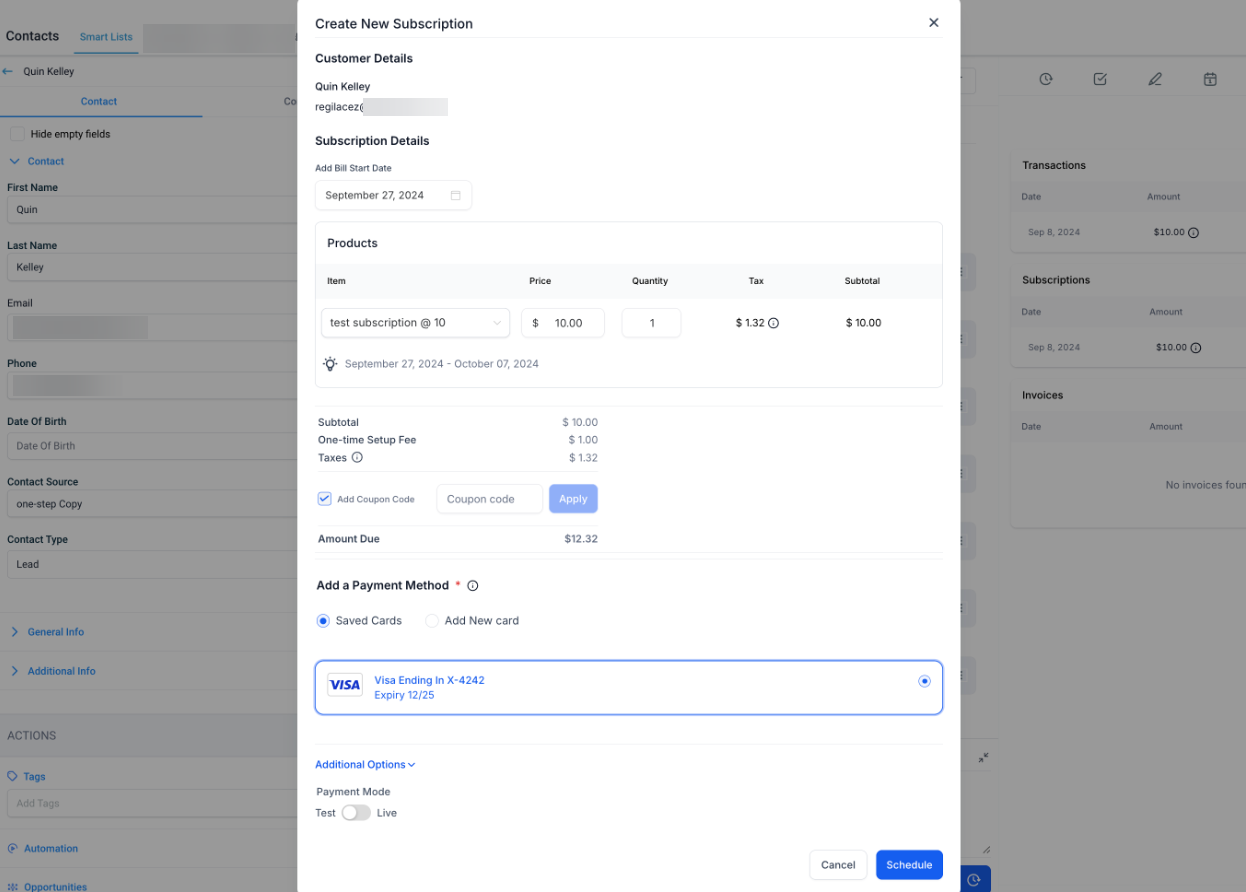
Subscriptions can also be added directly from the Contact’s detail page, allowing for a faster setup for the customer.
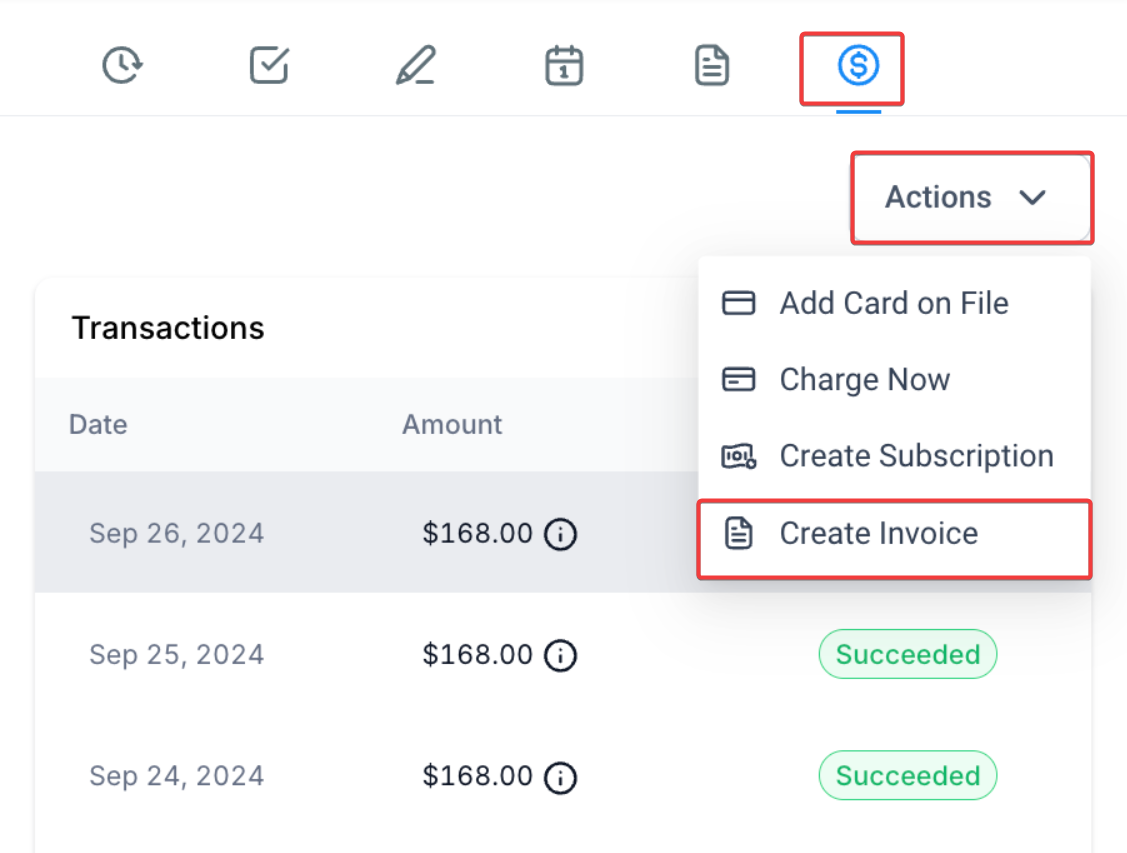
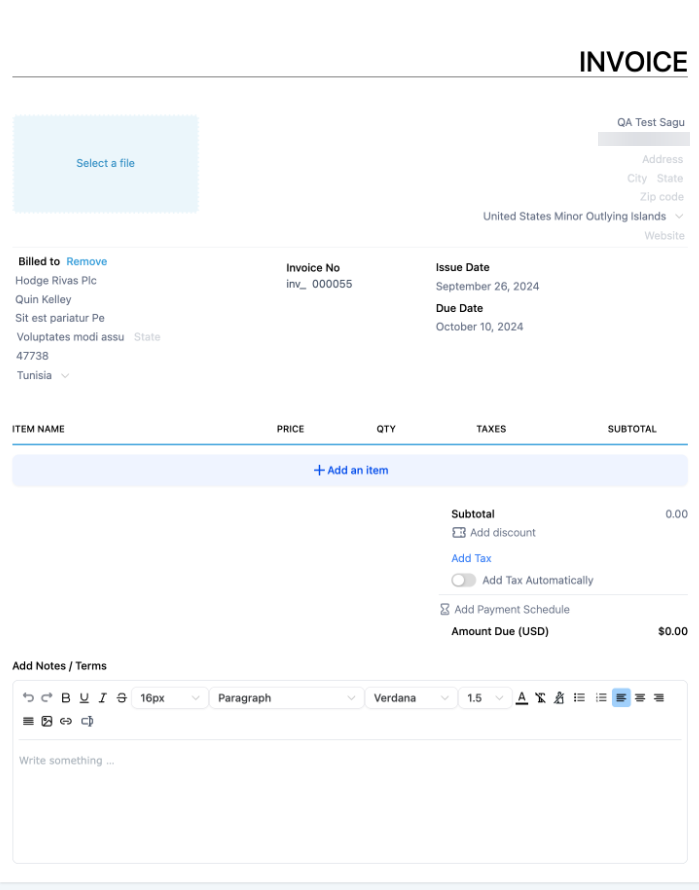
An invoice can be created directly from the Contact’s detail page, automatically redirecting the user to invoice creation with the customer’s details pre-filled.
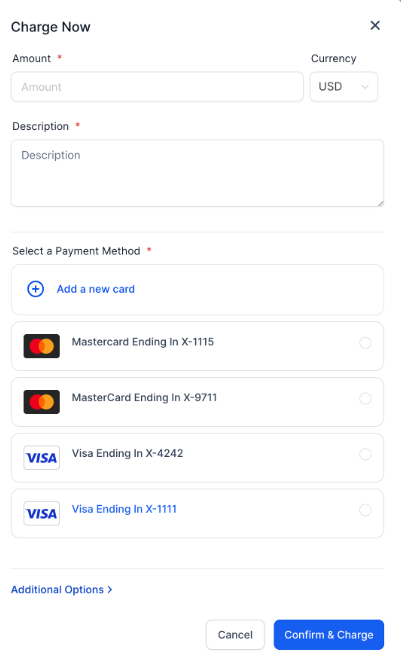
Charge Now: Click the money icon to add a new card or select an existing one. Confirm the amount and click ‘Charge Now’ to complete the transaction.
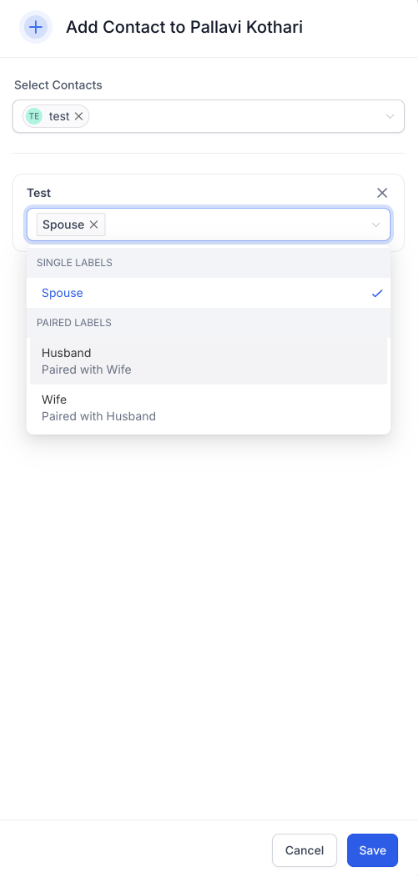
Associations: Users can add and manage associations between multiple contacts using custom labels, such as “Parent-Child” or “Manager-Employee.” Users can add up to 10 associations per contact, with a dedicated view in the contact details section displaying all linked contacts by their relationship labels.
To create Associations navigate to Settings(Located in the bottom left corner) > Objects > Contacts and click + Create Association.
Manage Cards :
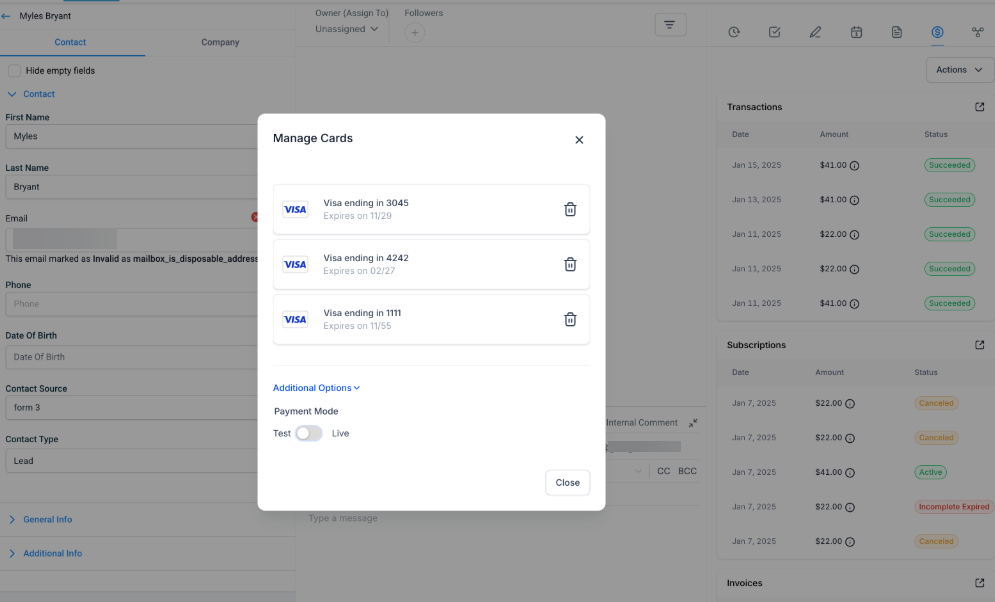
You can also manage, view, and delete cards on file for any customer. This includes cards added using the card-on-file feature or cards used in past transactions. If the card is not associated with any active subscription, a standard confirmation pop-up will appear when deleting the card. However, if the card is linked to an active subscription, a warning will appear before confirming the deletion.
To access the “Manage Cards” feature, navigate to the contact details page, select the “$” icon, and then choose the “Actions” dropdown.
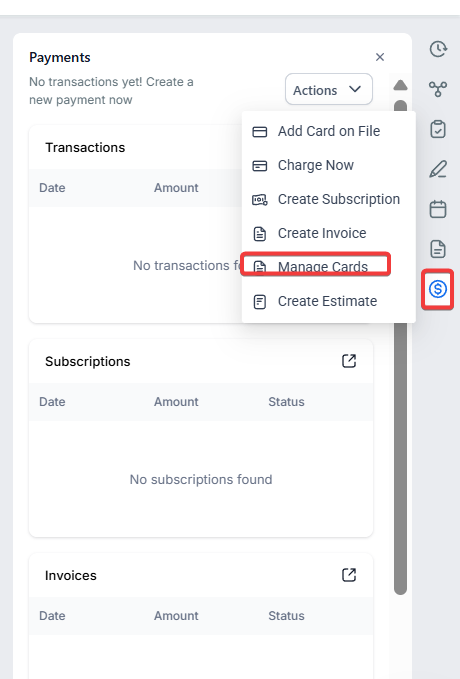 
From there, you can manage and delete cards.
 
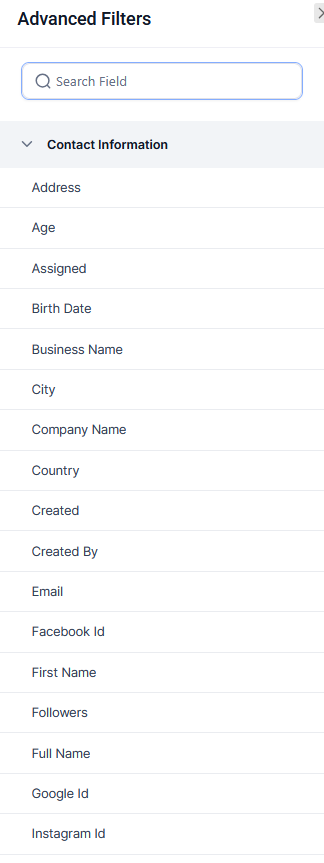
You can navigate your contact records by using filters. The filter section is located in the top right corner of the contact list.
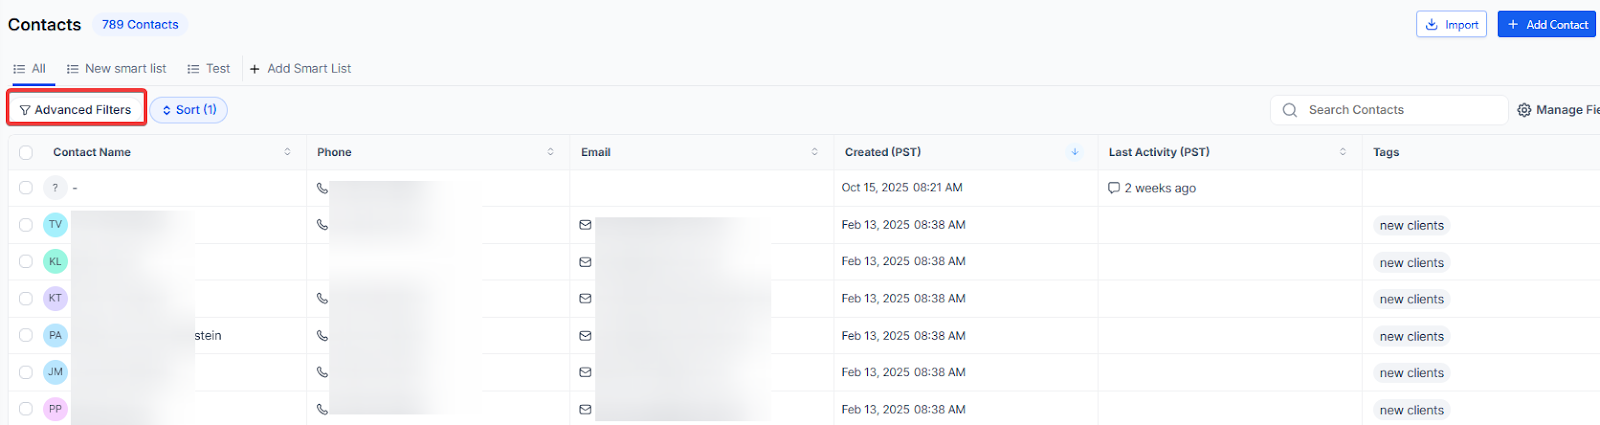
You can use our advanced filters to filter your contacts based on a specific attribute. Moreover, you can use your own created custom fields to filter the contacts.
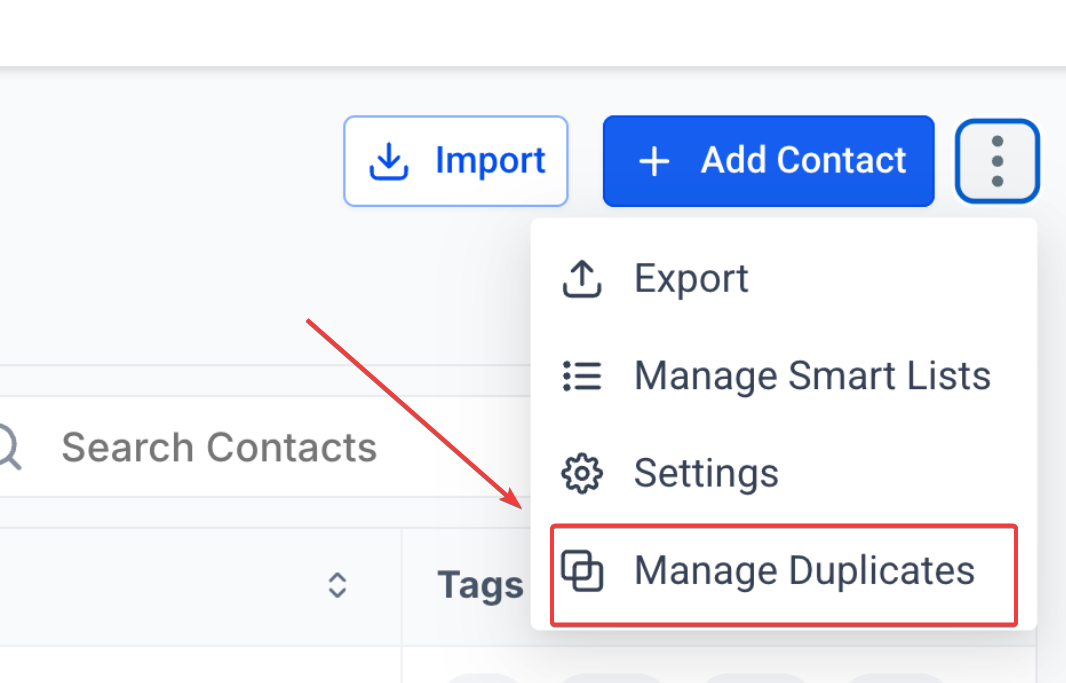
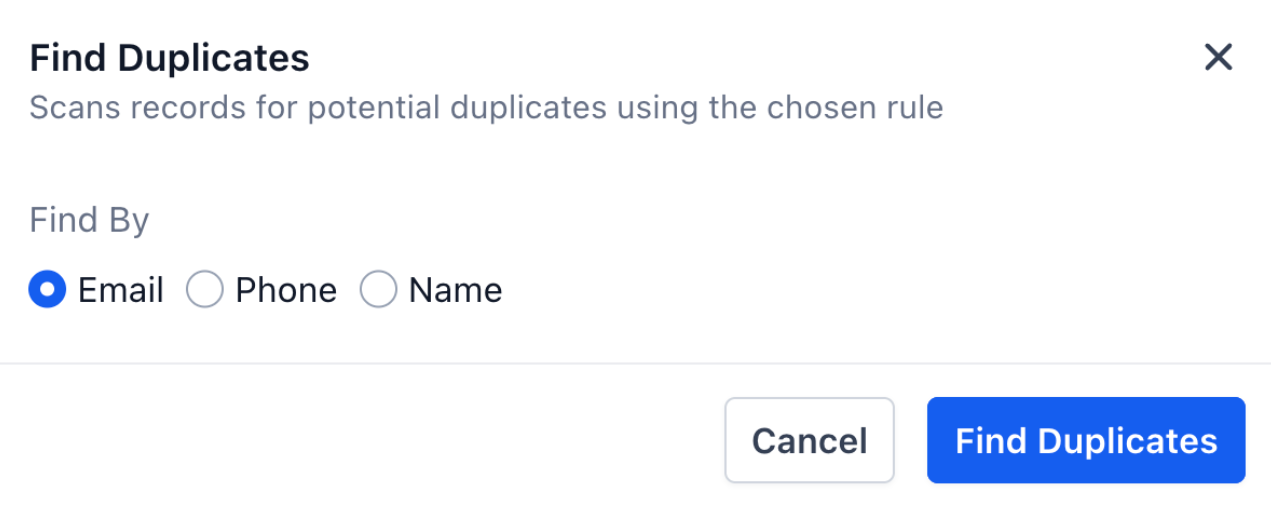
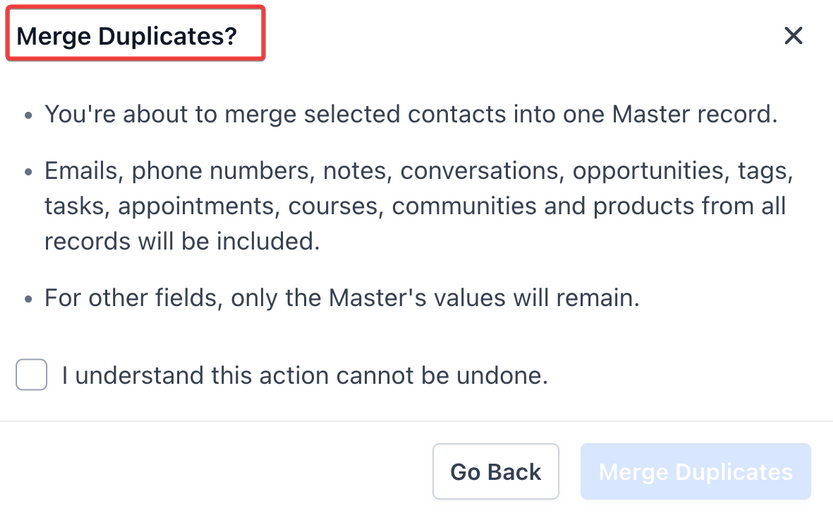
Quickly review and merge duplicate contacts from the Contacts page by scanning via name, phone, or email. View up to 10,000 potential duplicates, then merge, reject, or resolve them manually. Related data like emails, notes, and tasks are combined into one clean record. Use the Find Duplicates option in the Contacts menu to start.
To use this, select the Find Duplicates option from the Contacts menu.
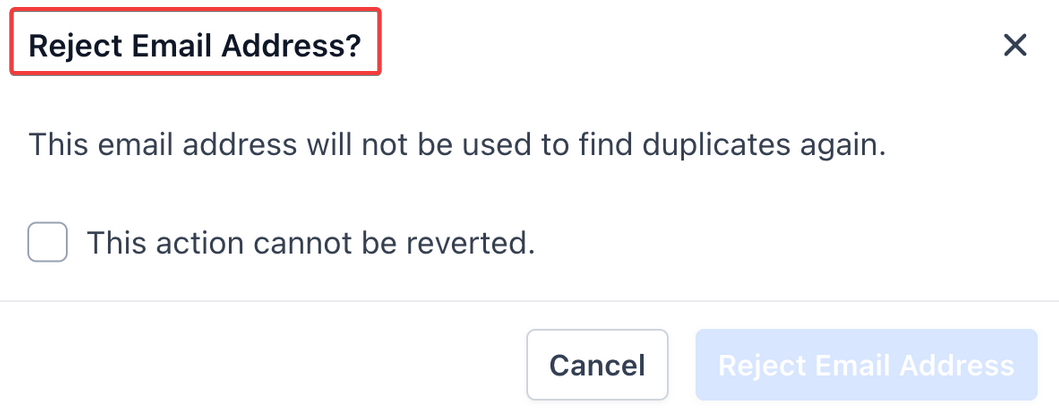
Review suggested matches, and choose whether to merge, reject, or manually resolve each set.
Question: How can I view a contact’s full profile?
Answer: To view a contact’s full profile, click on their contact record. This will show you their complete profile/card, including contact information, communication history, and associated company details.
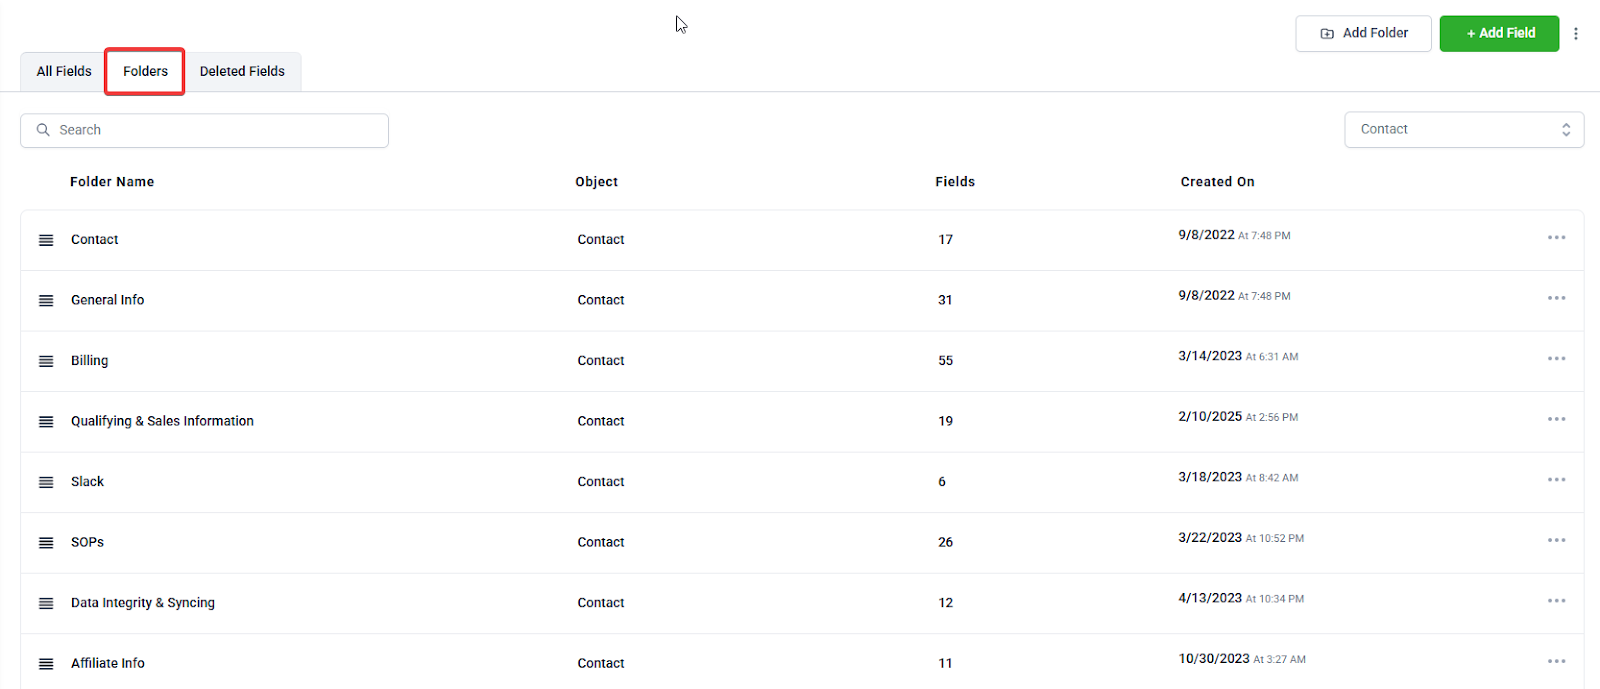
Question: Can I customize the tabs in a contact record?
Answer: Yes, you can customize the tabs in a contact record. Navigate to Settings and Custom Fields, then click ‘Folders’ to add, move, or delete fields within the tabs.
Question: How can I process a payment for a contact?**
**Answer: Click the money icon on the Contact page, select ‘Add New Card’ to enter card details, or choose an existing card. Confirm the amount and click ‘Charge Now’ to process the payment.
Question: What can I find in the Activity section of a contact record?
Answer: The Activity section displays all interactions with the contact, such as forms submitted and appointments booked, providing a comprehensive view of their engagement with LeadMagicX.
**Question:How can I view all associations for a particular contact?
**Answer: All associations are viewable within the contact’s details under the “Associations” section, with contacts grouped by the assigned labels.
Question: How do I use filters to navigate contact records?
Answer: Use the filters located in the top right corner of the contact list to filter contacts based on specific attributes or custom fields you have created.
Question: How can I manage cards on file for a customer?**
**Answer: Navigate to the contact details page, click on the “$” icon, and then select “Actions” and “Manage Cards.” From there, you can view, manage, or delete cards on file for the contact.
Question: Can I delete a card associated with a subscription?**
**Answer: Yes, cards linked to an active subscription can be deleted, but you will receive a warning before confirming the deletion.
Question: How do I clean up duplicate contacts in my database?
Answer: Use the “Find Duplicates” option in the Contacts menu. The system can scan up to 10,000 records by name, phone, or email. You can then review suggested matches and choose to merge, reject, or manually resolve them.