¶ Integrating Custom Forms with Calendars
Integrating Custom Forms with Calendars
This guide will walk you through how to create and connect custom forms to your calendar, making your scheduling process more effective.
¶ How to Create and Integrate a Custom Form with a Calendar
¶ Step 1: Create a Custom Form
1. Go to Sites on the left → Select Forms at the top → From the dropdown select Builder.
2. Click Add Form and choose to start from Scratch or pick from templates.
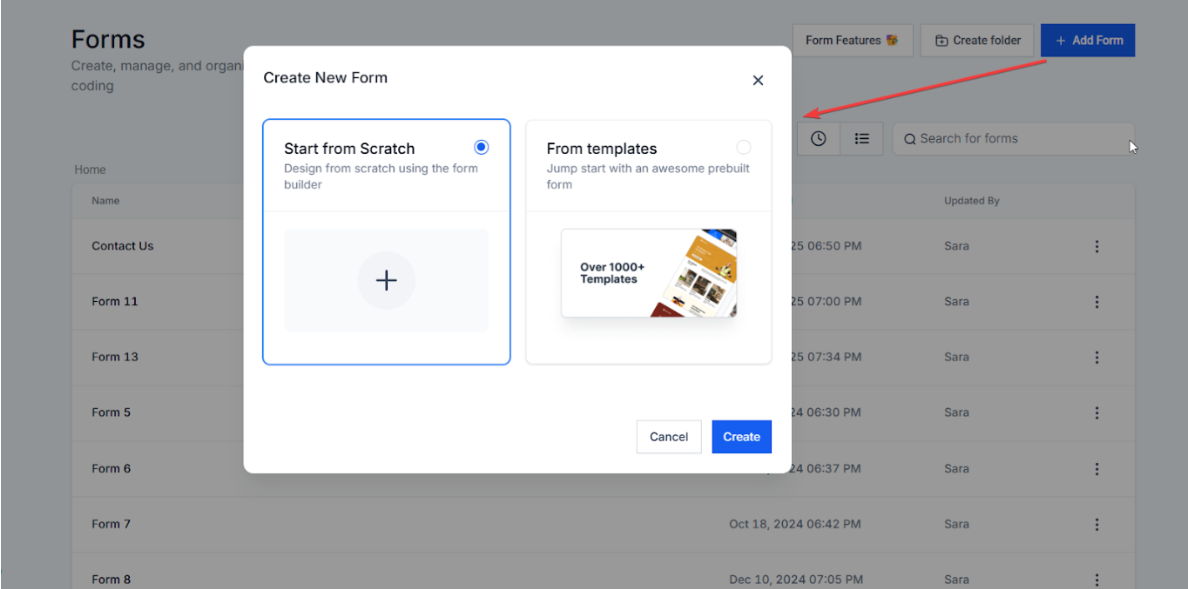
3. Name your form for easy identification.
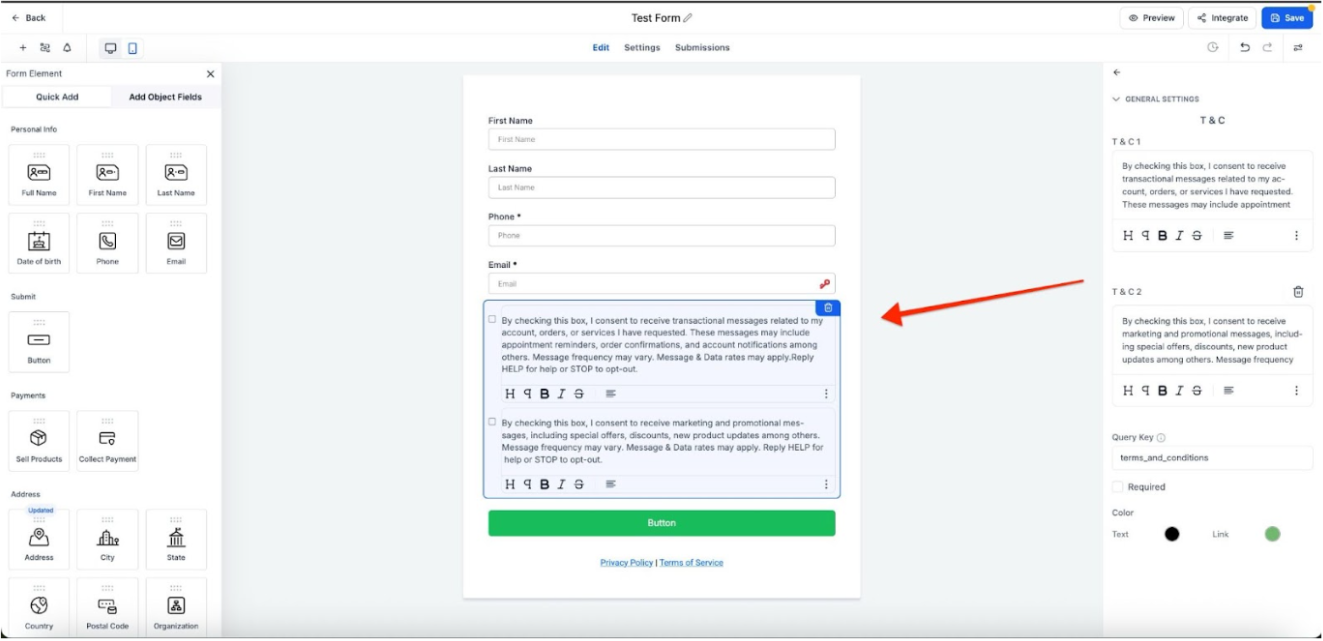
4. Remove any unnecessary fields (e.g., consent checkboxes or privacy policies) if they are not required for booking.
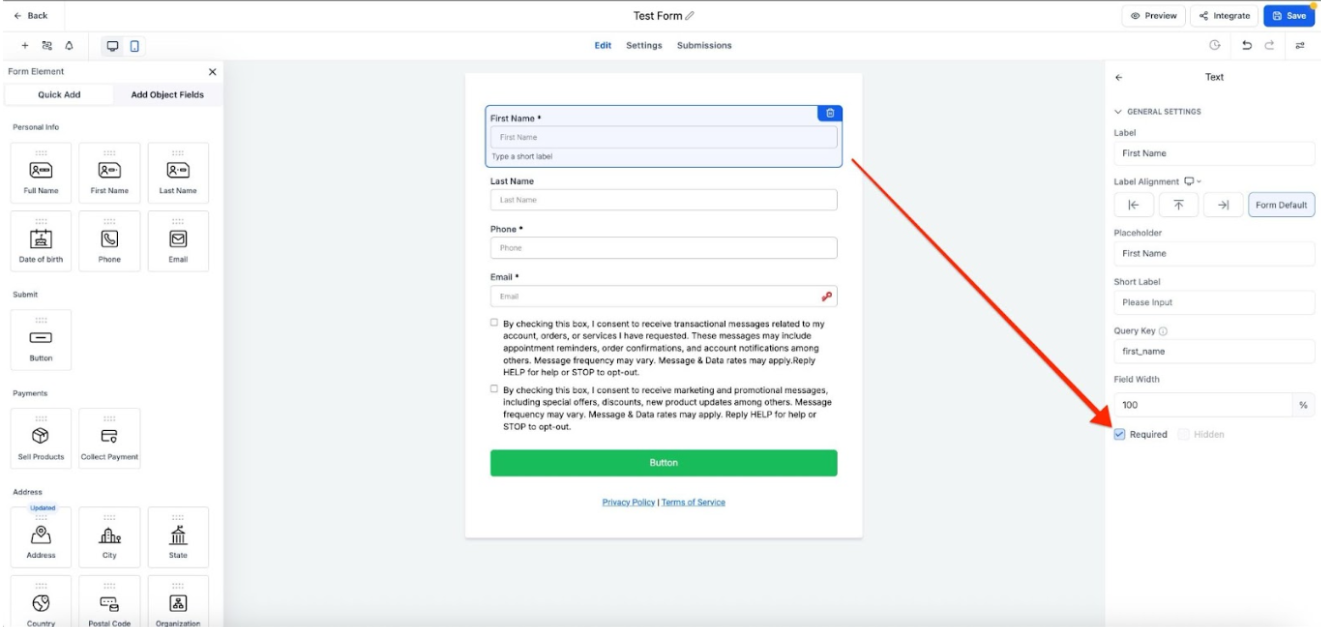
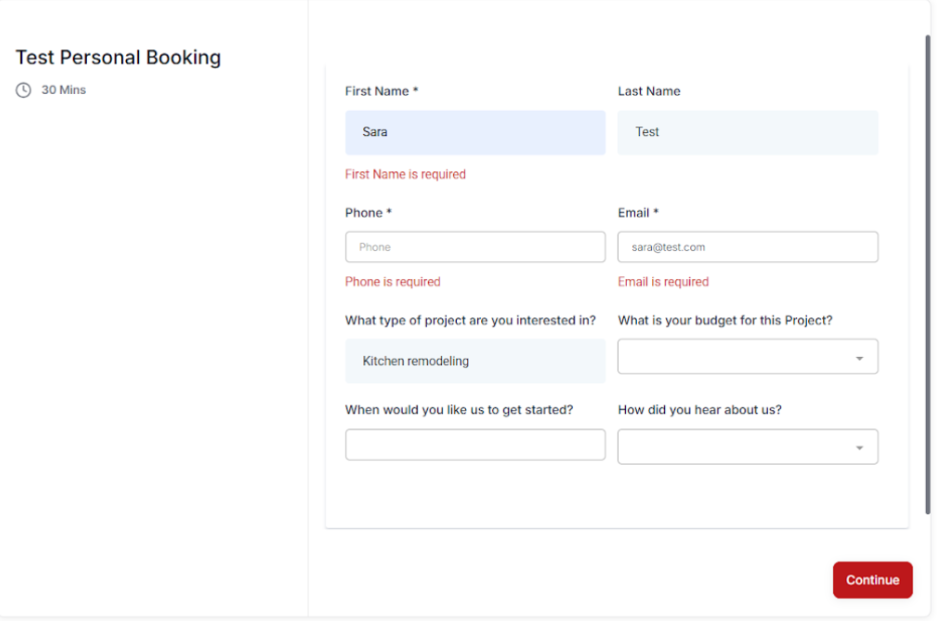
5. Add standard fields like:
- First Name, Last Name, Email, Phone Number (Set these as required).
- Address, City, State, ZIP Code (Useful for location-based businesses).

6. Add custom fields to gather specific information:
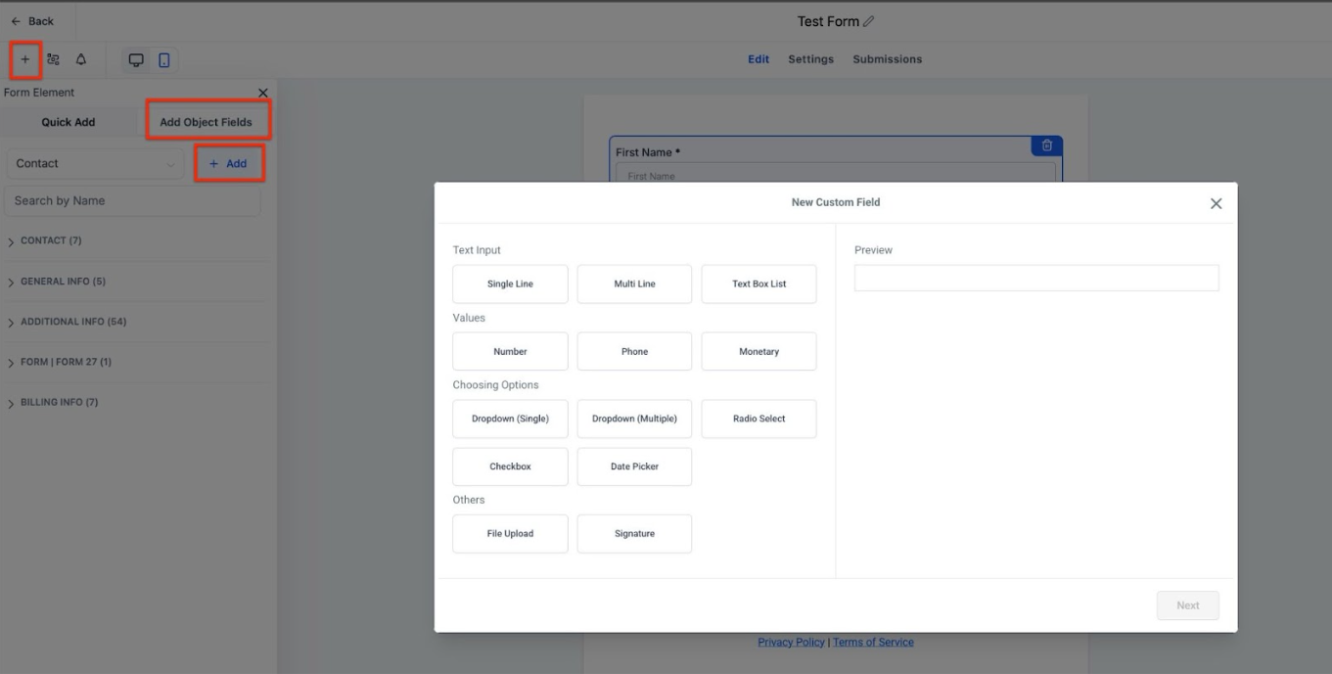
- Project Type: Example: “Kitchen Remodel” (Single-line text field)
- Budget Range: Example: “$10,000 - $20,000” (Dropdown or text field)
- Project Start Date: Example: “March 15, 2024” (Date picker or text field)
- Referral Source: Example: “Google Search” (Dropdown selection)
7. Set any required fields and adjust the layout (e.g., two-column format for easy readability).

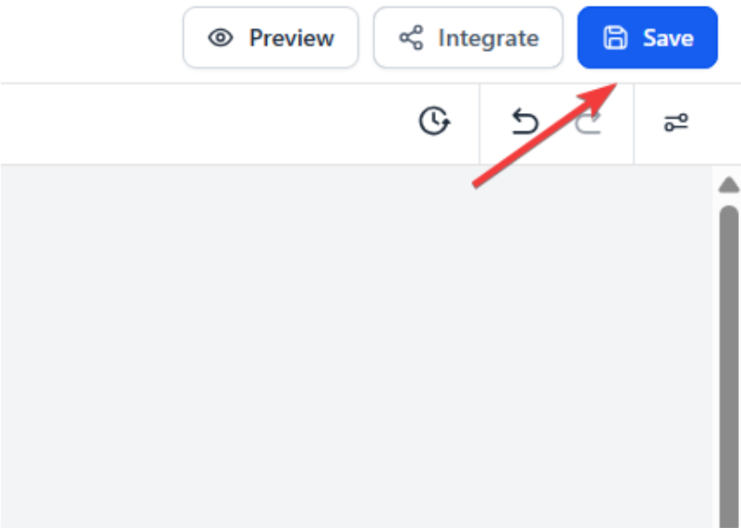
8. Click Save Form once all fields are added.
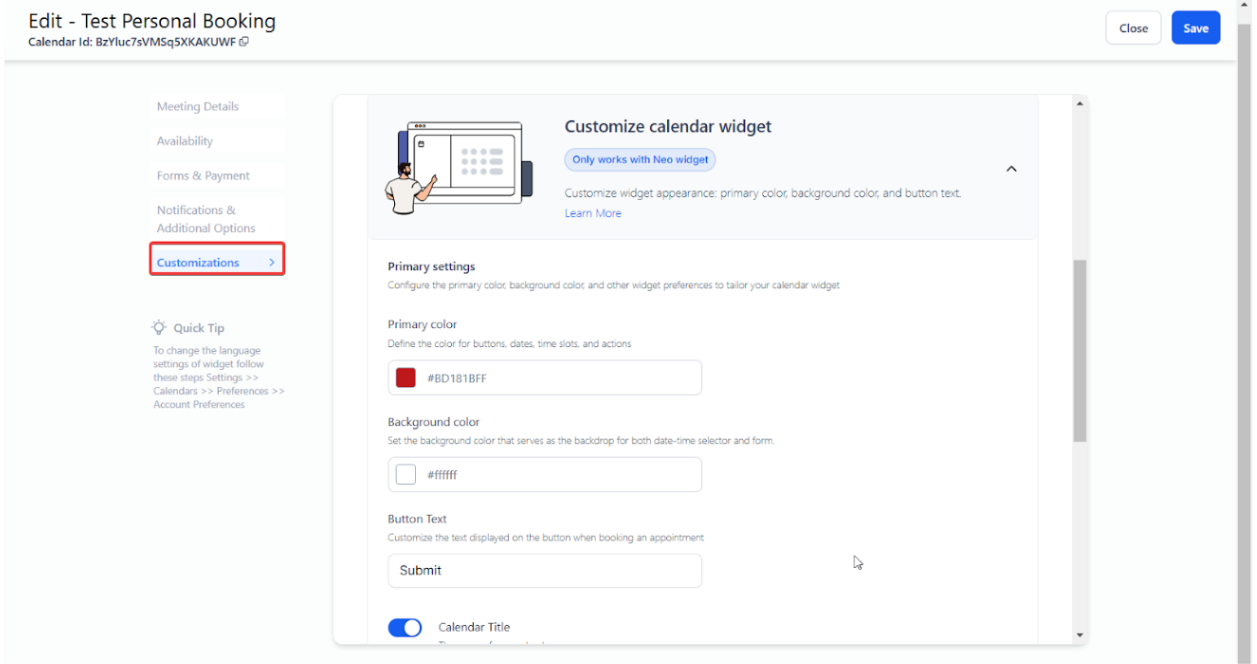
Note: The Calendar Button takes precedence over the Form Button. While the form button itself cannot be changed separately, you can customize the Calendar Widget , which will also reflect color changes. Adjust the widget settings and set the form text within the customization options.
Step 2: Link the Form to Your Calendar
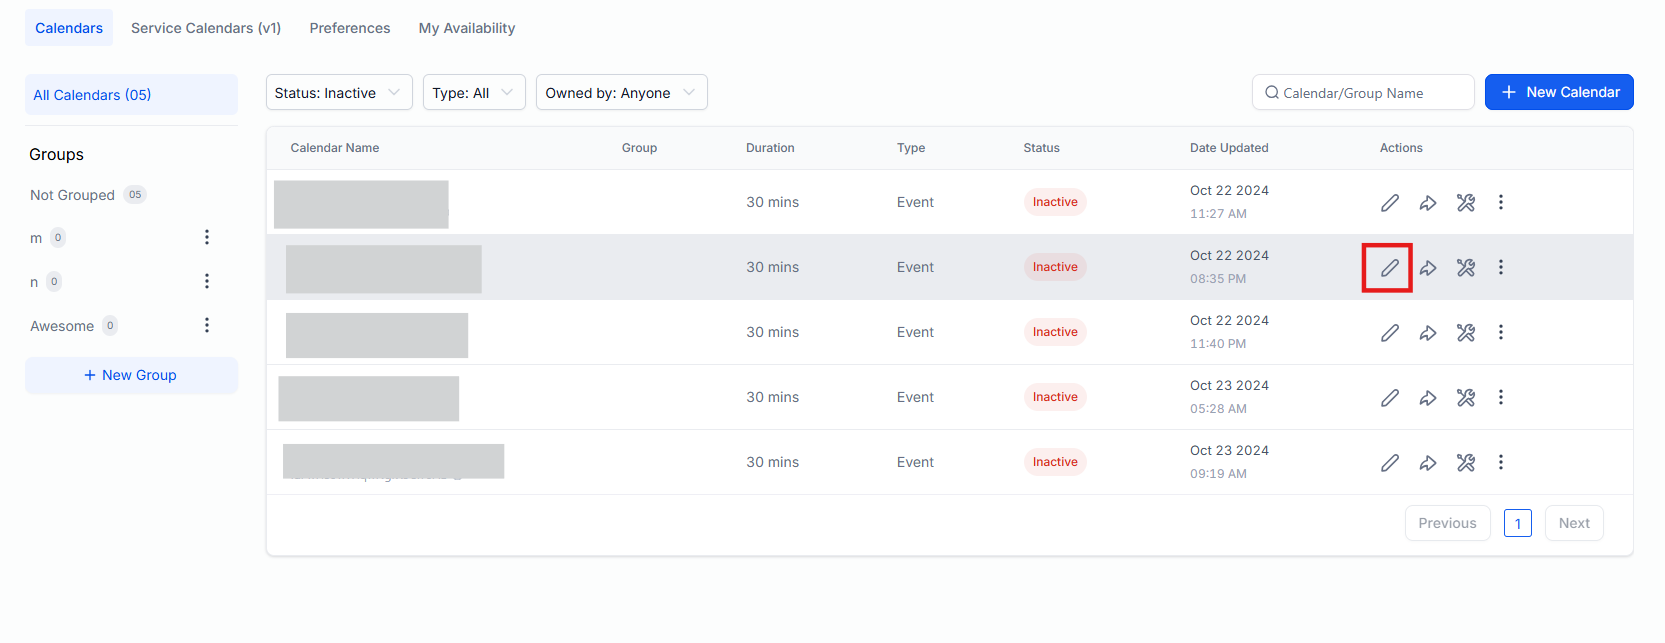
1. Navigate to Calendars → Calendar Settings.
2. Select theCalendar you want to edit.
3. Navigate to the Forms & Payment tab.
4. Choose the custom form you just created from the dropdown list.

5. You can choose to display either the form or the booking widget first. Simply drag and drop to adjust the positioning according to your preference.

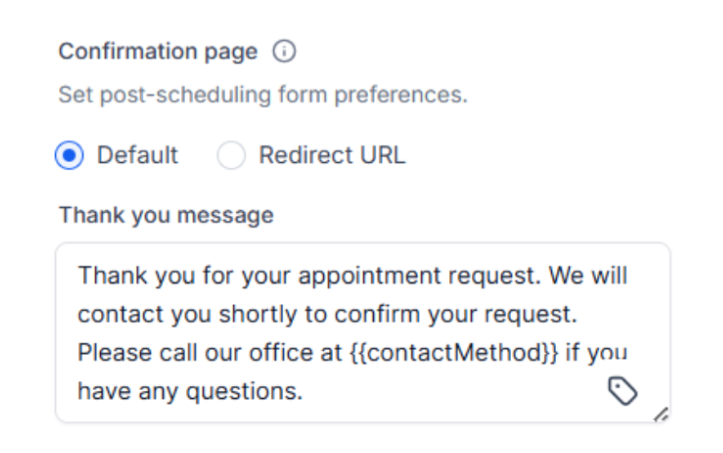
6. Select the message to be displayed after booking. You can either use the default message or redirect clients to a custom page within your funnel or website.
7. Click Save to apply the changes.
¶ Step 3: Test the Integration
1. Return to Calendar Settings and click the arrow button to Share.
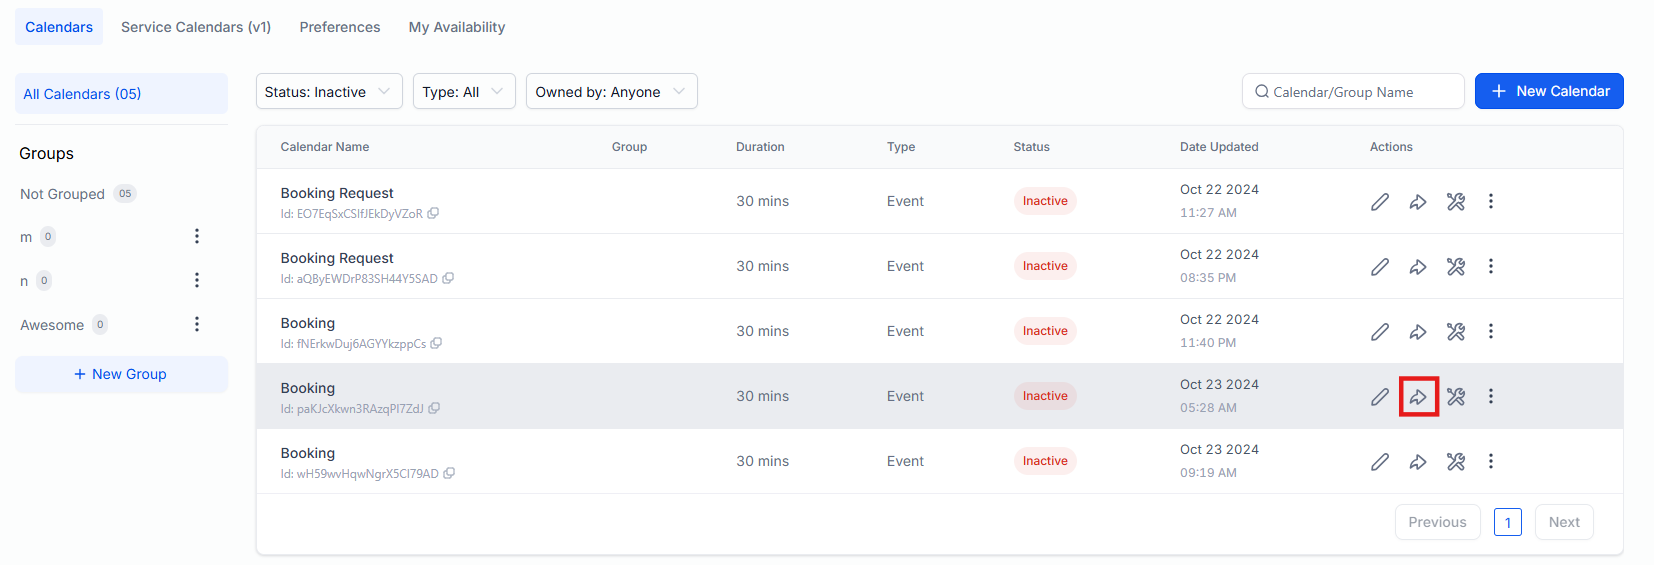
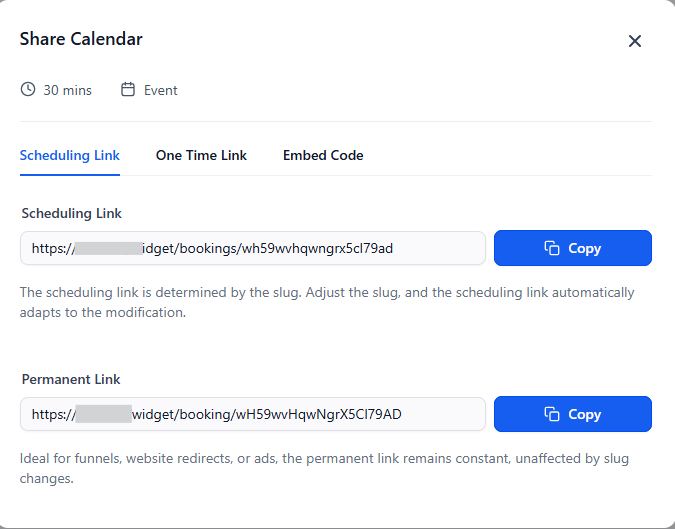
2. Open the link in a new tab to verify that the form is correctly embedded within the booking process.
3. Ensure all fields appear correctly and that required fields function as expected.
¶ Pro Tips
- Make Important Fields Required: Ensure essential details are filled out before a booking is confirmed.
- Keep It Concise: Too many required fields can discourage users from completing the form. Only ask for the necessary details.
- Use Custom Values: Autofill responses where possible to enhance the user experience.
- Validate Your Fields: Ensure formats (e.g., email, phone number) are properly structured to avoid errors.
¶ FAQ’s
Question: Can I add custom fields to my calendar form?****
Answer: Yes, you can create and add custom fields to gather information specific to your business needs before scheduling an appointment.
Question: How do I ensure my form is properly linked to my calendar?****
Answer: After saving your form, go to Calendar Settings , select the calendar, and choose the form under the Forms tab. Save the changes and test the link to confirm.
Question: What happens if a lead does not complete all required fields?****
Answer: If required fields are left blank, the form will not submit, prompting the user to fill in the missing information before proceeding.
Question: Can I edit a form after it has been linked to a calendar?****
Answer: Yes, you can edit the form in the Forms section, and changes will automatically reflect in the linked calendar.
Question: How do I track responses from my calendar form?****
Answer: All submitted forms are stored in the Forms Submissions section of your dashboard, where you can view, manage, and follow up with leads.
Question: Can I customize the appearance of the calendar widget and form button?**
Answer:** Yes, while the form button itself cannot be changed separately, you can customize the Calendar Widget, which will reflect color changes. You can adjust the widget settings and set the form text within the customization options.
Question: Is there a way to automatically fill in a user’s information?
Answer: You can use Custom Values to autofill responses where possible, which enhances the user experience by saving the client time during the booking process.