¶ The In-App Calendar View
The in-app calendar view, accessible from the calendar module, consolidates all scheduled appointments and synced third-party events in one comprehensive display. With features designed to streamline your scheduling process, this view allows for efficient management of appointments, helping you save time and focus on providing excellent service to your clients. This article outlines the key features that enhance your appointment management experience.
¶ Step 1: Using the Calendar
1. Access the Calendar:
- From your Dashboard menu, you can directly access your calendar(s) to view your appointments and blocked-off time.
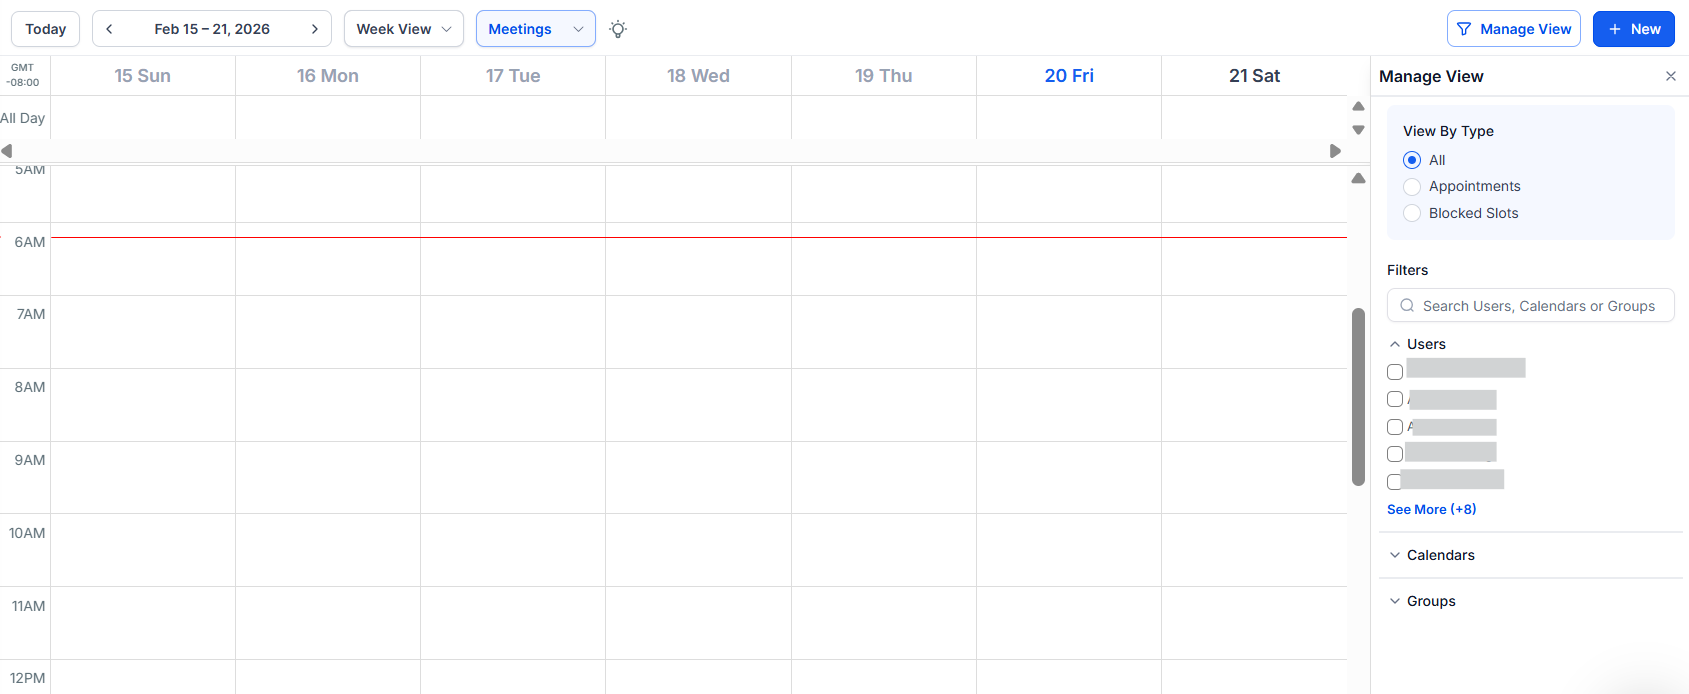
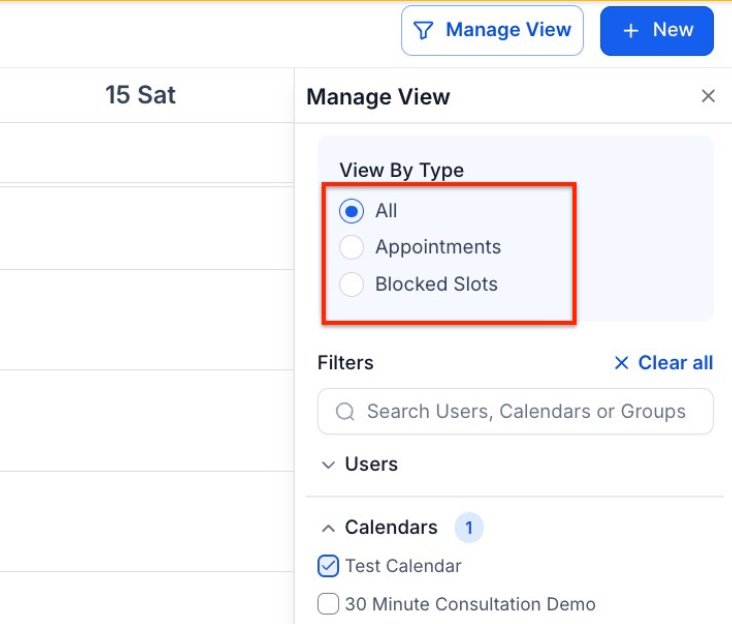
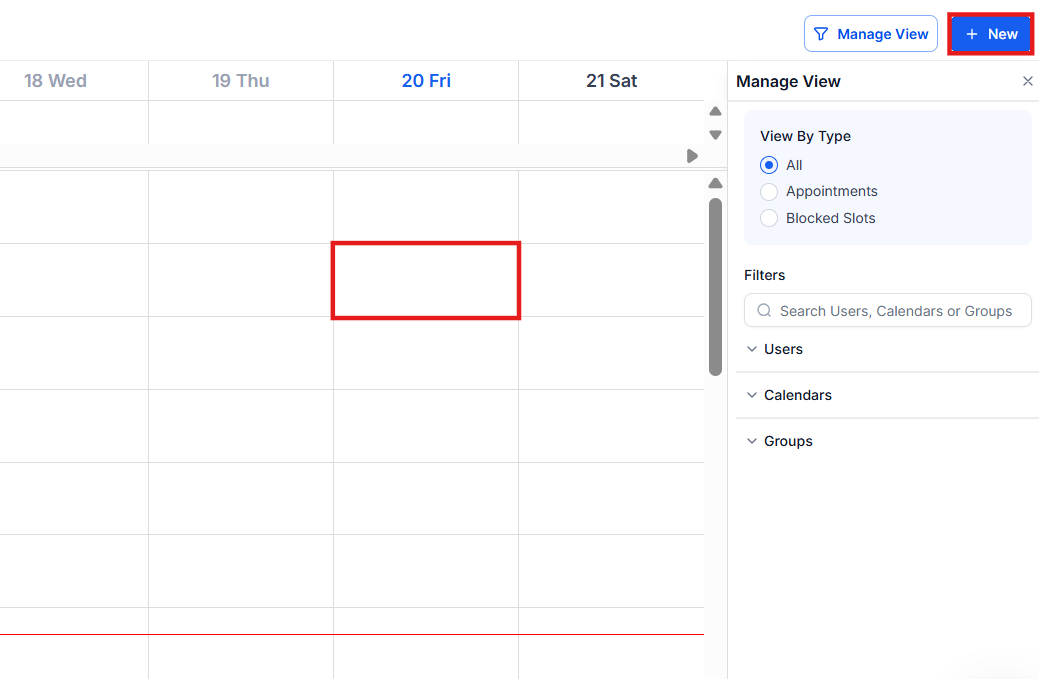
- Under “View Type,” you can filter your calendar to show all, appointments, blocked times, or both.
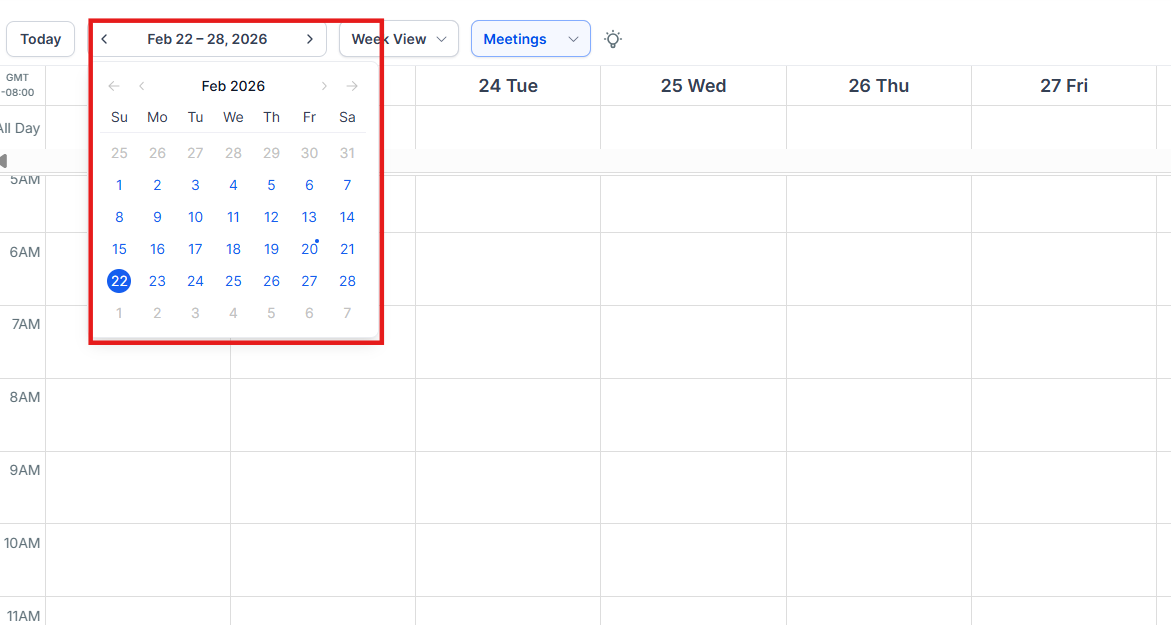
2. Select Views:
* Use "View" to quickly navigate and organize your schedule based on daily or weekly, or monthly formats. Select the Day view to reveal a horizontal list showcasing all selected entities.
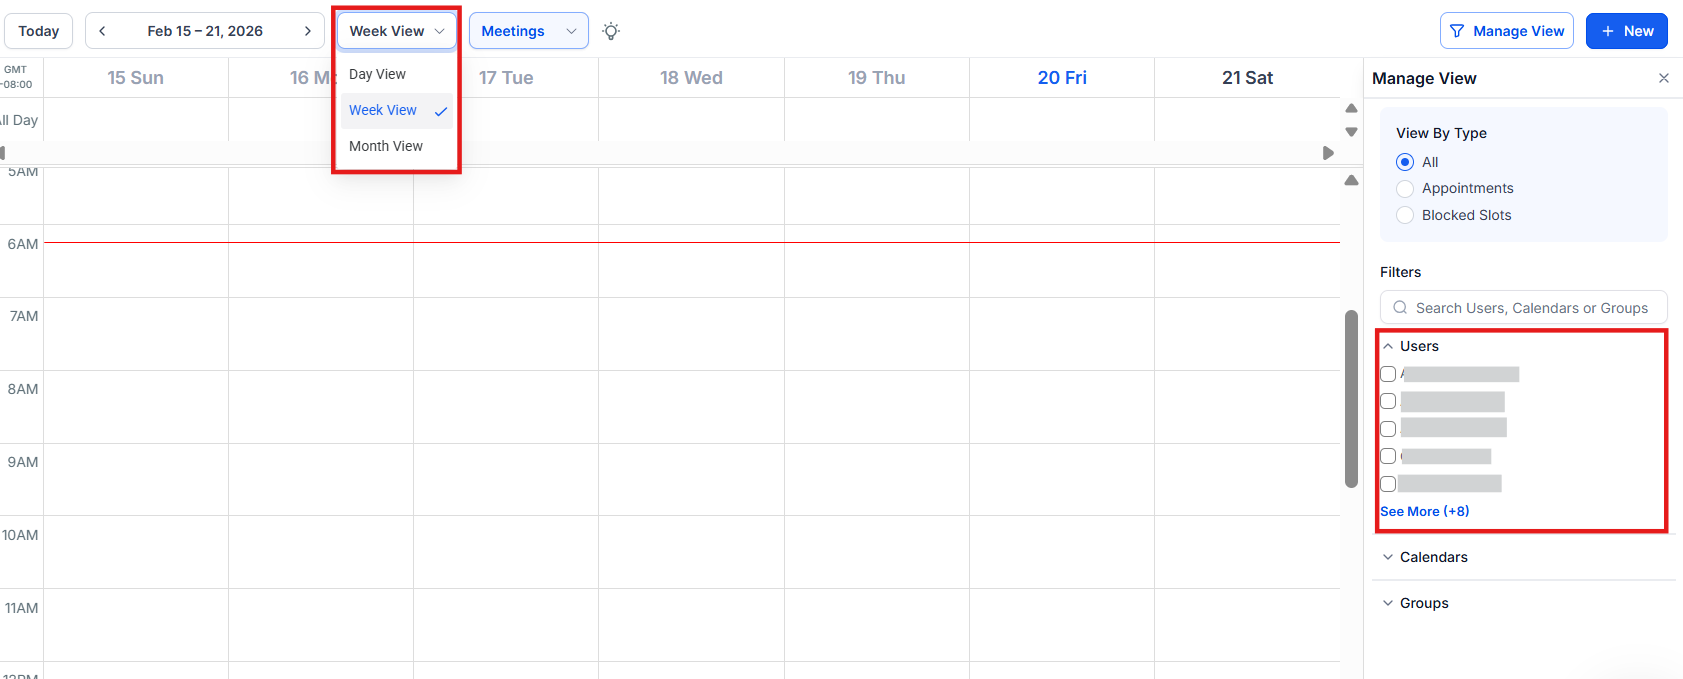
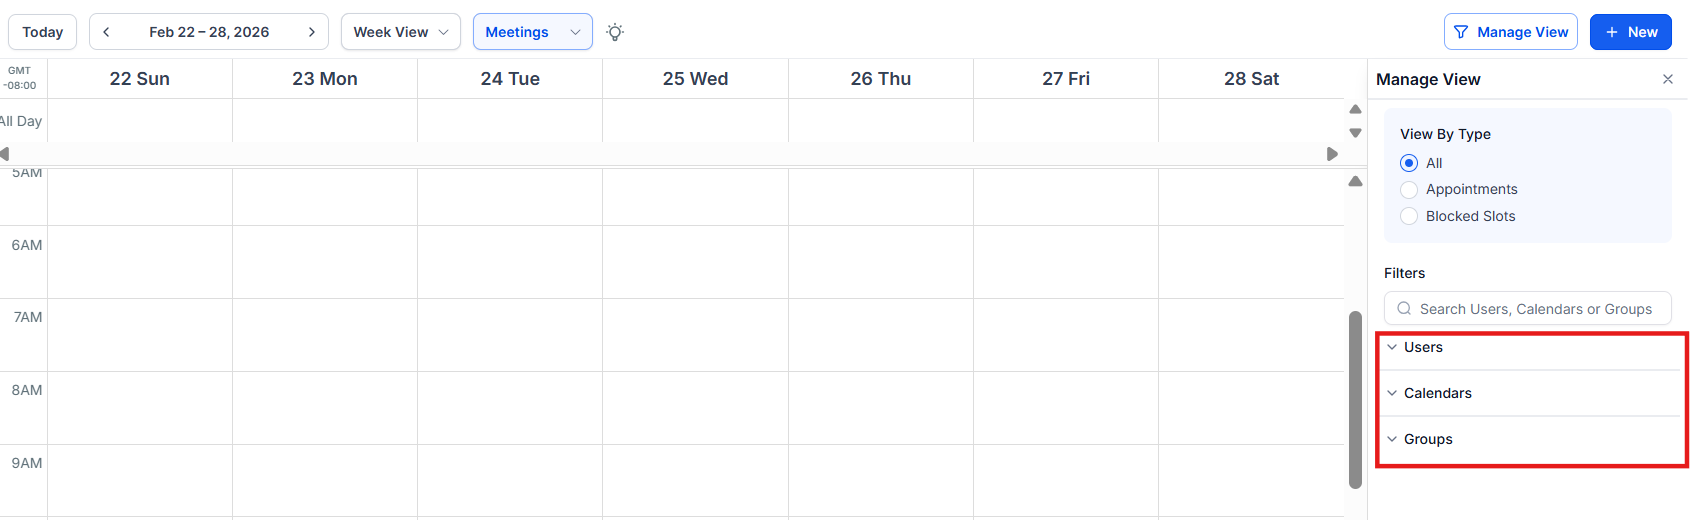
3. Choose Users, Calendars, and Groups:
- Easily select multiple users, calendars, or groups to view their combined schedules in a unified display.
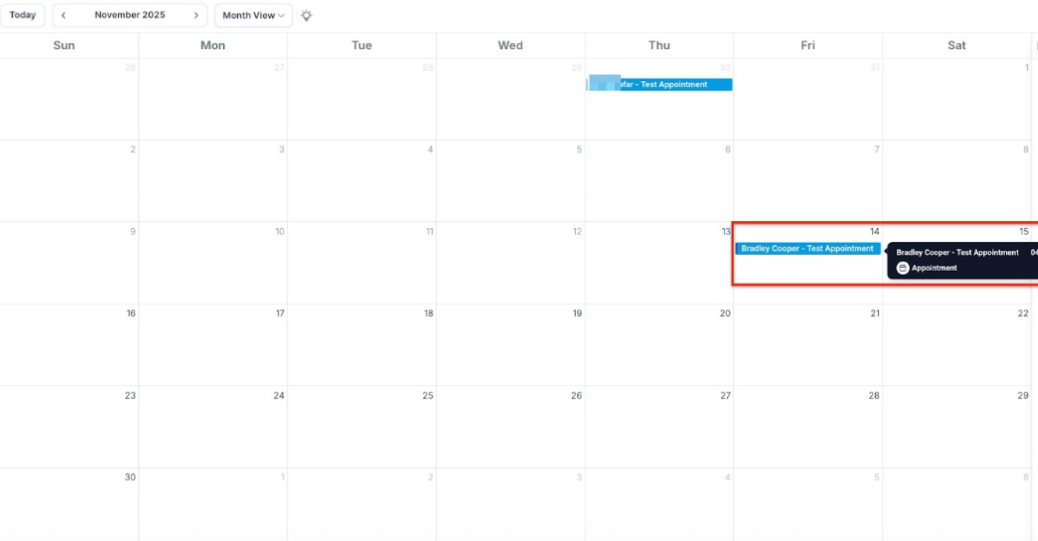
4. Hover for Details:
- Hover over any appointment for a quick snapshot of its details, such as the event type and time, to stay informed without opening the full event.
5. Color Code Appointments:
- Customize colors to easily identify appointments by user, group, or calendar, making your calendar more visually accessible.
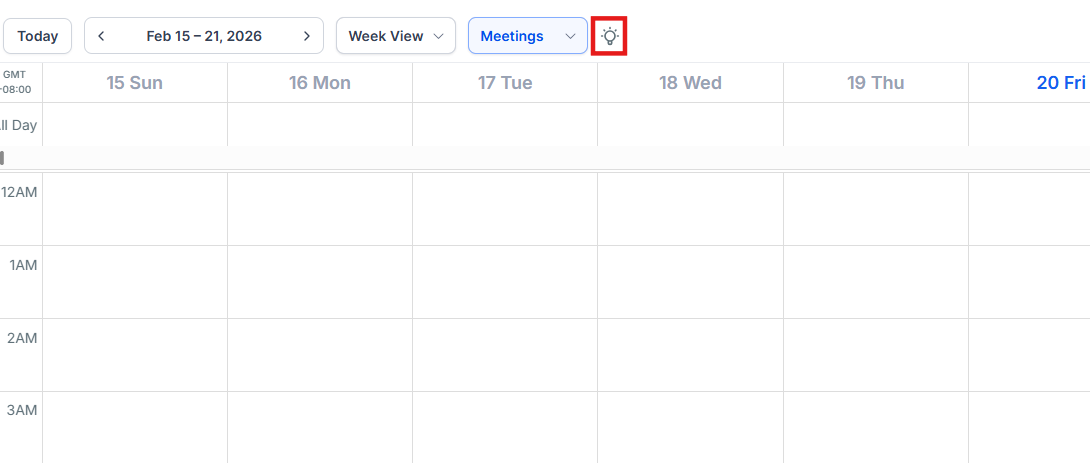
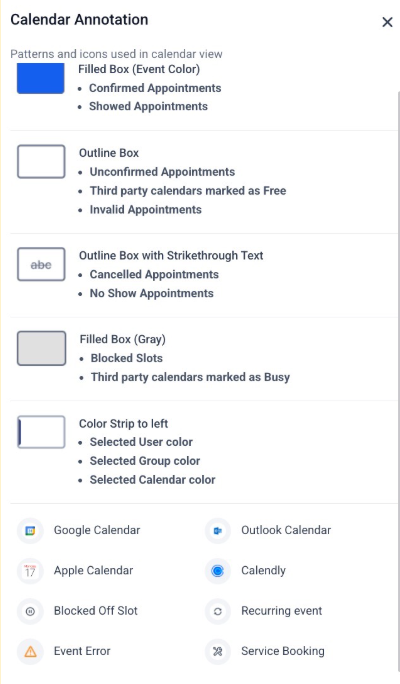
6. Annotation Key
- The annotation key provides information on the various color codes for different types of appointments/events in your calendars.

¶ Step 2: Adding Appointments to Your Calendars
1. Add Appointments:
- Click on the date or time slot on the calendar where you want to schedule the appointment. Alternatively, click the “New ” button at the top right of the page.
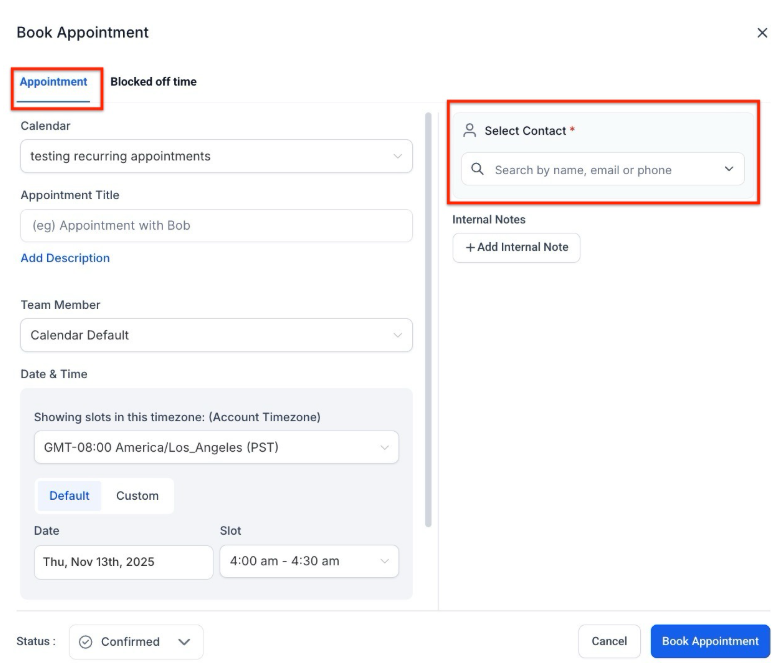
- In the popup window, choose the “Book an Appointment” option.
- Select the contact for which you wish to create the appointment.
- Fill out the appointment details and click “Book Appointment” to add the appointment to your calendar.
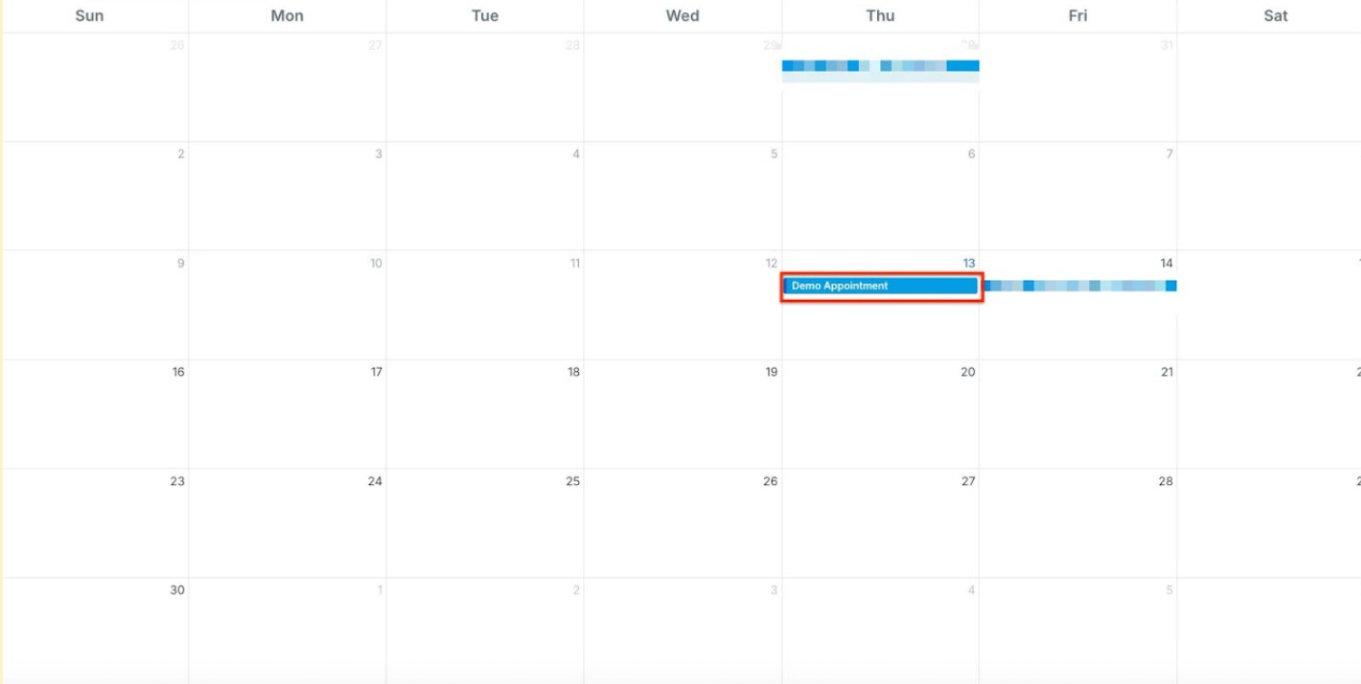
- Your appointment will now appear on your calendar on the date/time you choose.
- You may click on the appointment to edit or delete it anytime.
** 2. Adding Blocked Time to Your Calendars**
- Choose the user or a calendar (In calendars only event-type calendars will show up, others can be blocked off by selecting the users)
- Click on the date/time you wish to start blocking off time. This could be for vacation/PTO, an offsite meeting, or any other reason you want to hold time in your calendar.
- In the popup window, choose “Add Blocked Off time.”
- Provide the details, including the timezone, days/times you wish to block off, and the Appointment title.
- Click “Block time” to confirm and add this time to your calendar.

3. Adding and Managing Notes for Individual Appointments
You can add and track notes for each appointment directly within the calendar. This feature helps keep a clear record of updates and interactions related to specific appointments.
- Open the Appointment Section by selecting an appointment on your calendar and viewing its details.

-
Go to the Notes tab.
-
Click Add Note.

- Type your note in the text box and click Save.
Each note will display the name of the user who added it and a timestamp for when it was created, ensuring a detailed log of updates.

Editing or Deleting Notes
- Edit a Note: Open the Notes tab, select the note, make changes, and click Save.
- Delete a Note: Use the delete option next to the note to remove it.

Types of Notes in the Notes Section
1. User-Added Notes
Manually added by users to include updates or details related to an appointment.
2. Booker’s Additional Information
Details entered by clients in the Additional Information field during booking appear in the Notes section of the Appointment Modal.
3. Synced Notes
Notes or descriptions added in synced external calendars (e.g., Google, Outlook) automatically appear in the Notes section via two-way sync
You can navigate to your Calendar Settings directly from the Calendars page using this icon:

You can also navigate to Settings > Calendars to make changes. You can always make adjustments along the way.
To learn more about Calendar Settings, please check out our article “Calendar Setup 101. “
¶ FAQs
Question: How do I access my calendar to view appointments and blocked time?
Answer: From your Dashboard menu, you can access your calendar(s) directly to see your appointments and any blocked-off time. Simply navigate to the calendar section to view your schedule.
Question: Can I filter my calendar view to show specific types of events?
Answer: Yes, you can filter your calendar to display appointments, blocked times, or both. You can also switch between different calendar views, such as Day, Week, or Month to adjust how your schedule is displayed.
Question: How do I add an appointment to my calendar?
Answer: Click on the date or time slot where you want to schedule the appointment or use the “New” button at the top right of the page. Choose “Book an Appointment” from the pop-up window, select the contact, enter the details, and click “Book Appointment” to add it to your calendar.
Question: How can I block off time on my calendar?
Answer: To block off time, select a user/calendar and click on the date/time you want to block. Choose “Add Blocked Off Time” from the pop-up window, enter the details, including the timezone and the duration, and click “Block Time” to confirm.
Question: Where can I find and adjust Calendar Settings?
Answer: You can navigate to your Calendar Settings from the Calendars page by clicking the Calendar Settings icon. Alternatively, go to Settings > Calendars to make changes. For more information, refer to the “Calendar Setup 101” article.
Question: Can I view multiple users, calendars, or groups at once?
Answer: Yes. You can select multiple users, calendars, or groups to view their schedules combined in a unified calendar display.
Question: Why can’t I see some of my calendars in the dropdown menu?**
Answer: Ensure you are looking at the correctCalendar Group**. If your calendars are organized into groups (e.g., “Sales Team” vs. “Support Team”), you may need to switch the group filter at the top of the page to reveal the specific calendars you are looking for.